I Self-Hosted PewDiePie's Odysseus AI on a Cheap Server (Full Setup 2026)
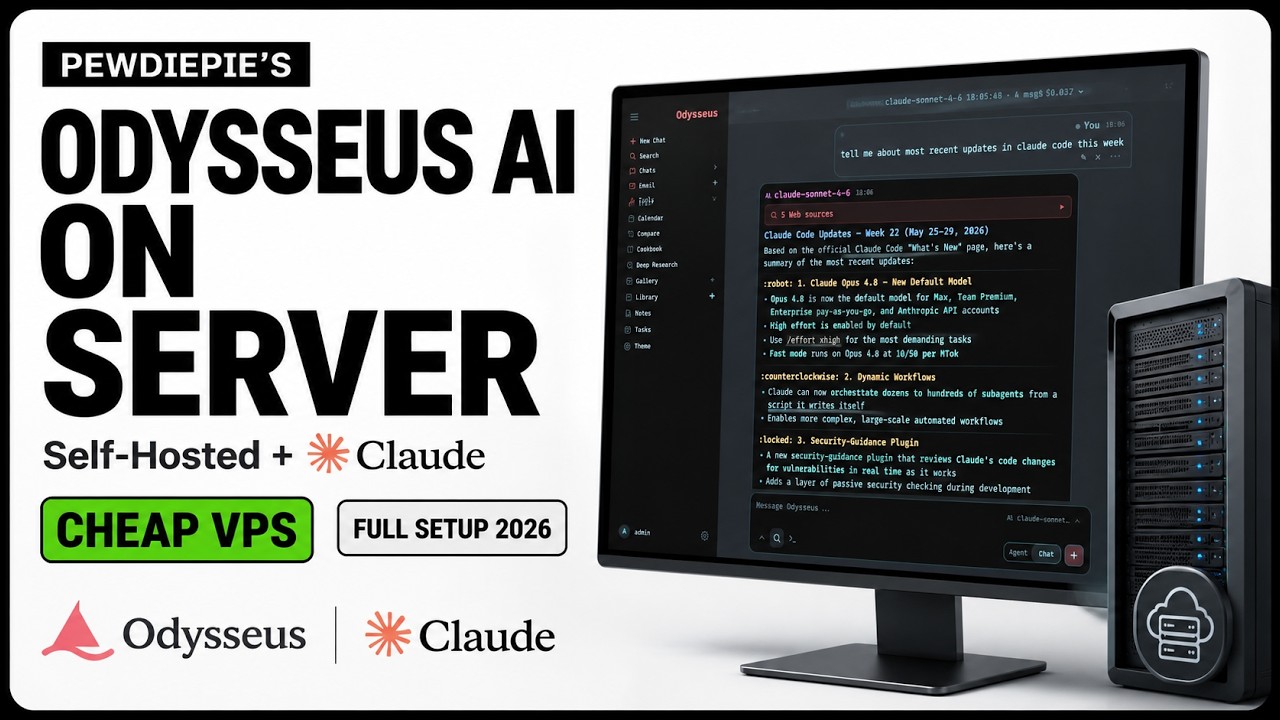
In Part 1 I ran PewDiePie's Odysseus on my own Mac. The problem with that: it only runs while the laptop is on, and only I can reach it. This time I put it on a cheap cloud server so it runs 24/7 and I can open my own private AI from my phone, my laptop, or anywhere.
Still no GPU. Just like Part 1, it runs on a Claude API key. This works on any Ubuntu VPS; I am using DigitalOcean here.
Step 1: Create a Server
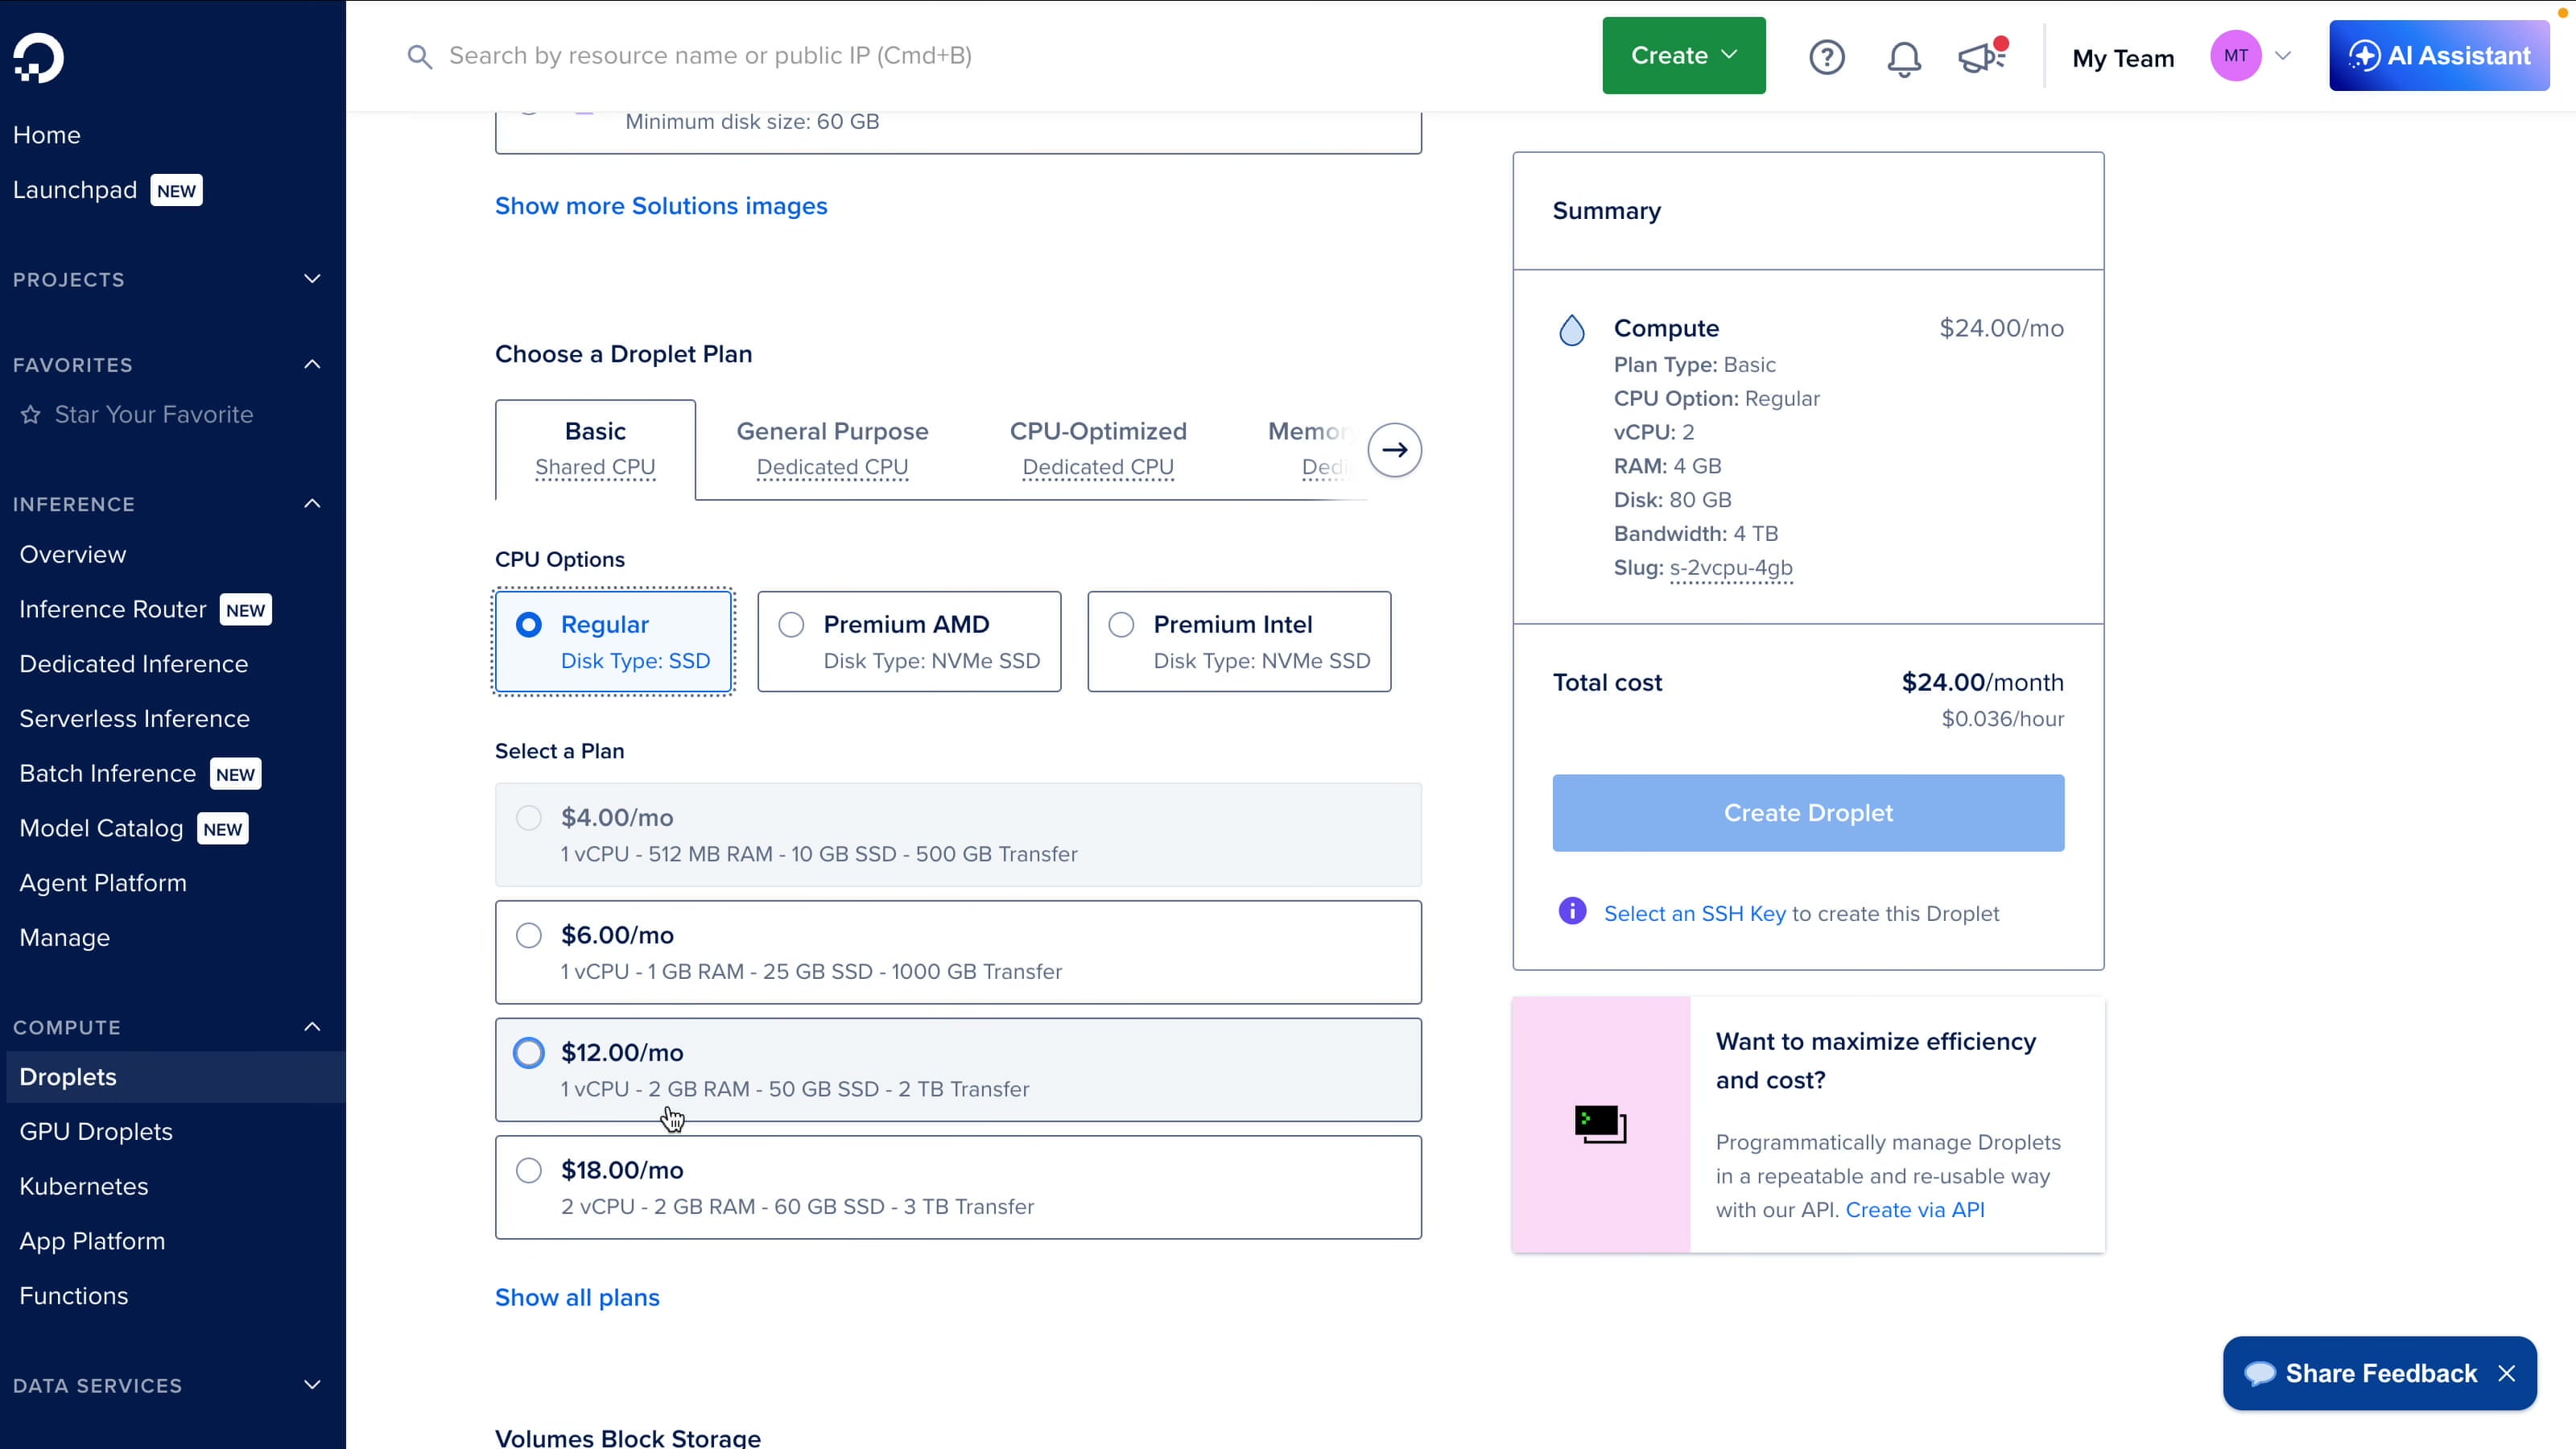
Sign in to DigitalOcean and create a droplet. Pick a region close to you, and under the Marketplace choose the Docker image so Docker is already installed. For the plan, a regular droplet with 2 vCPUs and 2 GB RAM (about $12/month) is enough to start; Odysseus runs a few containers, so do not go below that.
For authentication, add an SSH key. If you do not have one yet, generate it locally and copy the public key to your clipboard:
ssh-keygen -t ed25519
pbcopy < ~/.ssh/id_ed25519.pub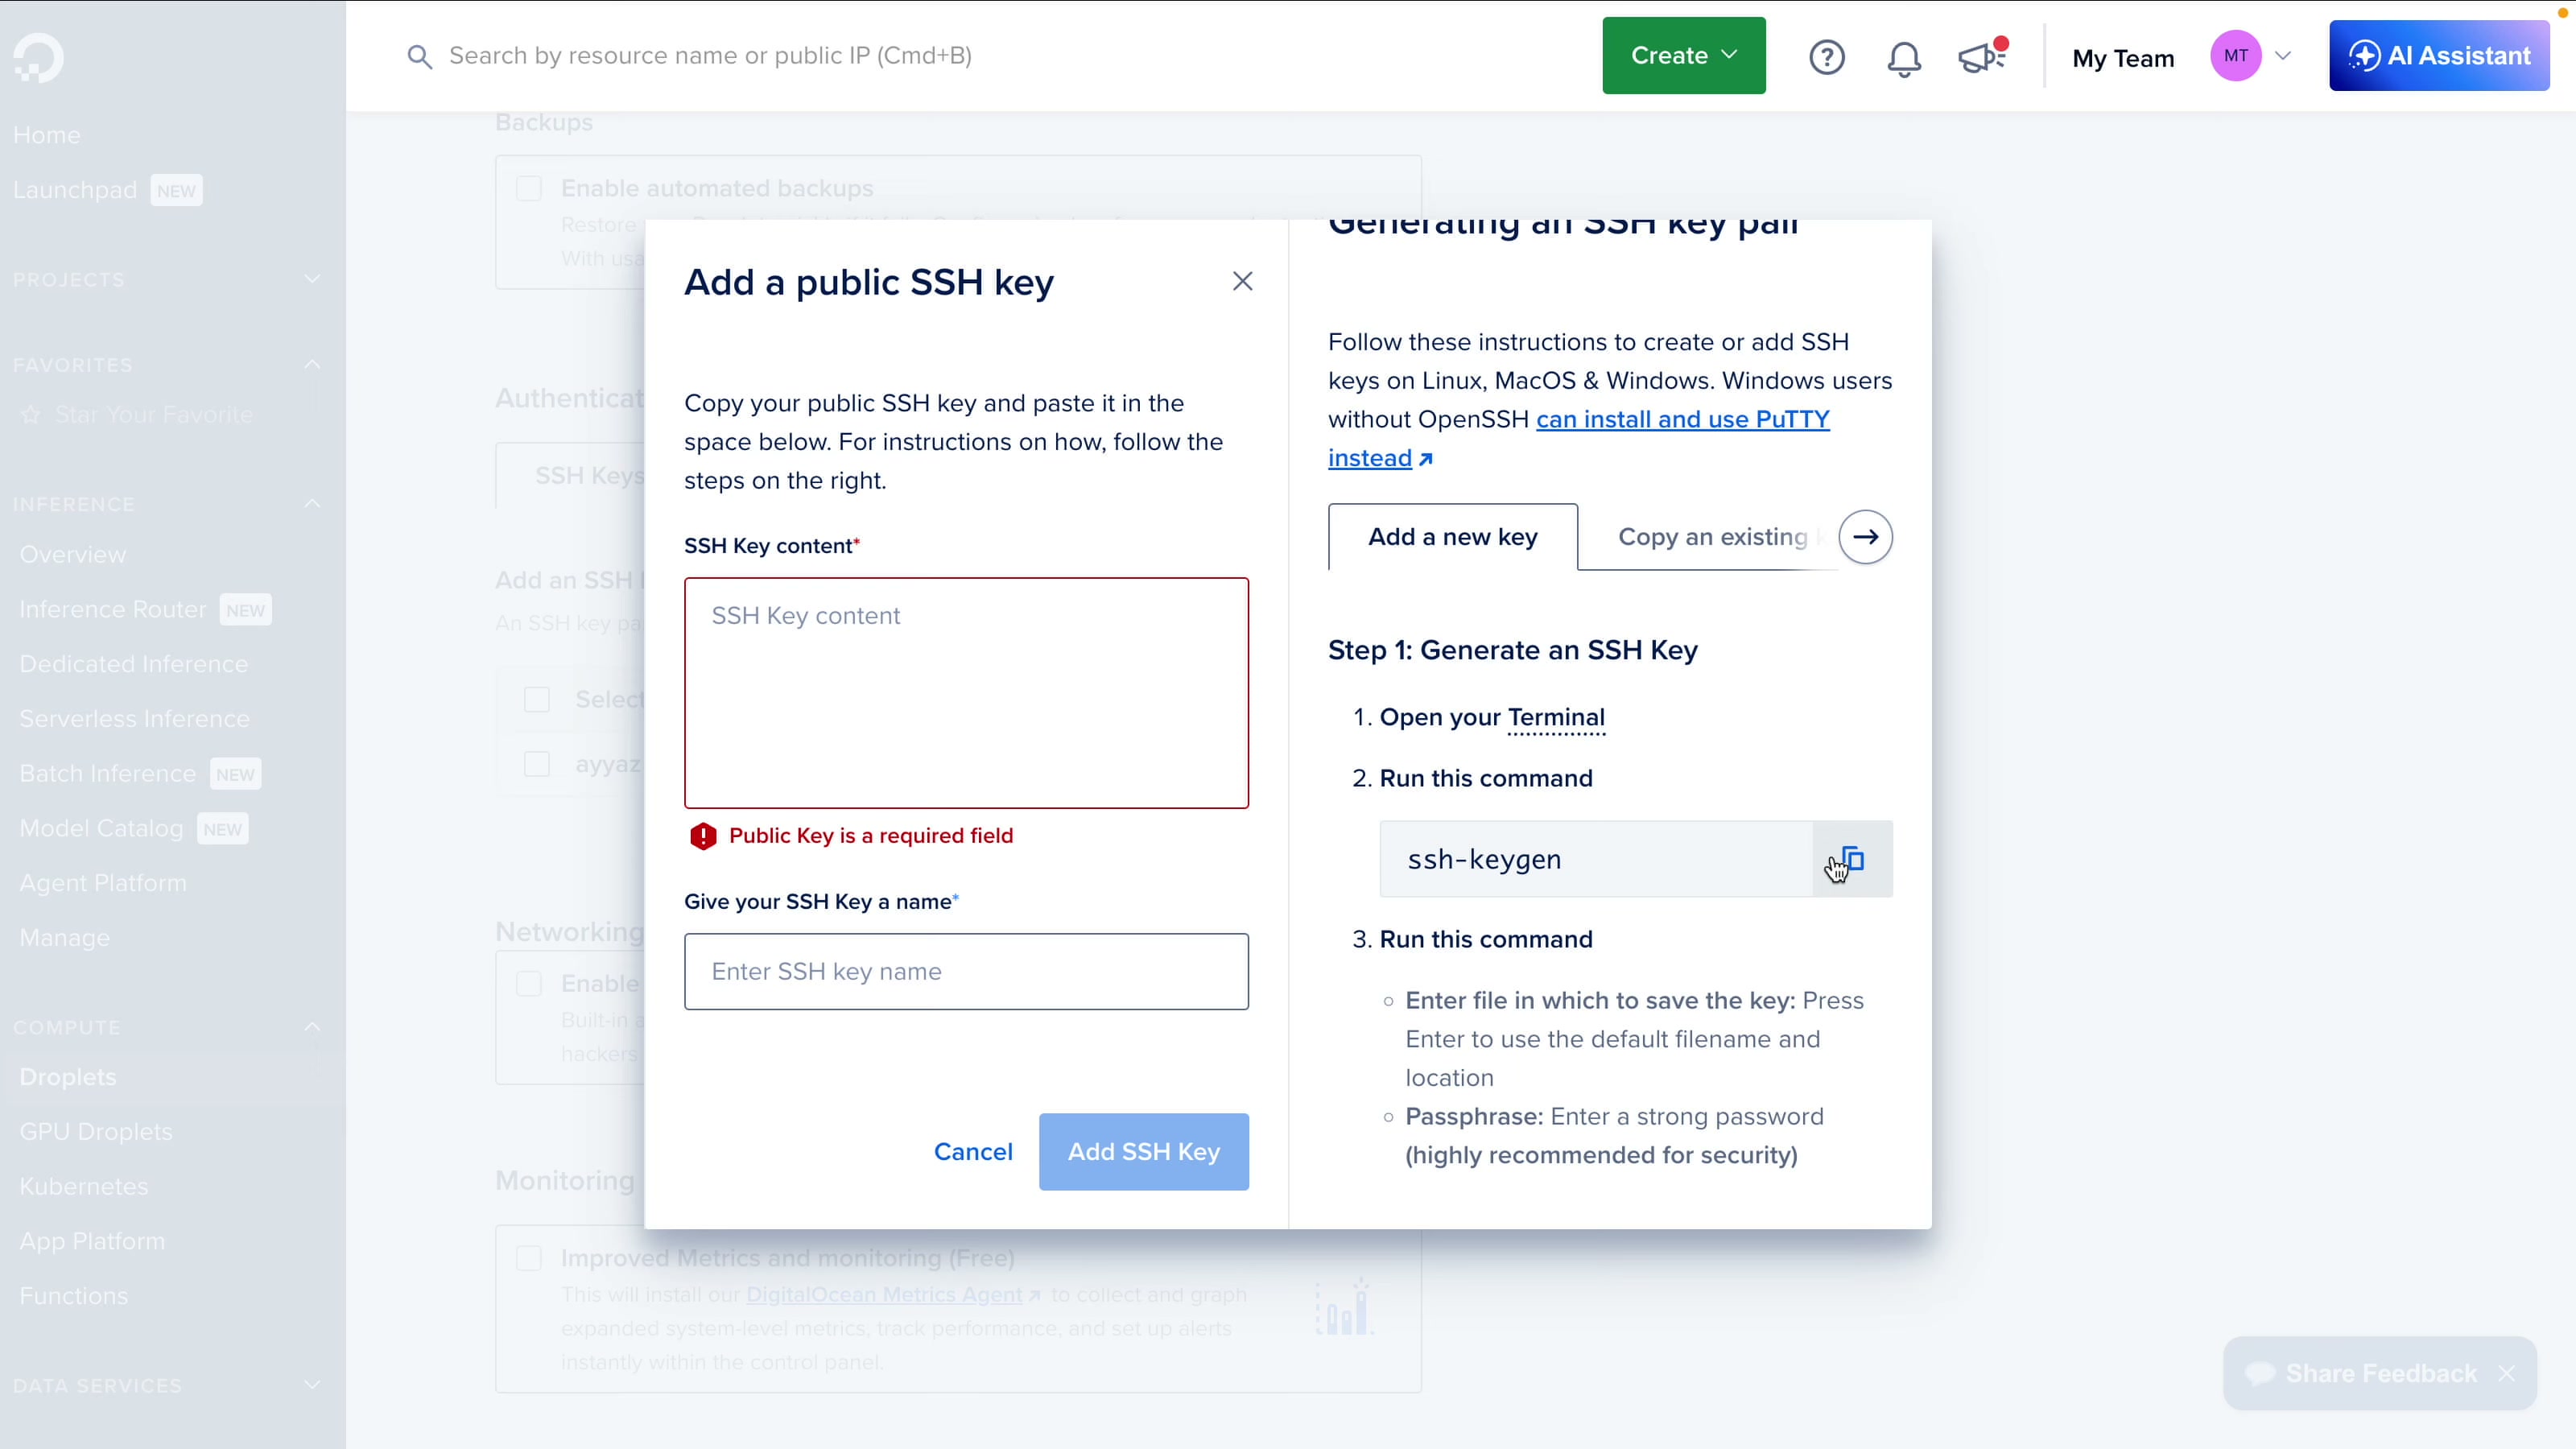
Step 2: SSH In and Clone Odysseus
Once the droplet is up, copy its IP address and connect over SSH:
ssh root@YOUR_SERVER_IPThen clone the repo, move into the folder, and create the .env file:
git clone https://github.com/pewdiepie-archdaemon/odysseus.git
cd odysseus
cp .env.example .env
Step 3: Run It With Docker
Build and start everything:
docker compose up -d --build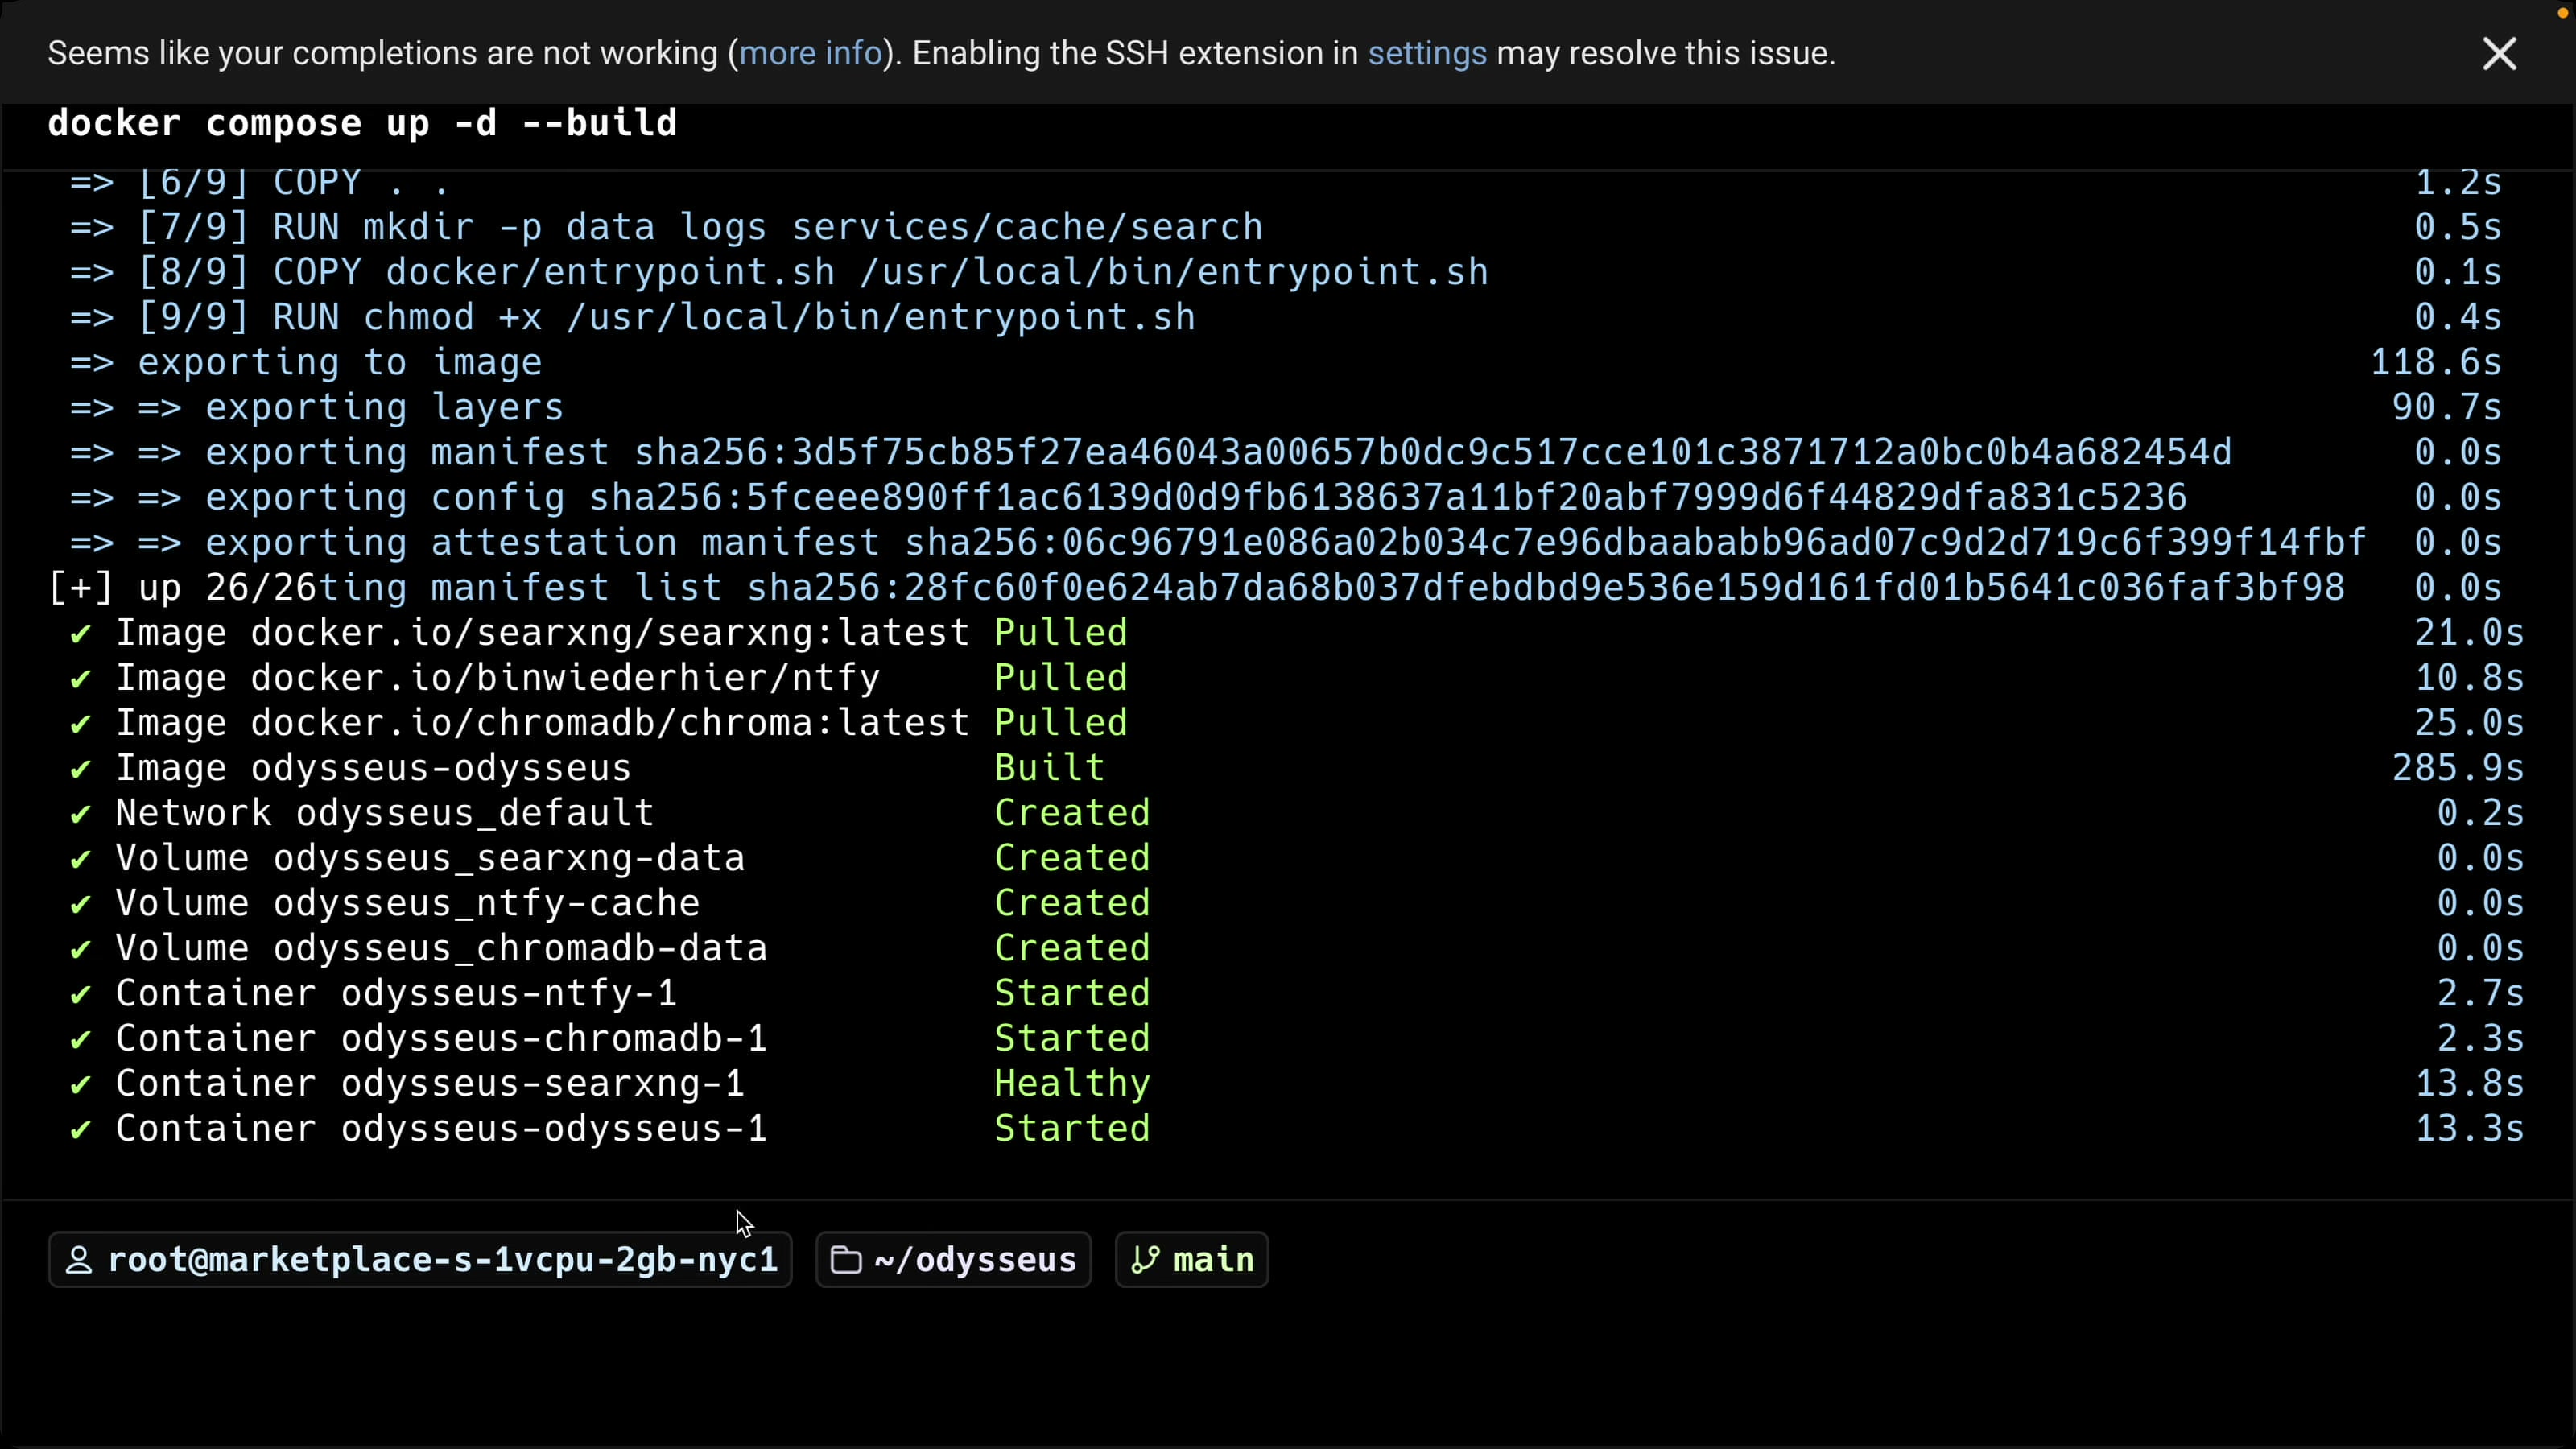
When it finishes, check that the containers are healthy:
docker compose ps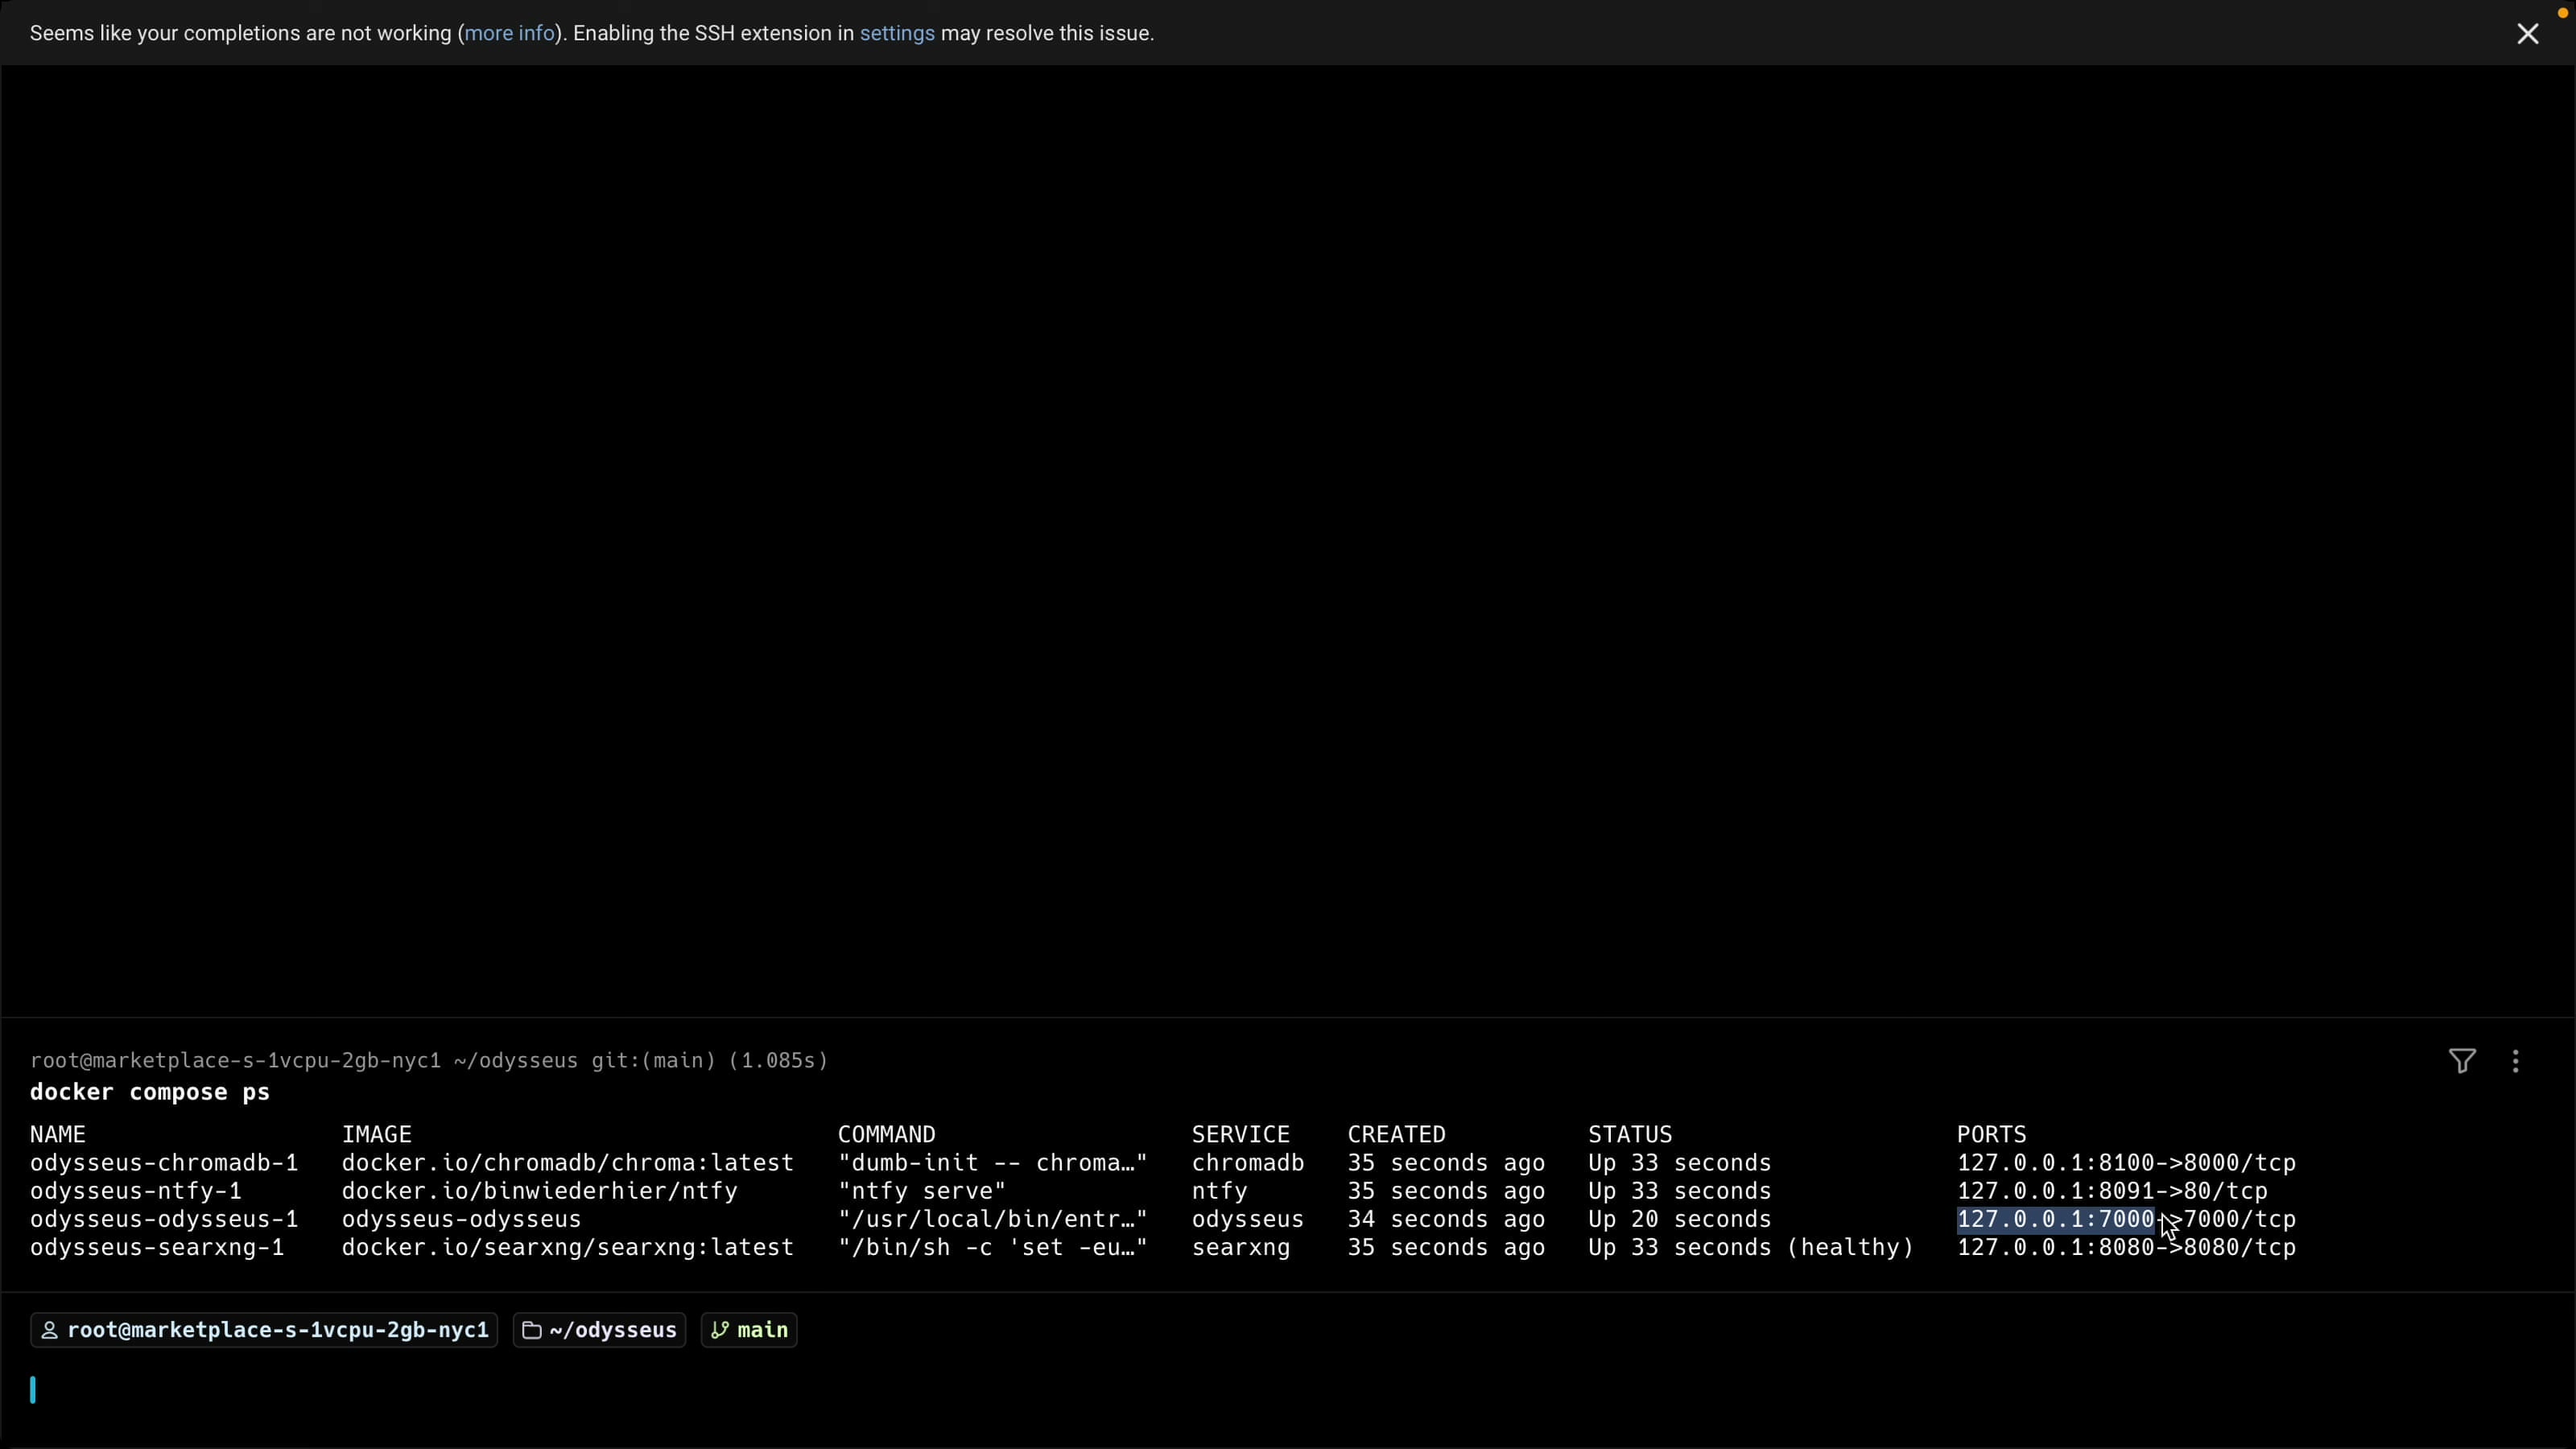
Step 4: The One Change That Makes It Reachable
Try to open http://YOUR_SERVER_IP:7000 now and it will not load. By default Odysseus binds only to 127.0.0.1 (localhost), so it refuses connections from outside the server. This is the one step everyone misses.
Open the .env file:
nano .envFind the APP_BIND line (it is commented out by default), uncomment it, and change the address to 0.0.0.0 so the server accepts outside connections:
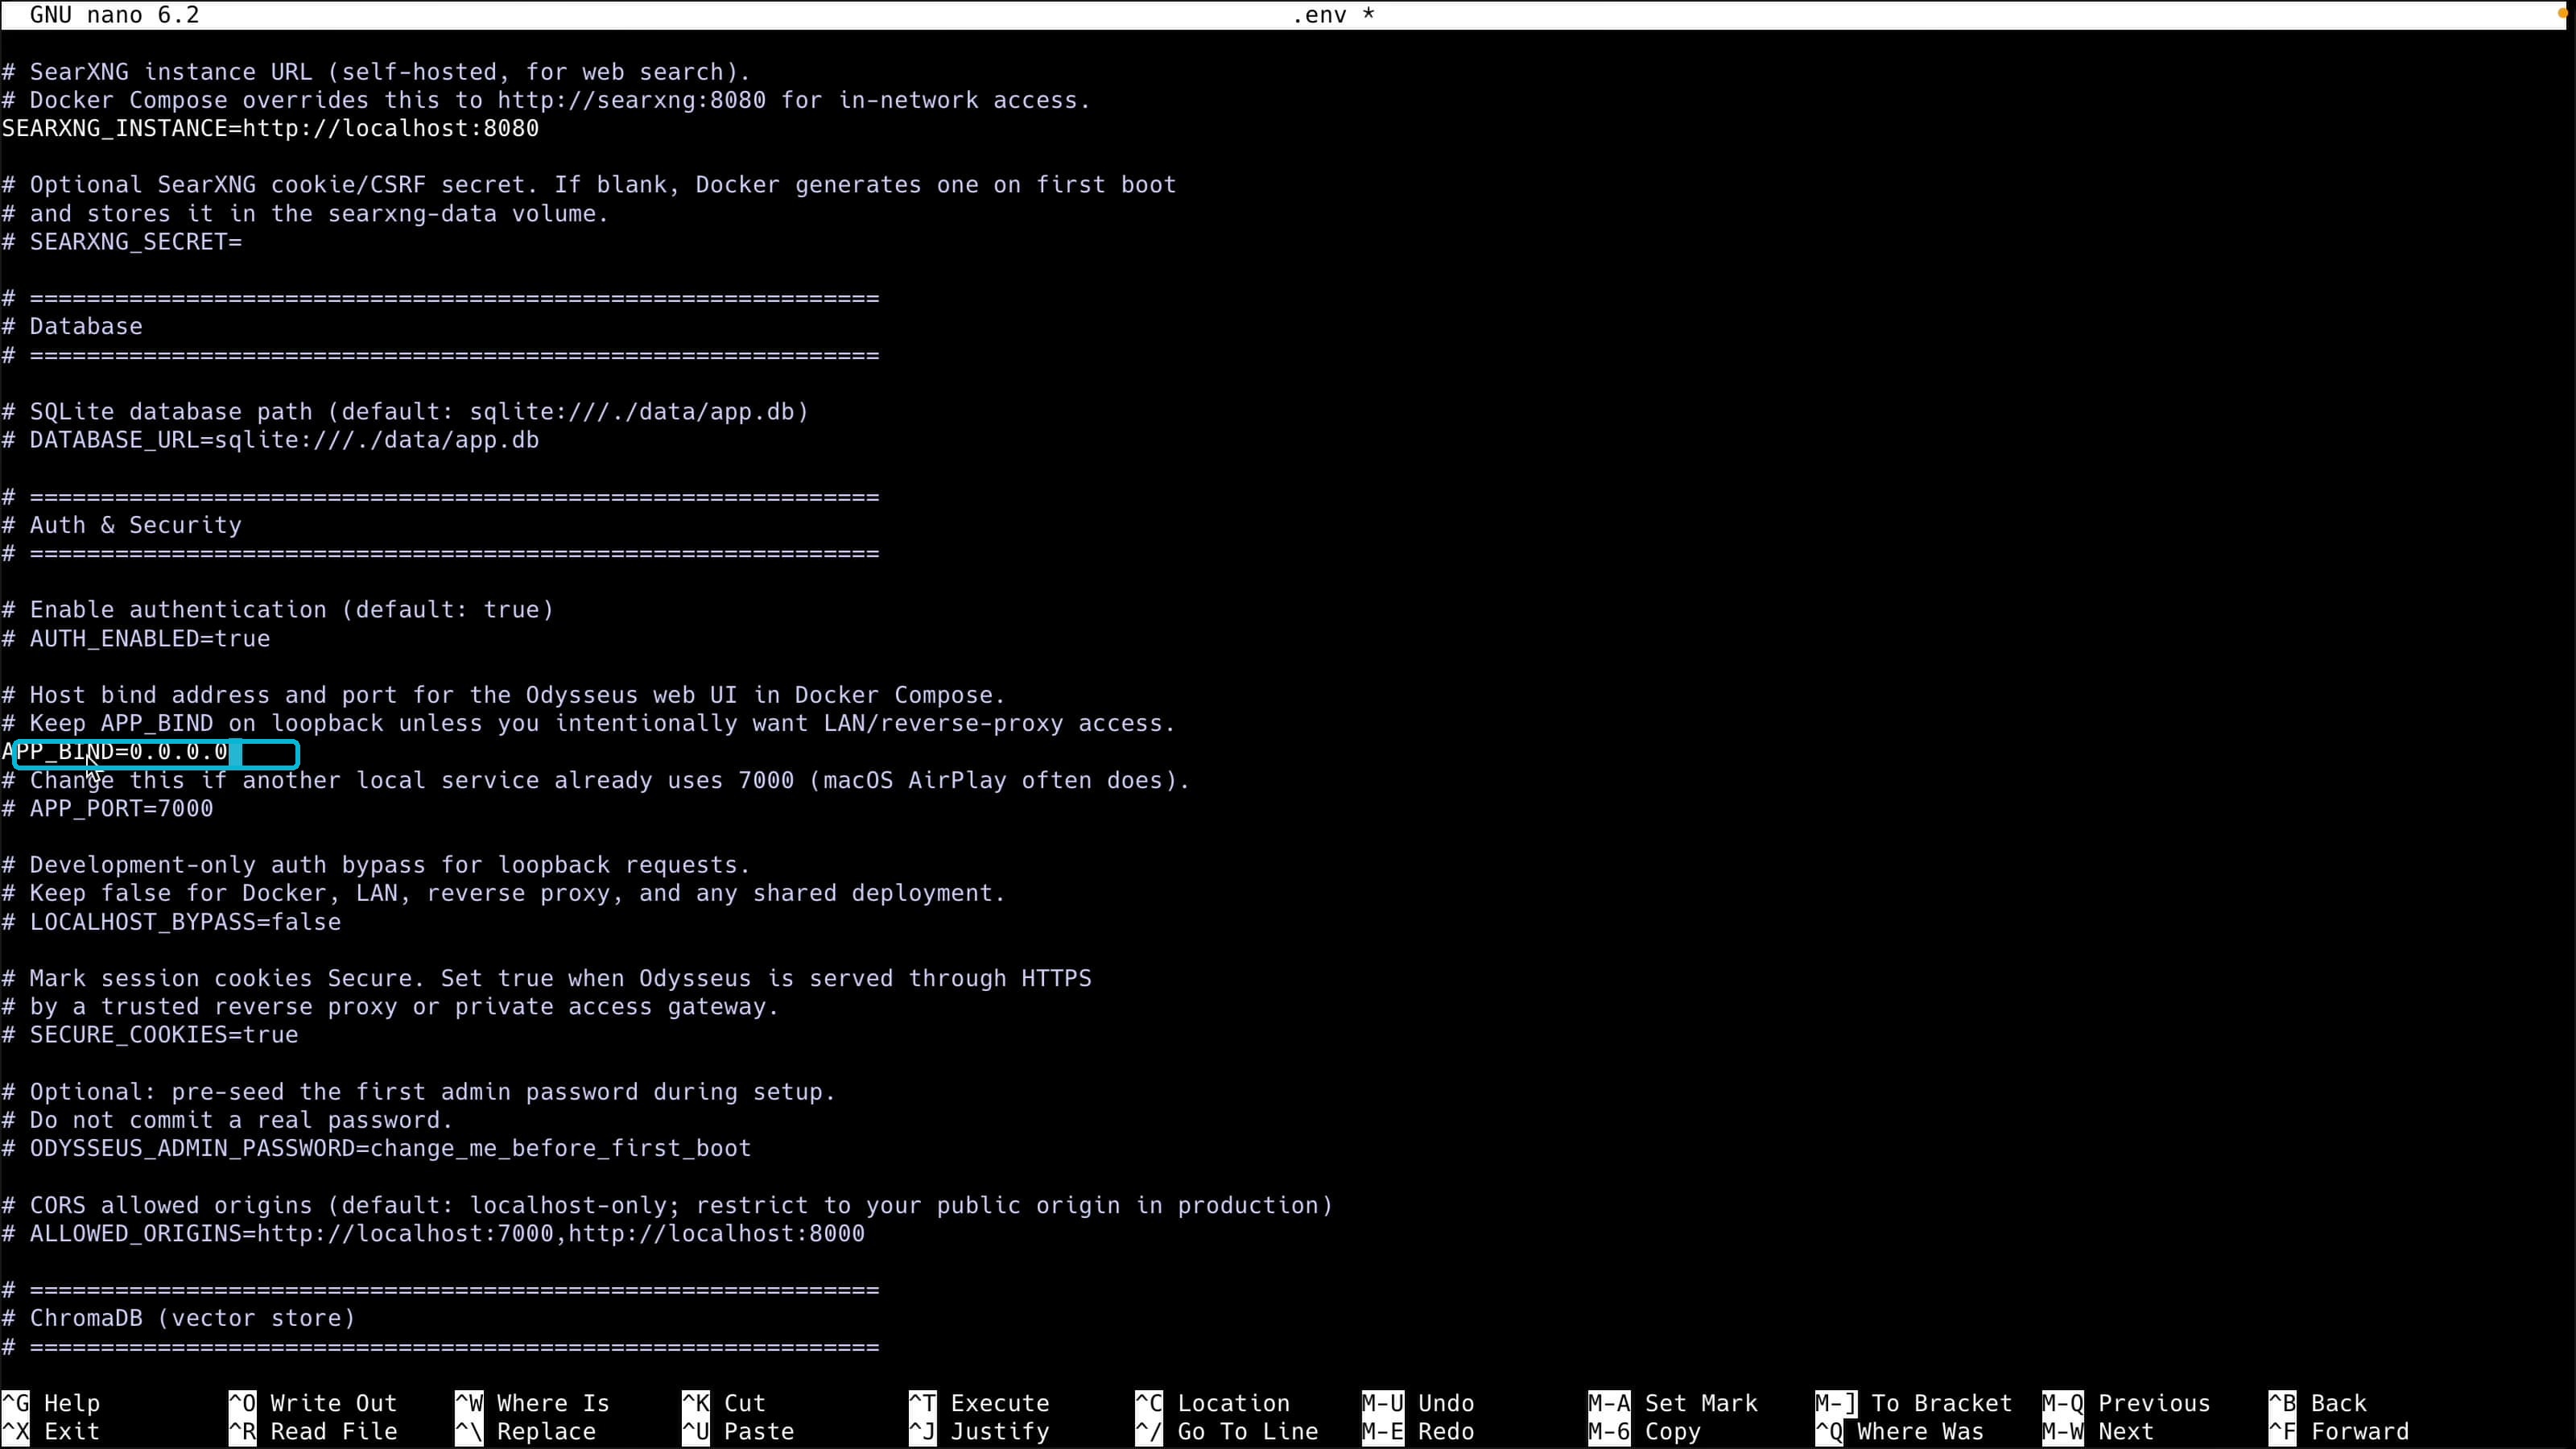
Save the file, then restart the stack so it picks up the change:
docker compose down
docker compose up -d
Step 5: Create Your Admin Account
Reload http://YOUR_SERVER_IP:7000 and it loads. On first run you create an admin account. Because this is now on the public internet, use a strong password.

Step 6: Add Your Claude API Key
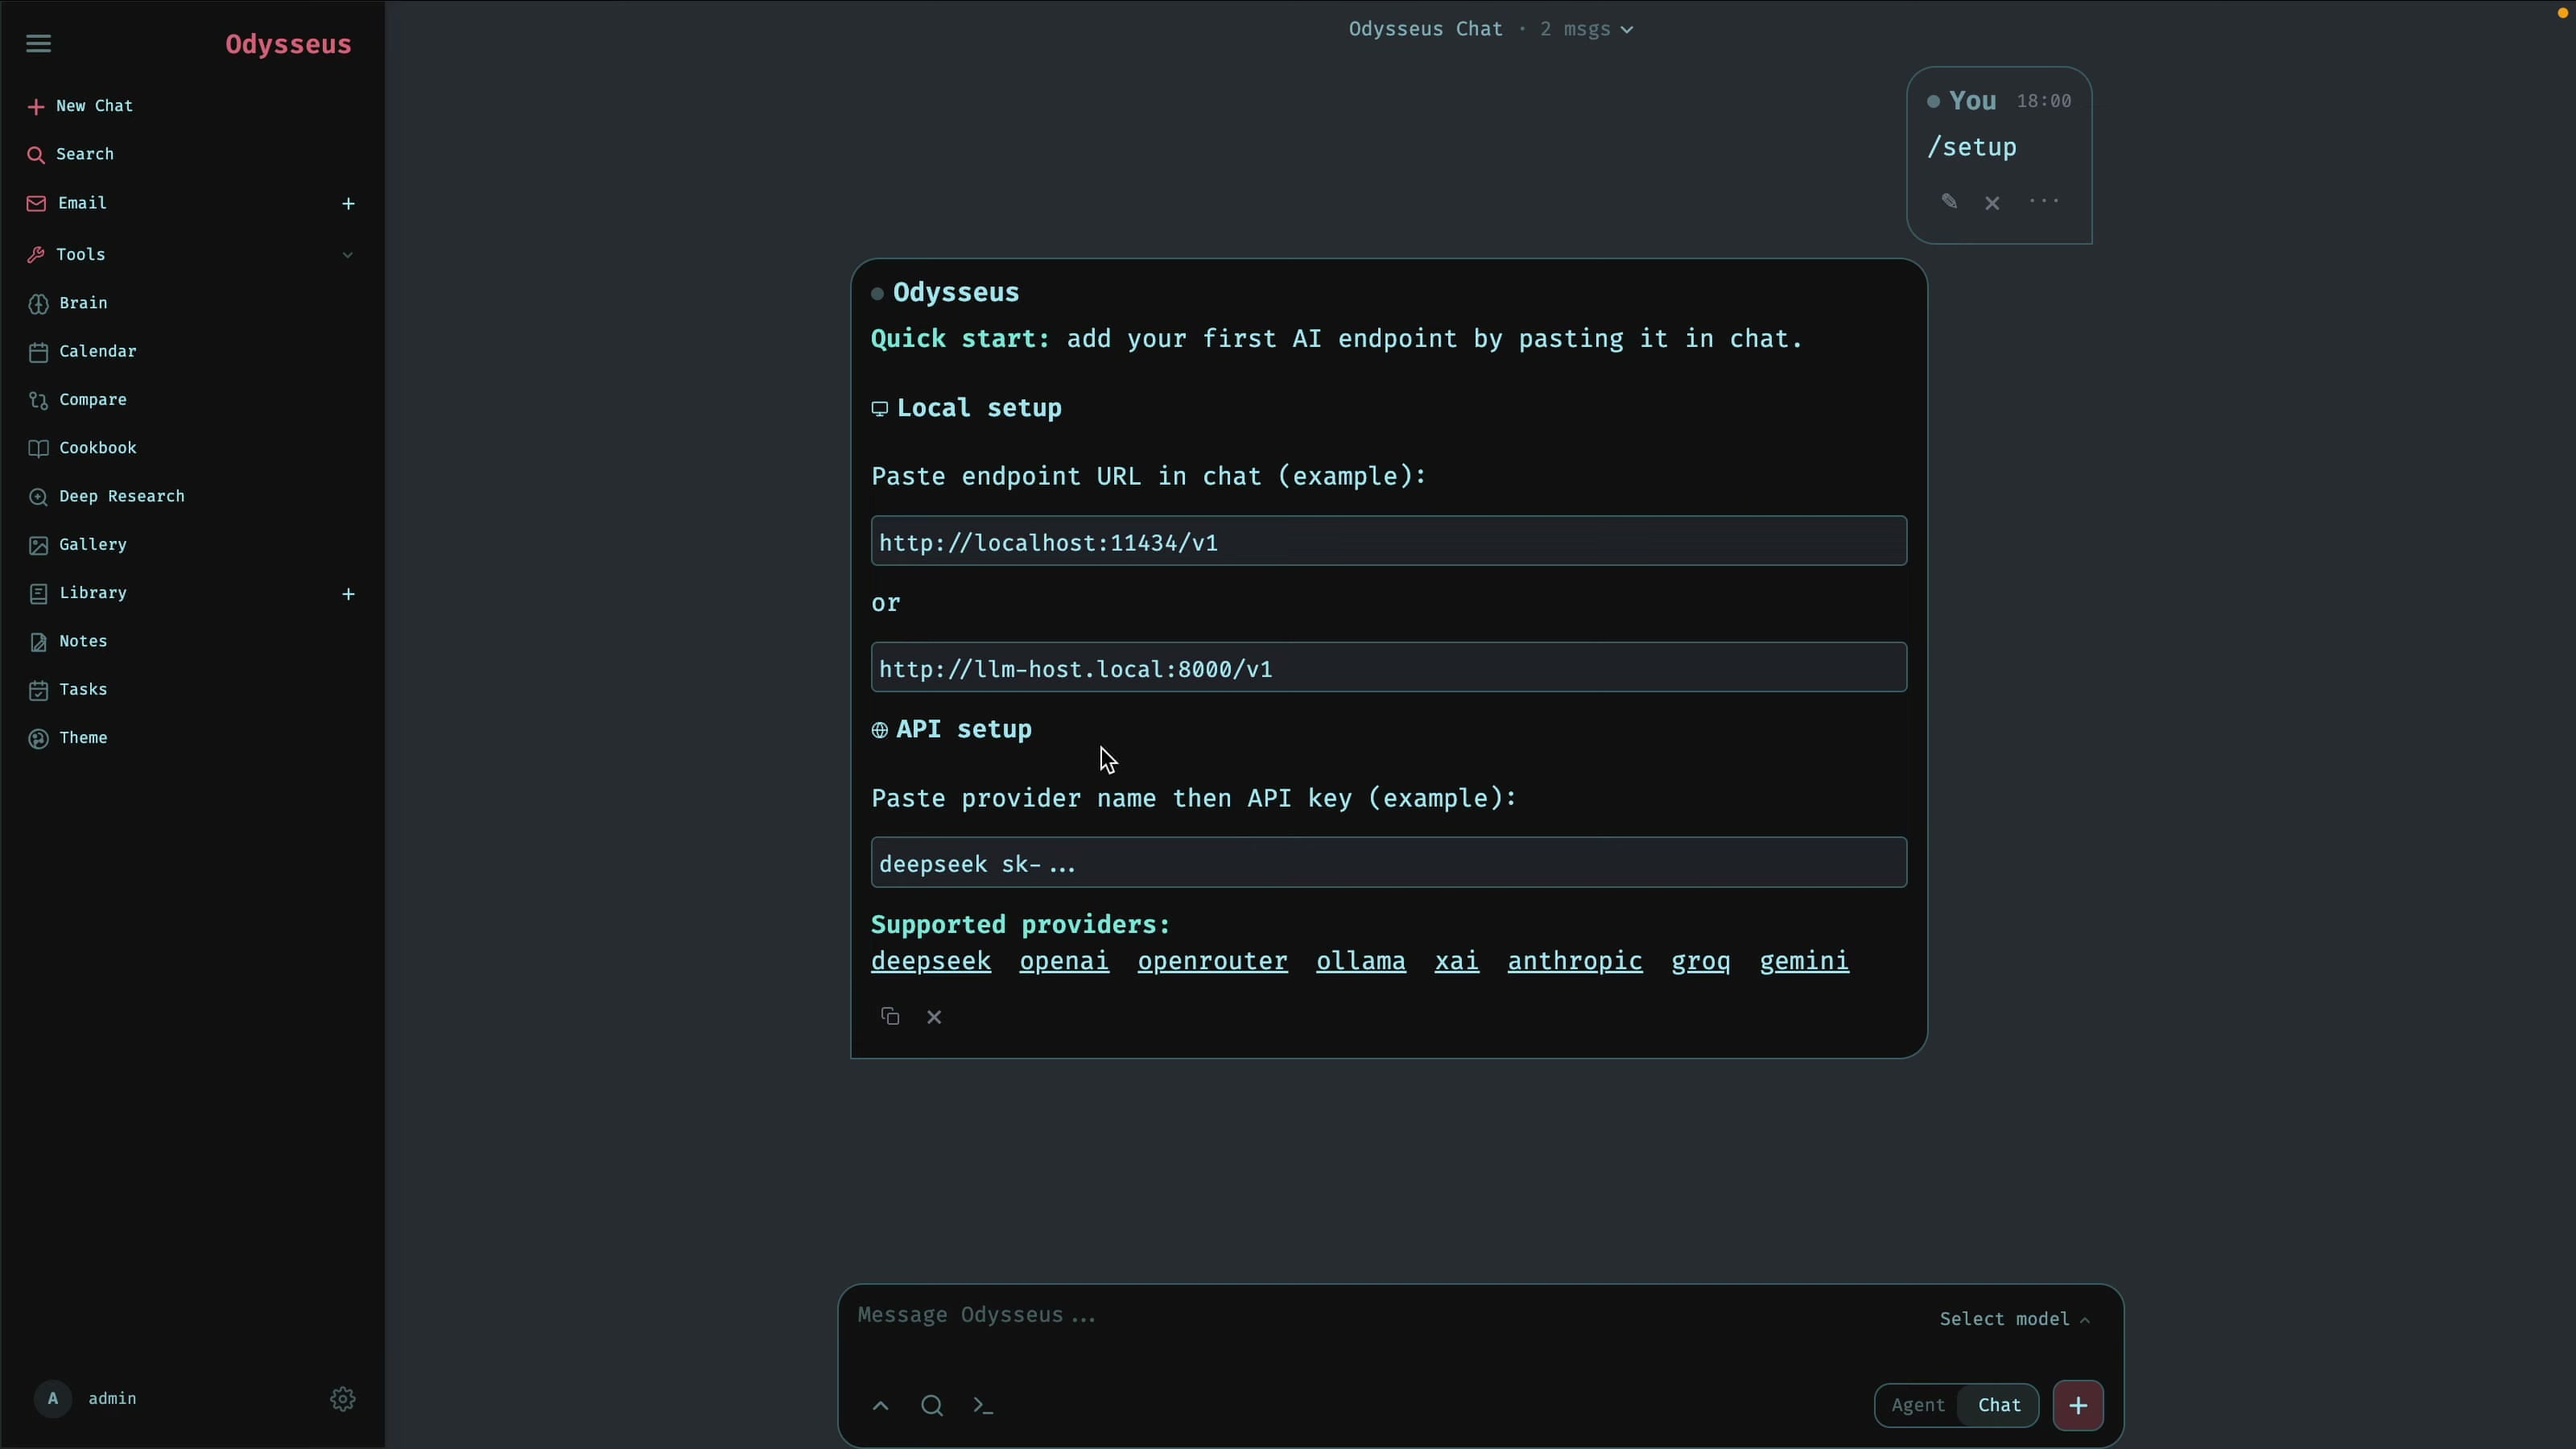
Once you are in, Odysseus suggests typing /setup to get started. It asks you to add your first AI endpoint by pasting an API key in the chat (you can also do this from Settings). Pick Anthropic, grab a key from console.anthropic.com, paste it, and Odysseus configures the provider automatically. No GPU, no local model.
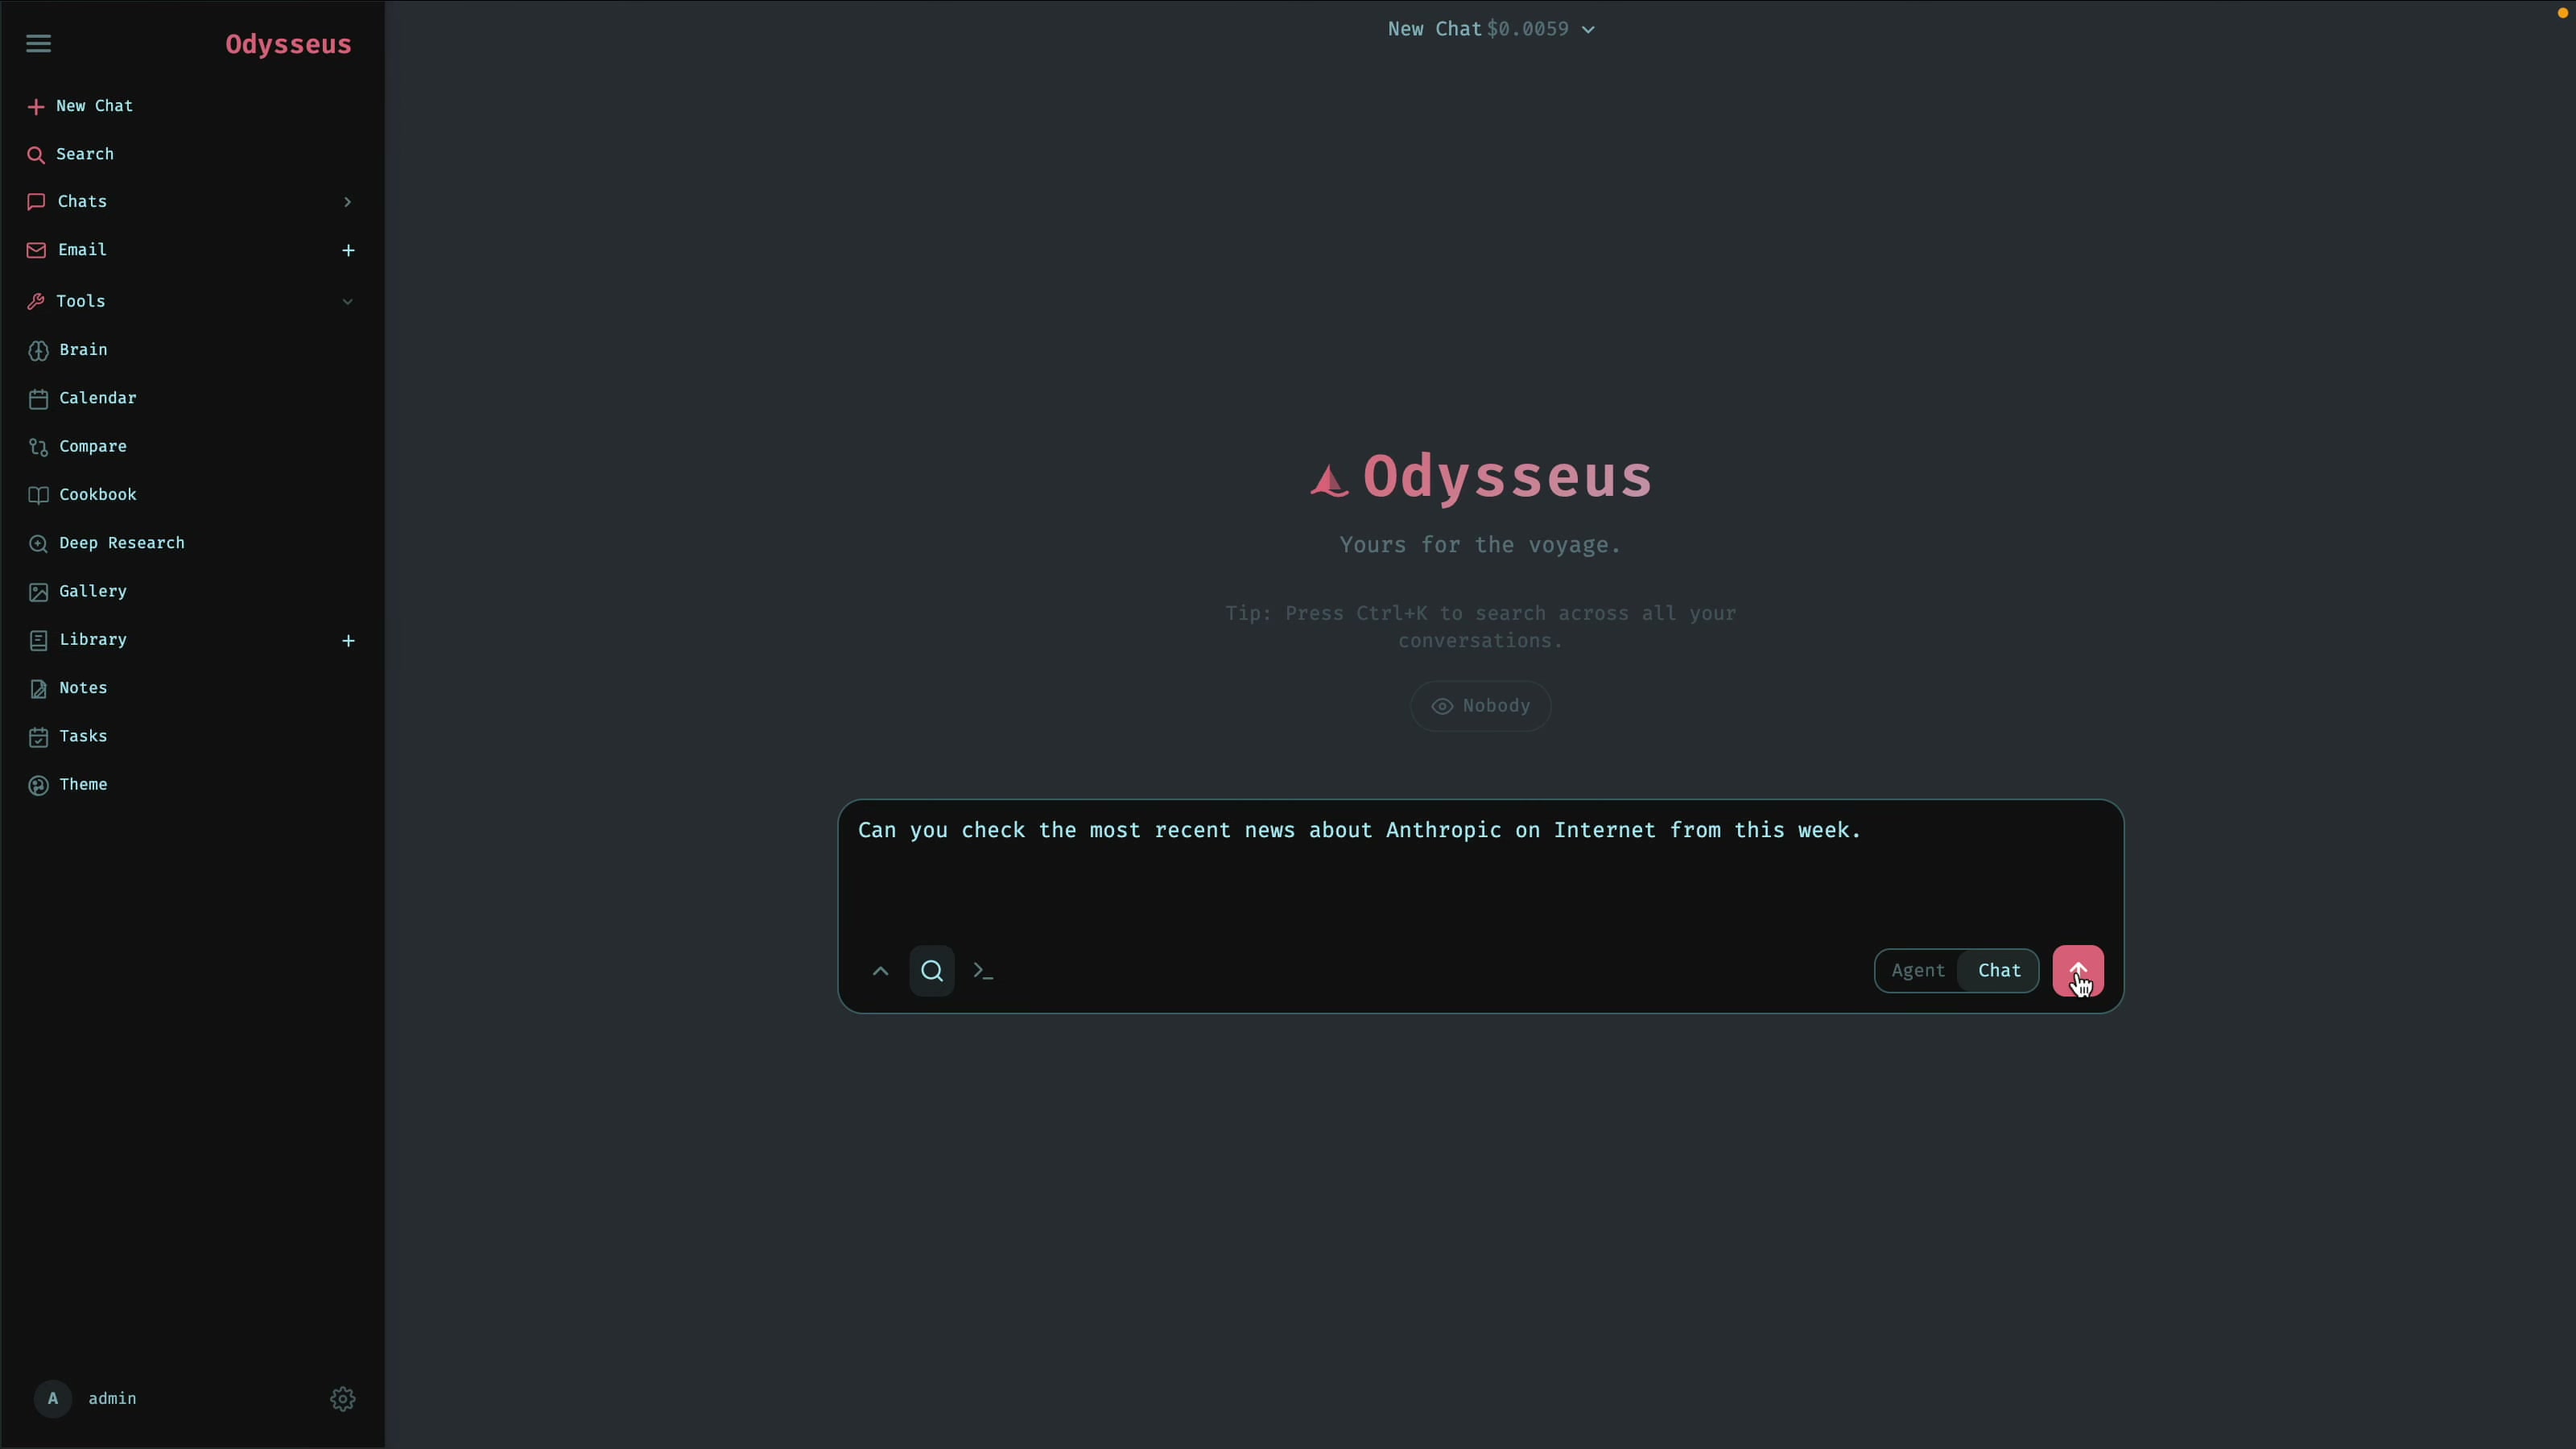
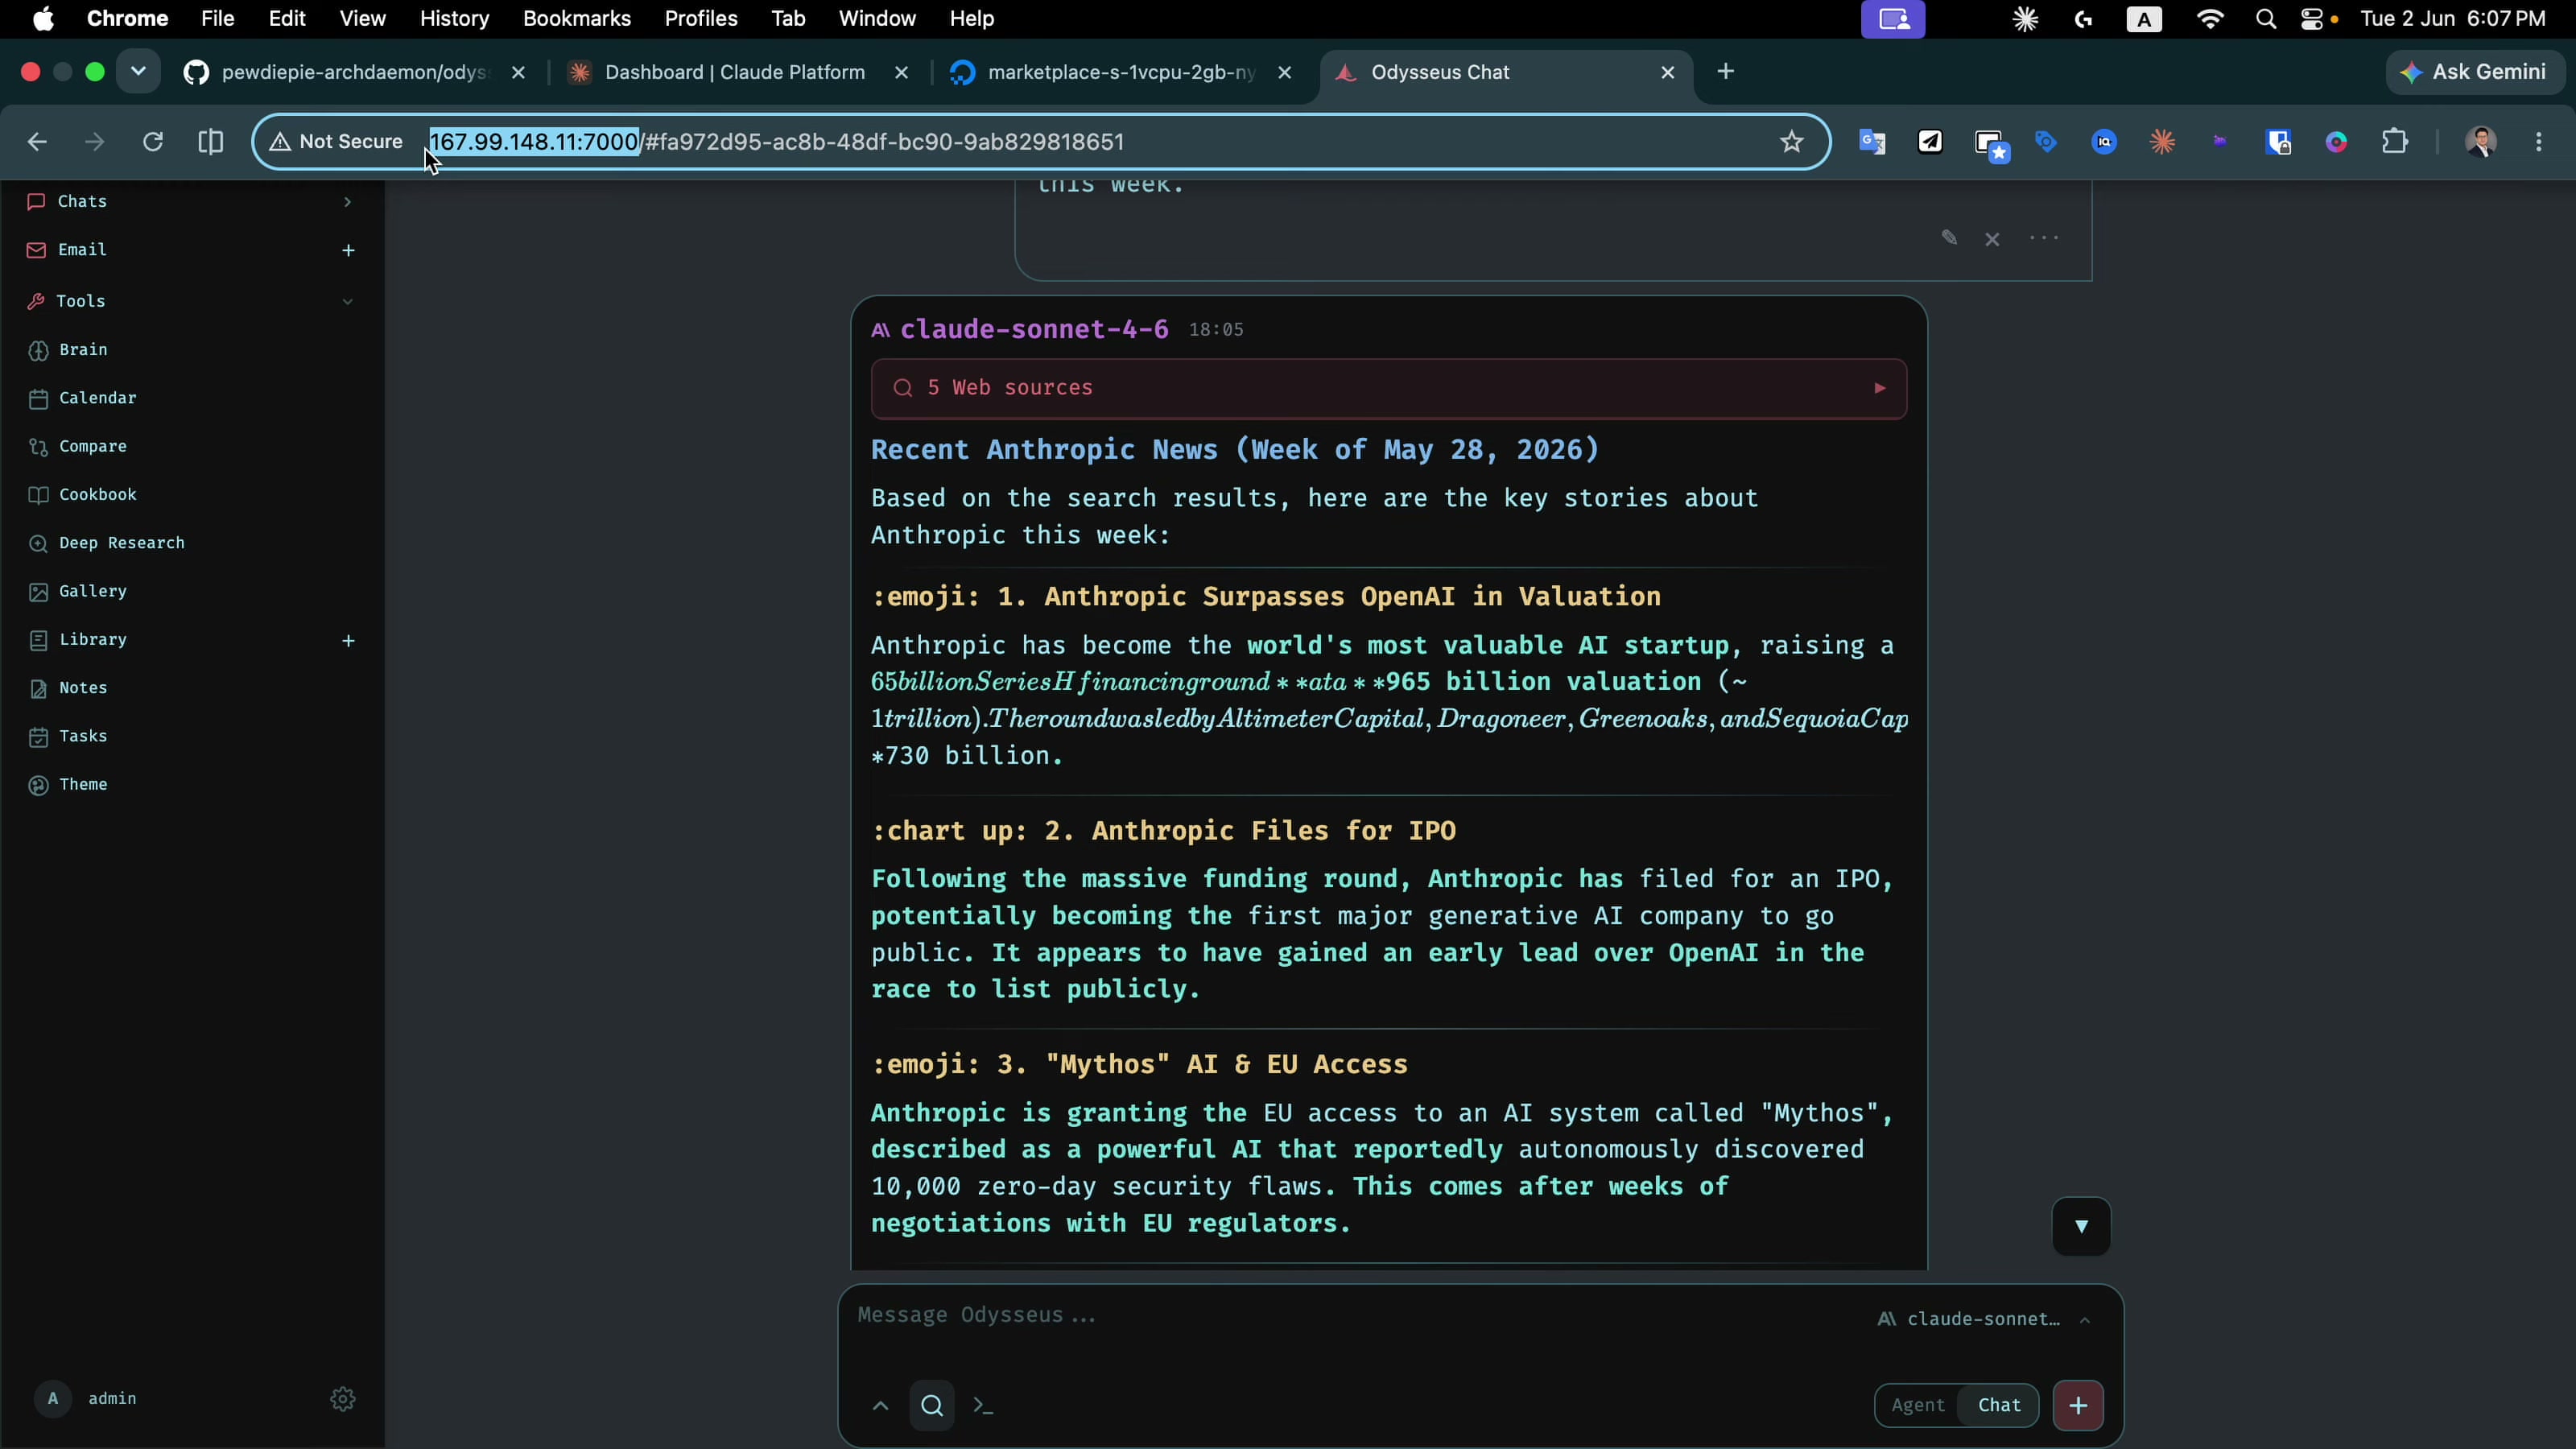
Step 7: Chat, With Free Web Search
Send a message and Claude answers instantly. Ask it to search the internet and it uses the bundled SearXNG container, so web search works out of the box with no search API key and no cost, returning live results with citations.
Open It From Anywhere
That is the whole point of putting it on a server. The same http://YOUR_SERVER_IP:7000 works from your phone, a second laptop, or any machine on the internet. Your own private AI, online 24/7.
A Quick Security Note
This exposes a login page on the public internet, so keep authentication on and use a strong admin password. Right now it is plain HTTP on a raw IP. For a real setup you would put it behind a domain with HTTPS (a reverse proxy), and you can restrict the firewall to your own IP. That HTTPS-and-domain step is a good follow-up once you have this working.
From Laptop to Server
Part 1 got Odysseus running locally; this took it to a server so it is always on and reachable anywhere. Same no-GPU Claude setup, just on a box that never sleeps. If you want more Odysseus walkthroughs (a real domain with HTTPS next), subscribe to AyyazTech on YouTube.
Tools I Use
- Hostinger for VPS and hosting: ayyaztech.com/go/hostinger
- Claude and Claude Code, my daily AI pair-programmer: claude.ai
- VS Code, my editor: code.visualstudio.com
Some links above are affiliate links. Using them supports the channel at no extra cost to you.