How to Install Hermes Agent on Mac with OpenRouter (Step by Step, 2026)
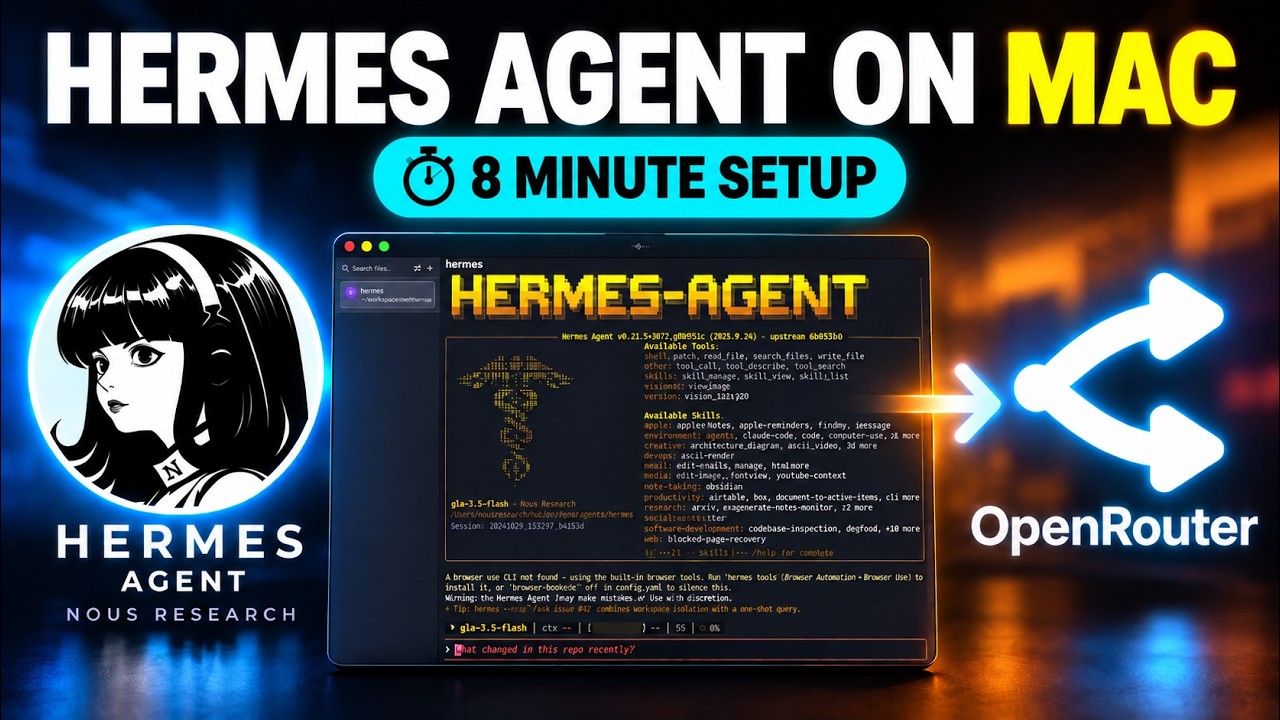
This is Hermes Agent, the open-source AI agent from Nous Research that a lot of people are switching to, running right on my Mac. No server needed. In this guide I install it from scratch, connect it to OpenRouter, pick a cheap model and give it its first real job.
I recorded this on an Intel iMac. The Hermes docs say the desktop app is Apple Silicon only, but the terminal version installs fine on Intel Macs. It just takes a little longer.
Hermes itself is free and open source. The only thing you pay for is the AI model, and in this setup that goes through OpenRouter, where you can cap your spend.
What you need
- A Mac with the Terminal app.
- An OpenRouter account, from openrouter.ai, with a little credit on it.
I start in an empty folder so it's easy to see what Hermes creates later.
Step 1: Copy the install command from the docs
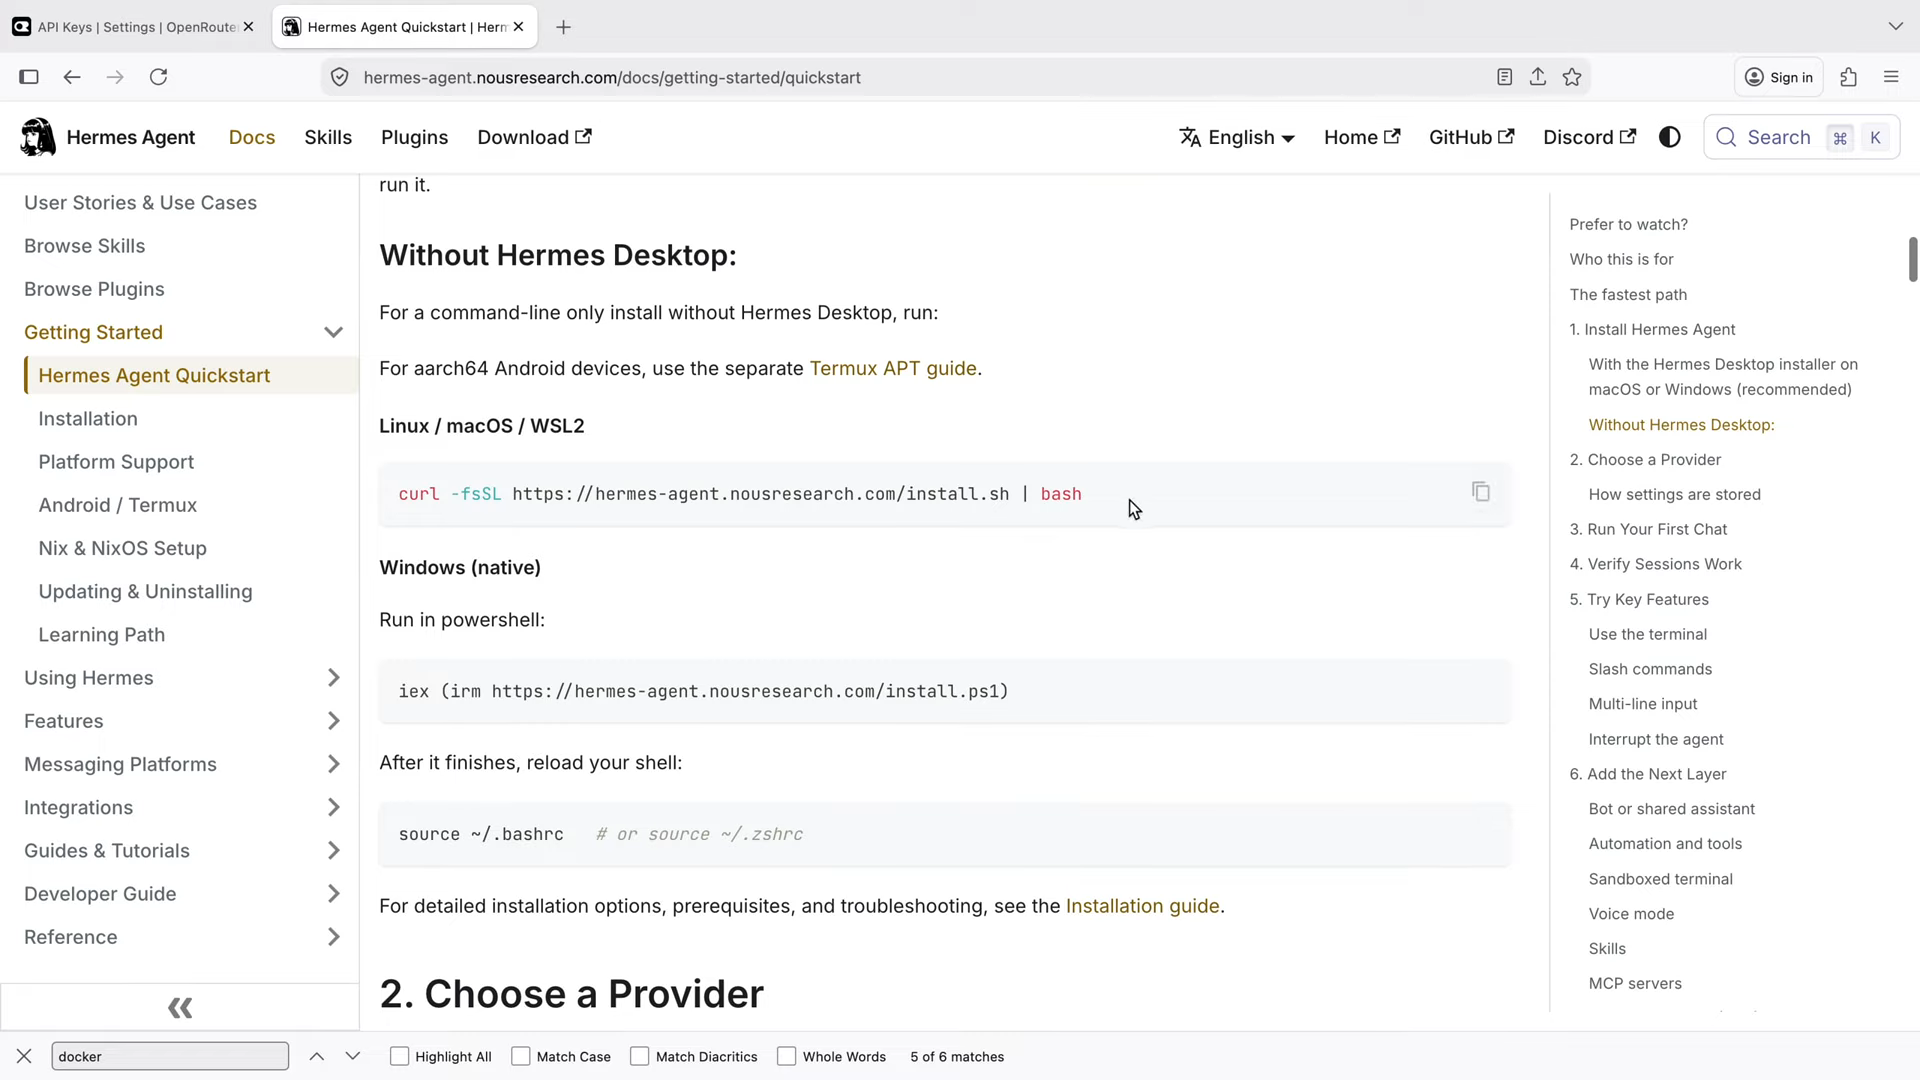
Open the Hermes Agent docs and go to the Quickstart. Scroll to the section for installing without Hermes Desktop. That's the terminal version, which is all we need here. There's a curl command for Mac and Linux and a PowerShell command for Windows.
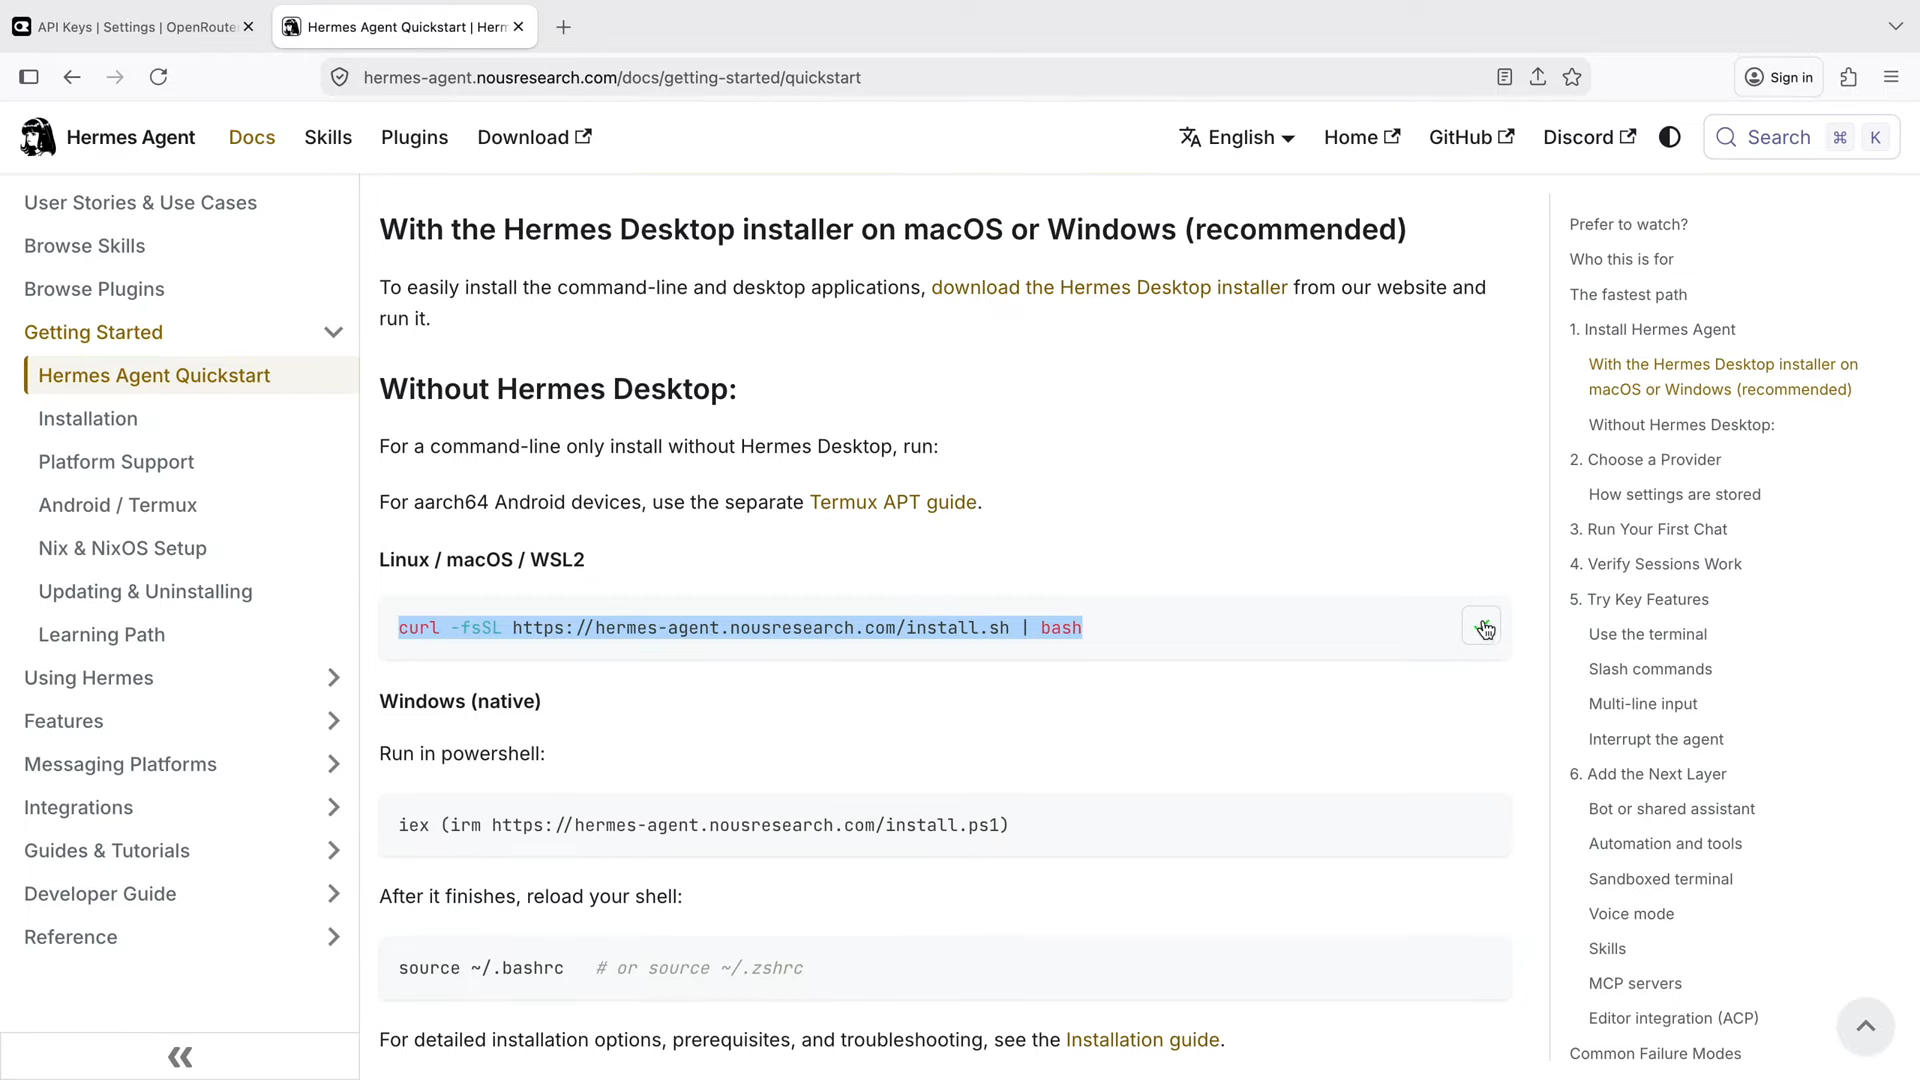
At the time of writing, the Mac command is:
curl -fsSL https://hermes-agent.nousresearch.com/install.sh | bashCopy it straight from the docs page rather than from here, in case it changes.
Step 2: Run it in the terminal
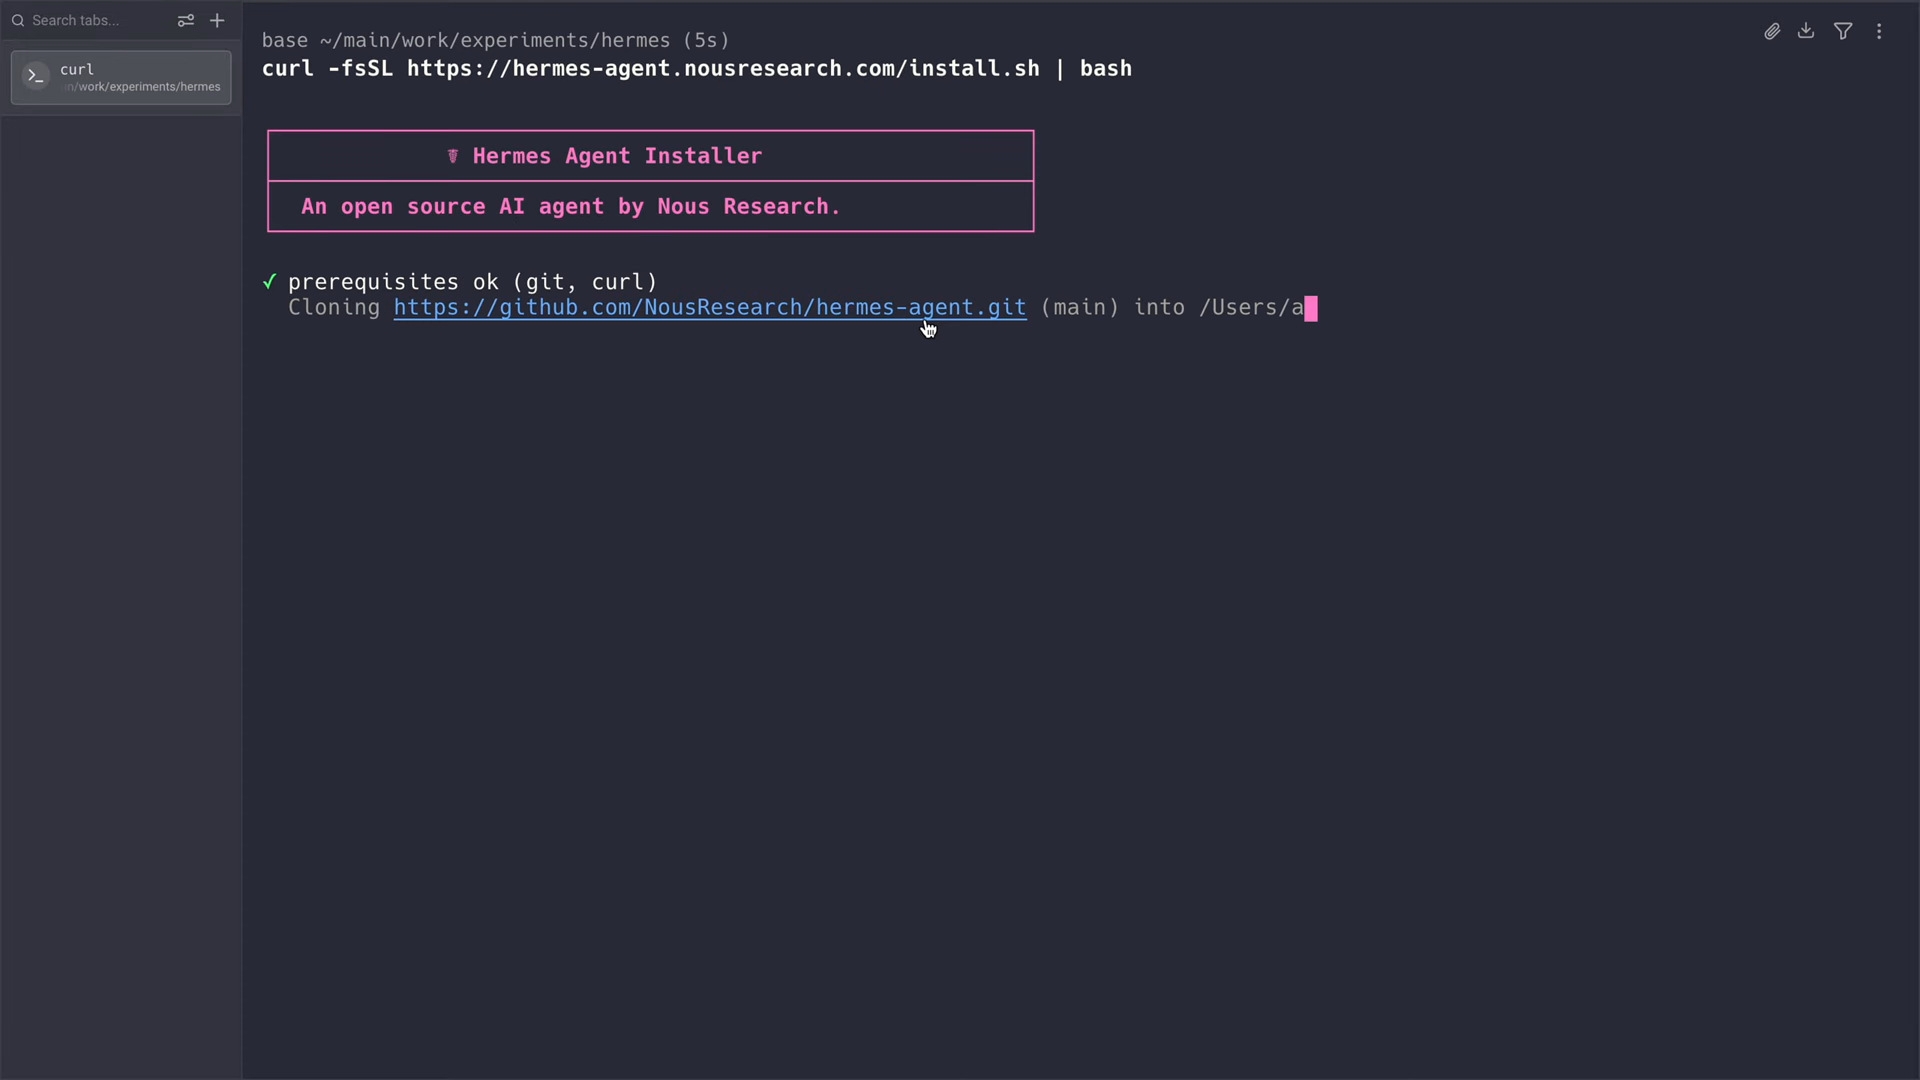
Paste the command into your terminal and press Enter. The installer clones Hermes and sets everything up. On my Intel iMac this took a while, so be patient. When it finishes, the setup wizard starts on its own.
Step 3: Choose Blank Slate
You get three options. Quick Setup uses the Nous portal, which needs its own account. I want to use my own API keys, so I pick Blank Slate.
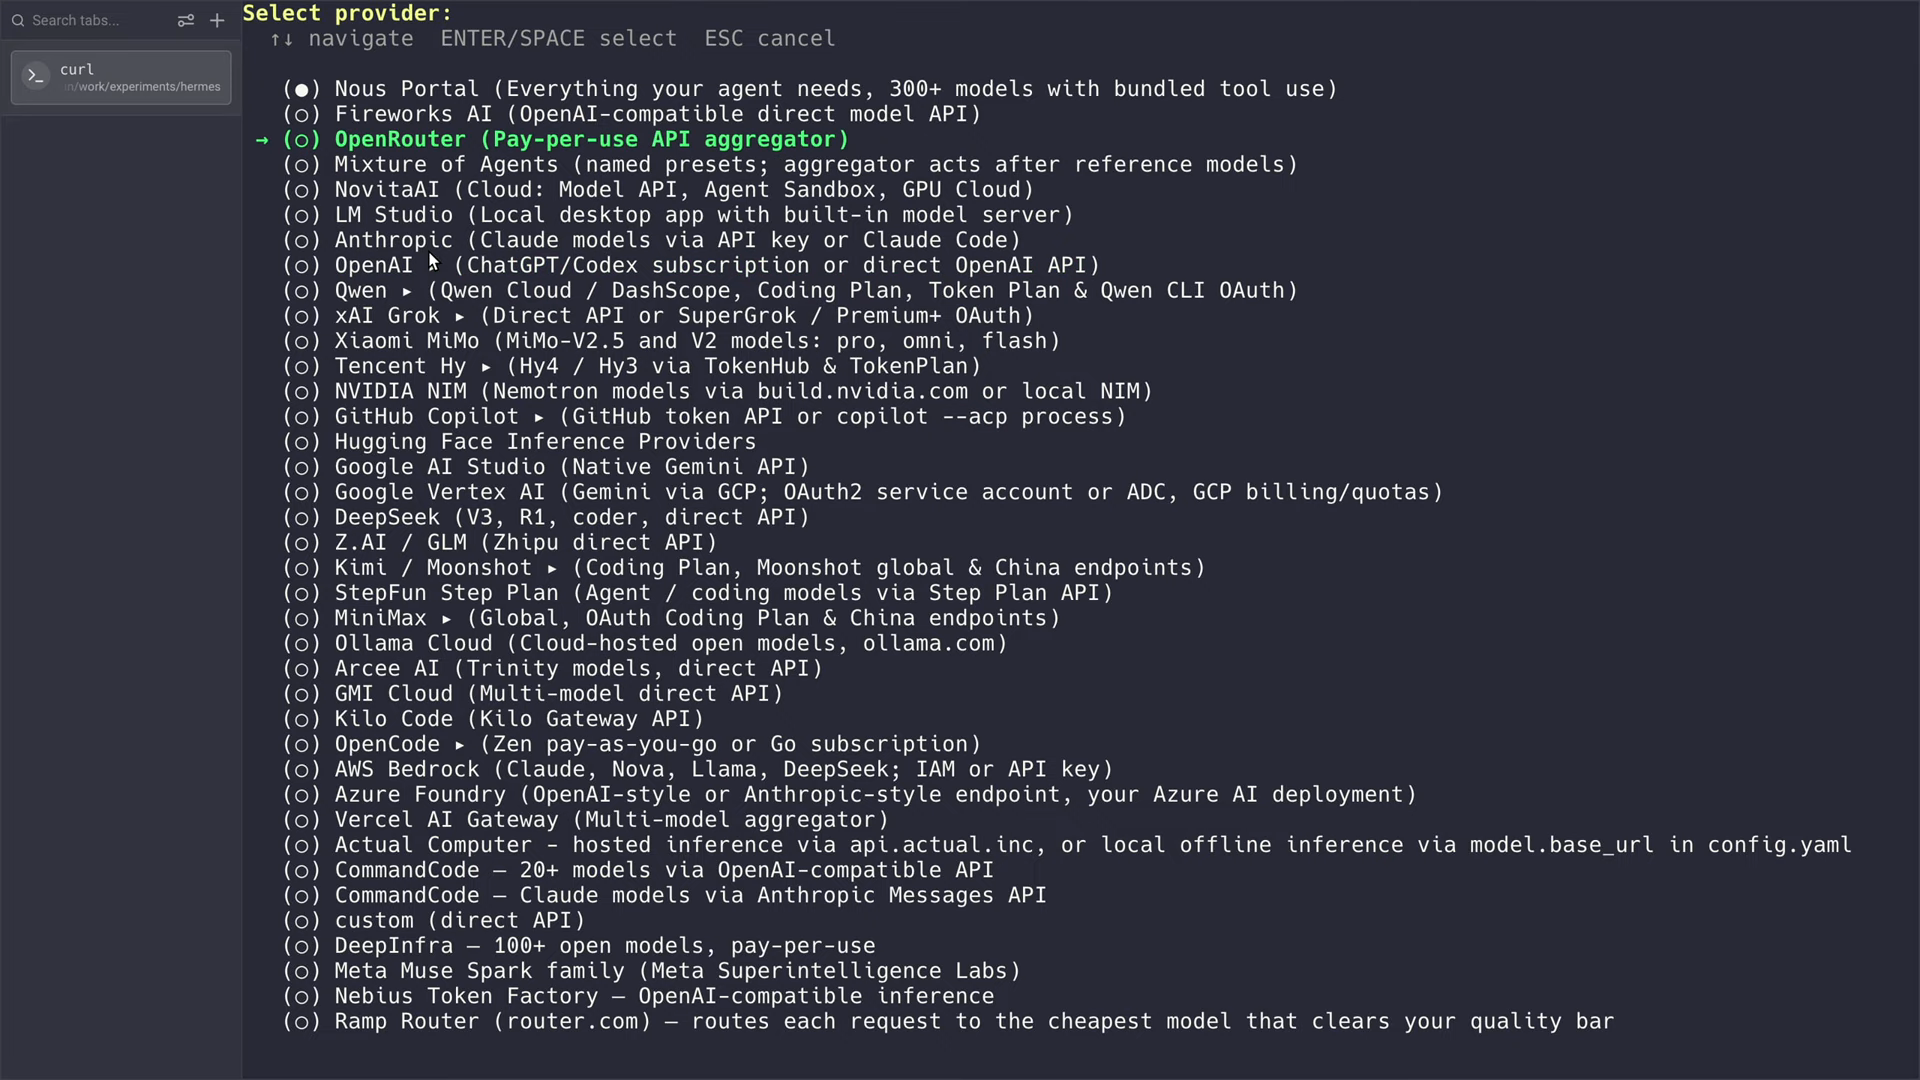
Step 4: Pick OpenRouter as the provider
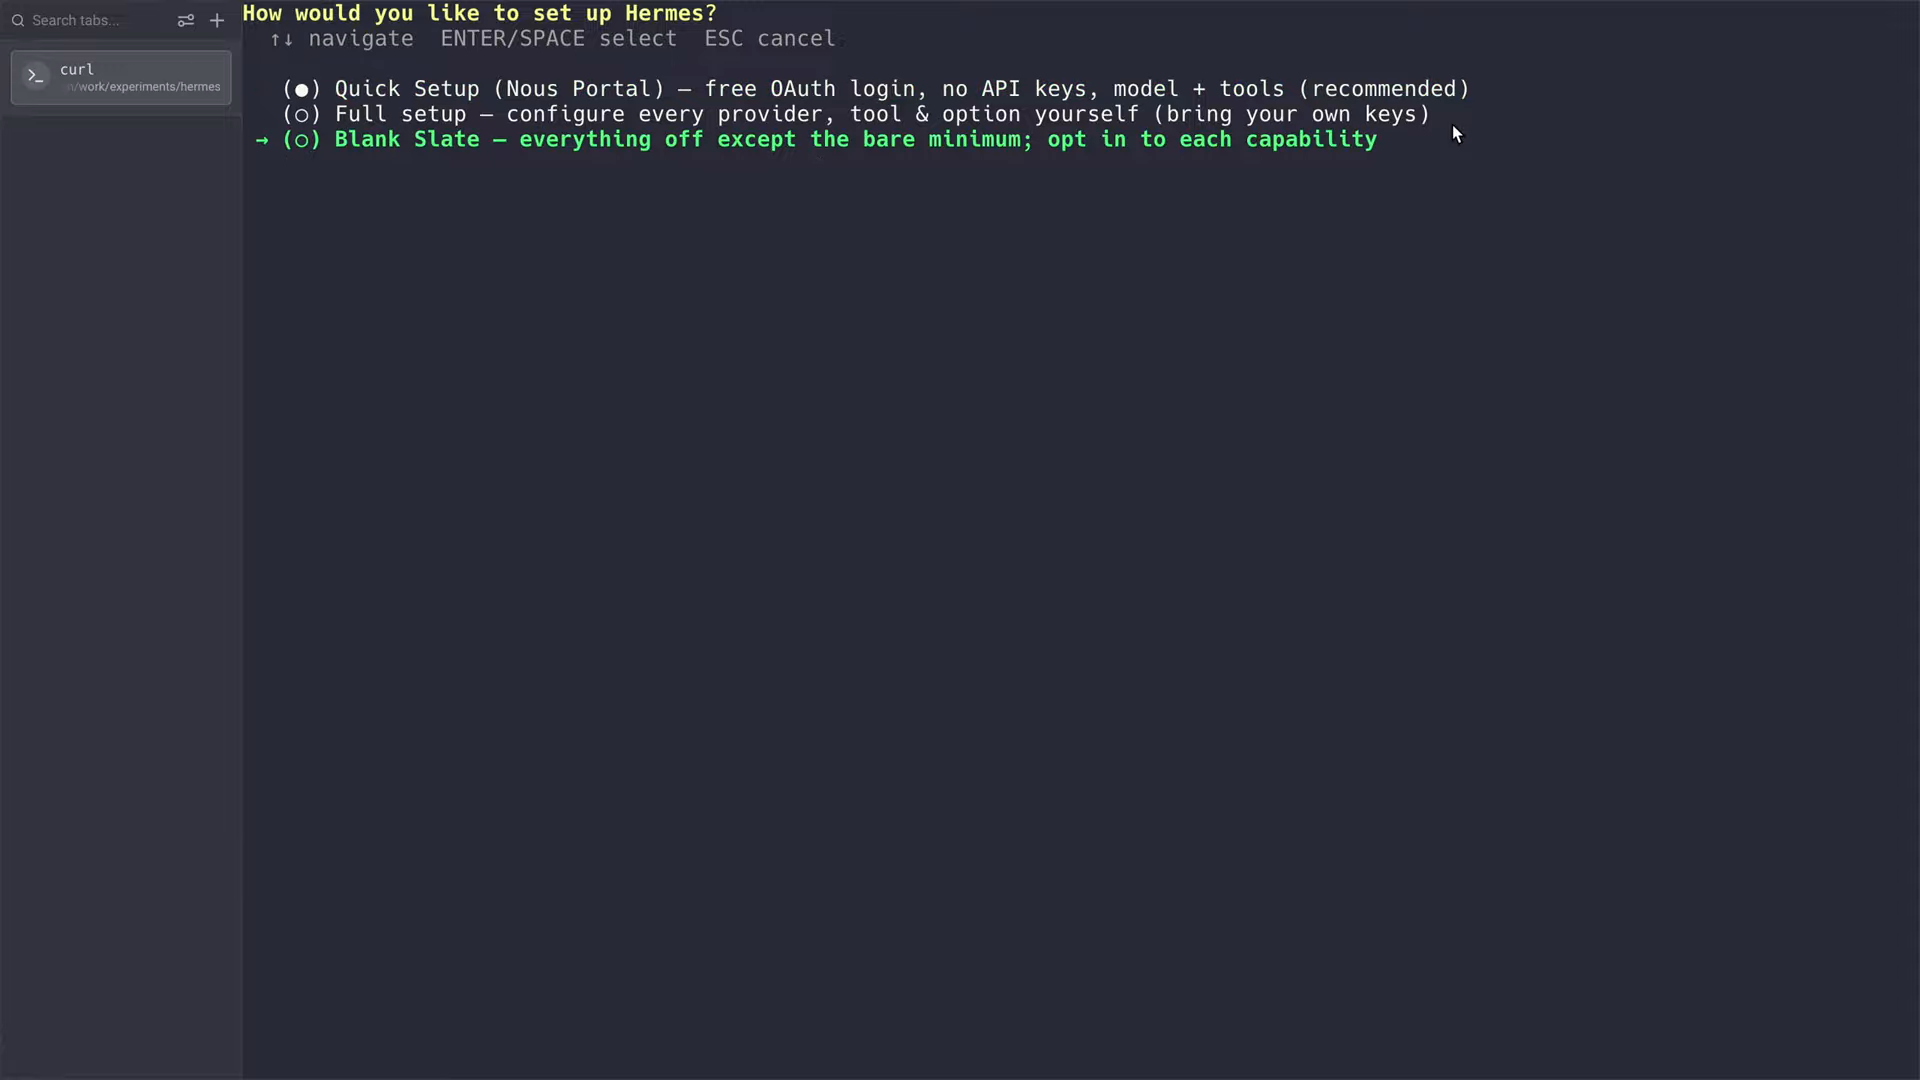
Next comes a list of AI providers. Scroll down and select OpenRouter. Hermes then asks for your OpenRouter API key and even tells you where to get one: https://openrouter.ai/keys. Leave the terminal open at that prompt and switch to the browser.
Step 5: Create an OpenRouter key with a spending cap
In OpenRouter, open API Keys and click New Key. Give it any name. I also set two safety limits:
- Expiration: 1 hour, because I only needed this key for the recording.
- Credit limit: a custom amount of $1, so the key can never spend more than that.
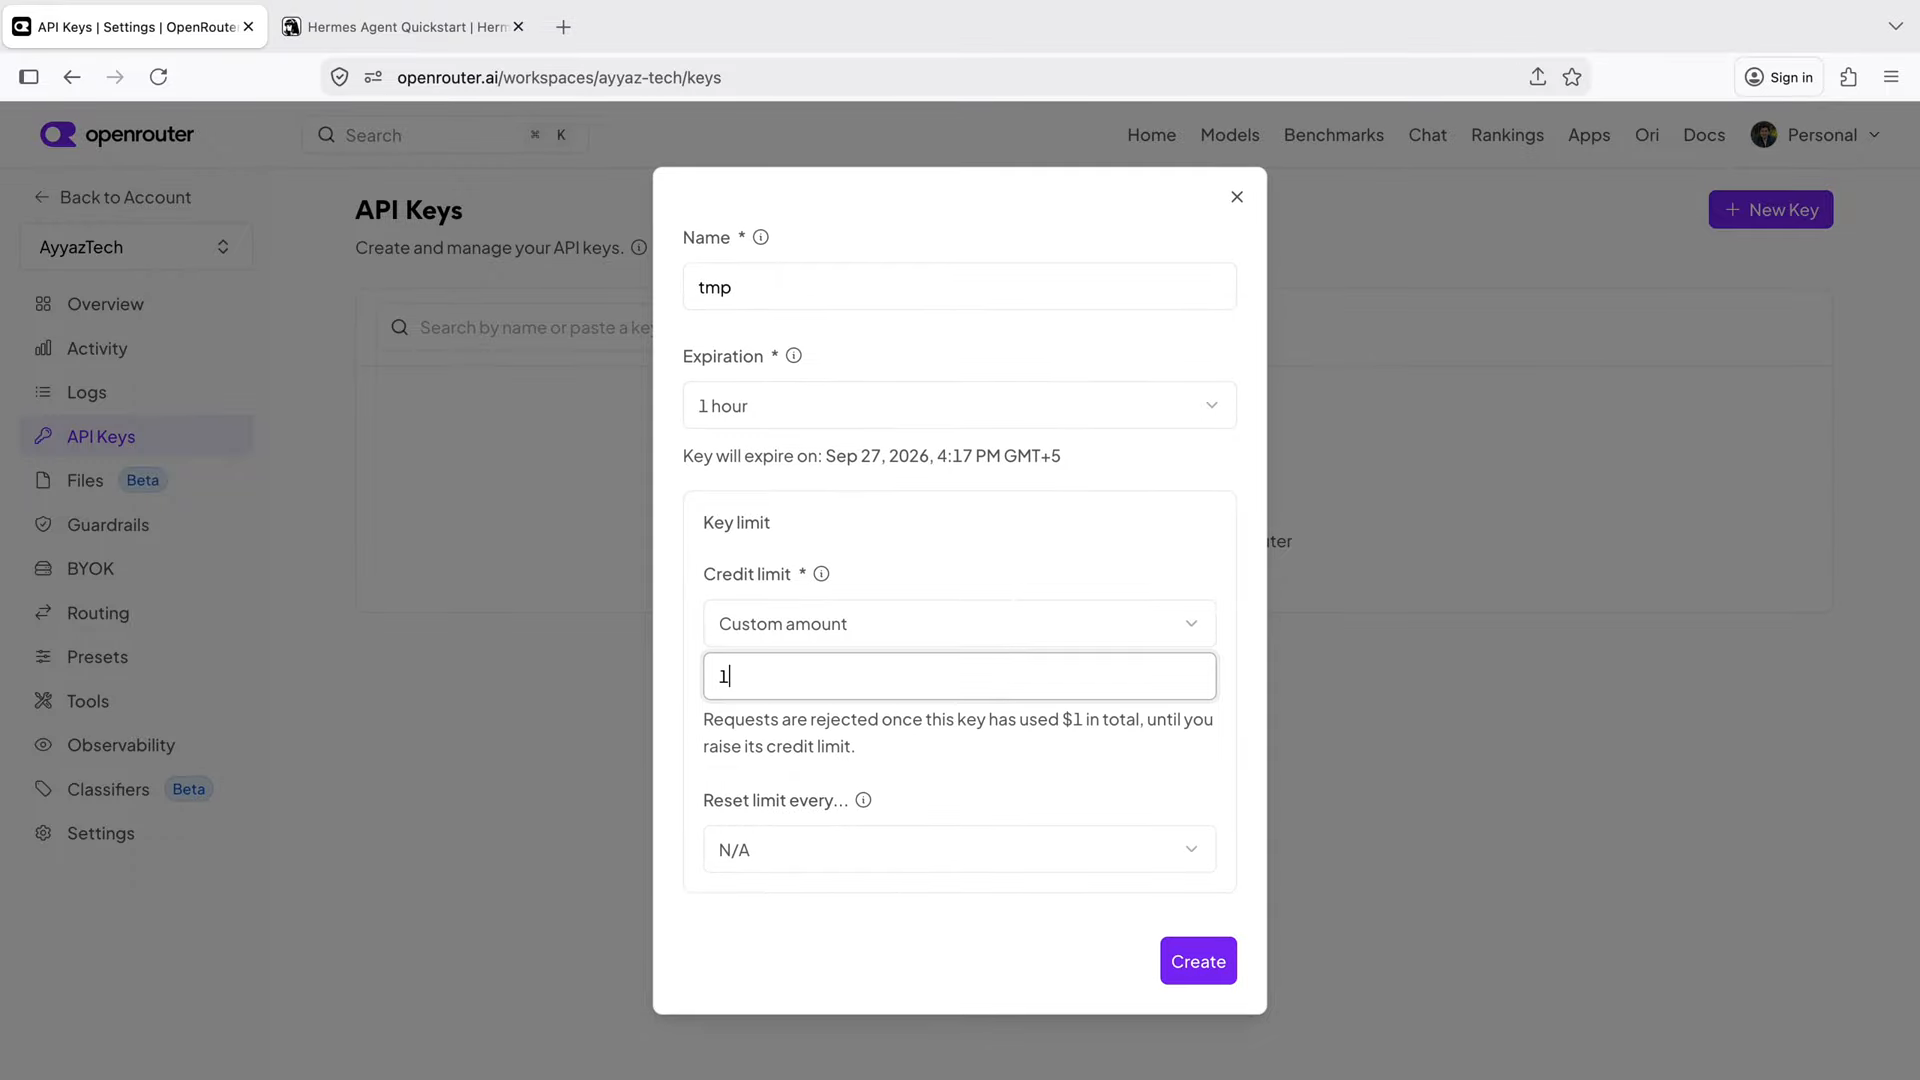
For a key you'll use every day, pick a longer expiry, but keep a credit limit you're comfortable with. Click Create and copy the key. OpenRouter only shows it once.
Step 6: Paste the key into Hermes
Back in the terminal, paste the key and press Enter. It shows as asterisks, which is normal. Hermes saves it and fetches the list of models available on OpenRouter.
Step 7: Choose a model
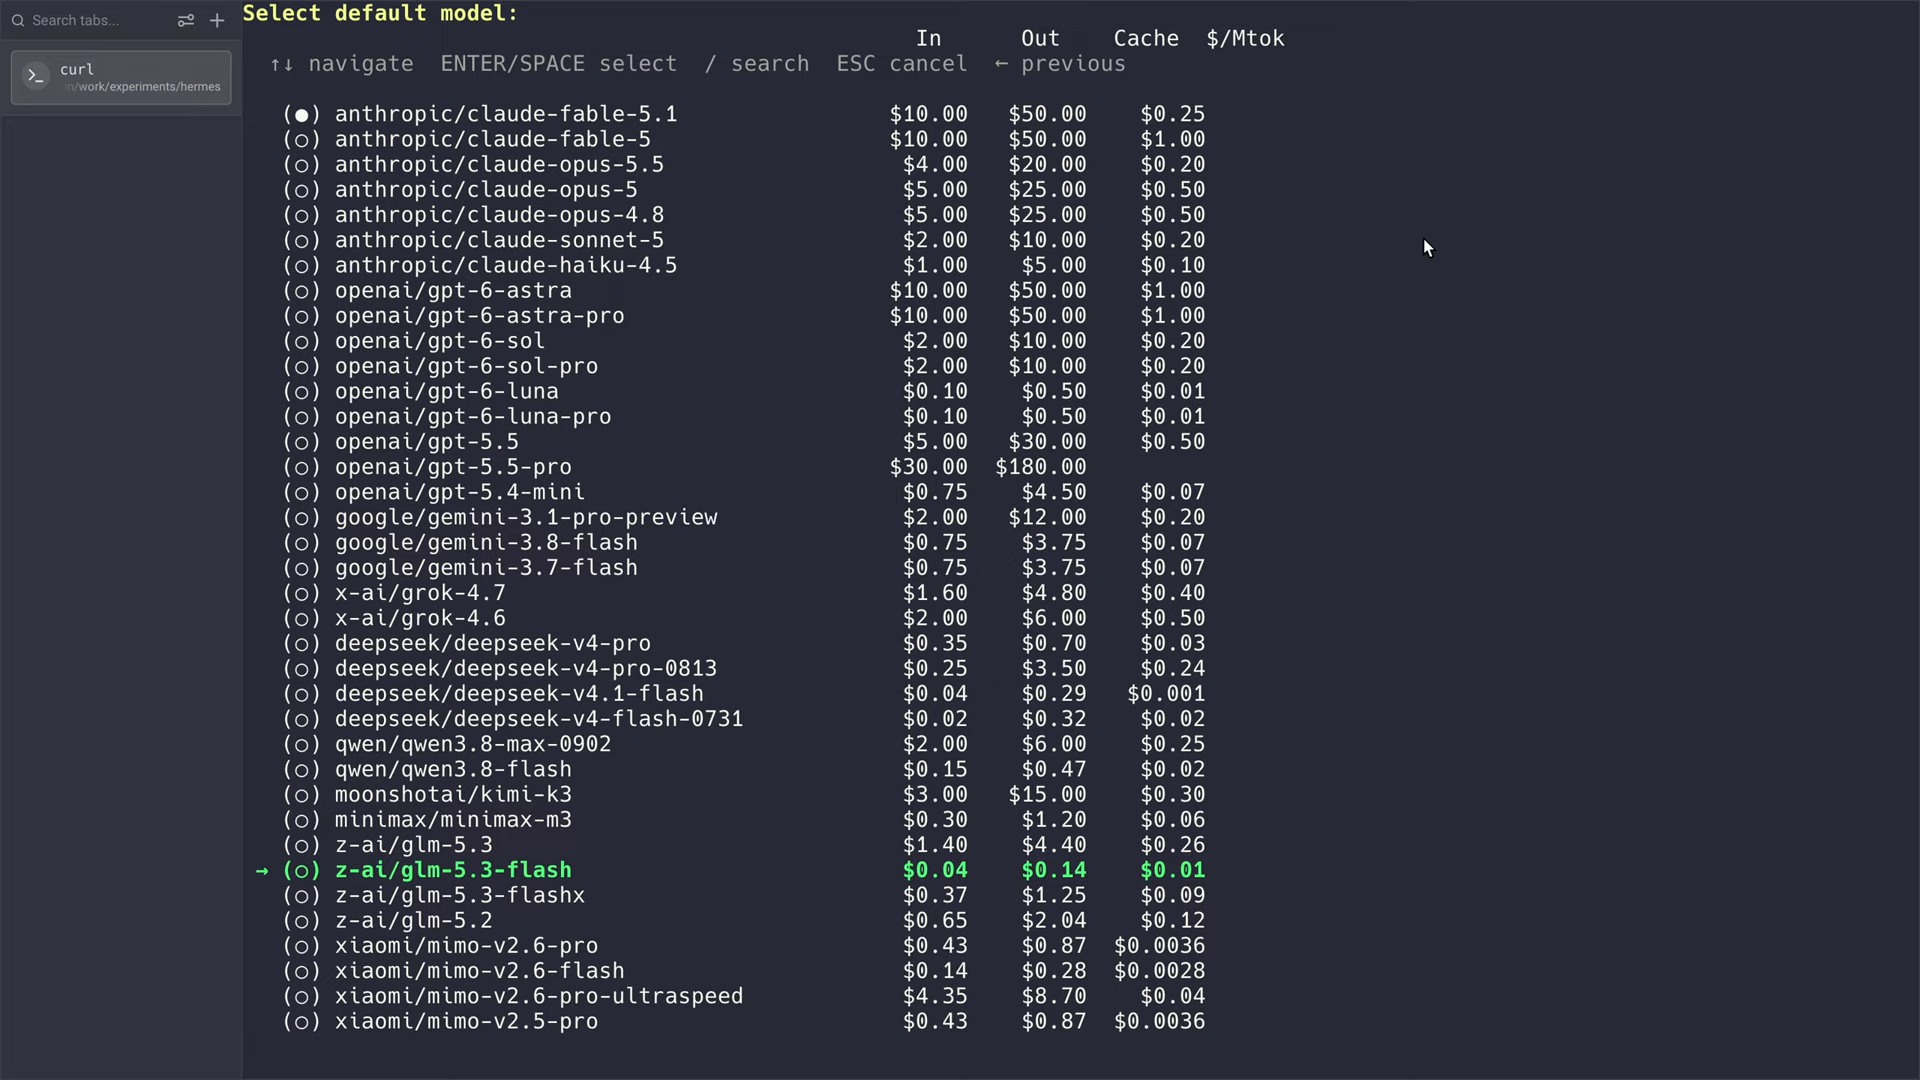
I want something cheap but still smart enough for everyday tasks. My usual picks are DeepSeek V4.1 Flash and GLM 5.3 Flash. Both are fast and inexpensive. In the video I went with GLM 5.3 Flash (z-ai/glm-5.3-flash).
The list shows each model's price per million tokens, which makes the choice easy. When I recorded this, GLM 5.3 Flash cost $0.04 in and $0.14 out, and DeepSeek V4.1 Flash cost $0.04 in and $0.29 out. Compare that with $4 to $10 in for the big Claude models at the top of the list. Prices change, so check them on the day.
Step 8: Reasoning effort and terminal backend
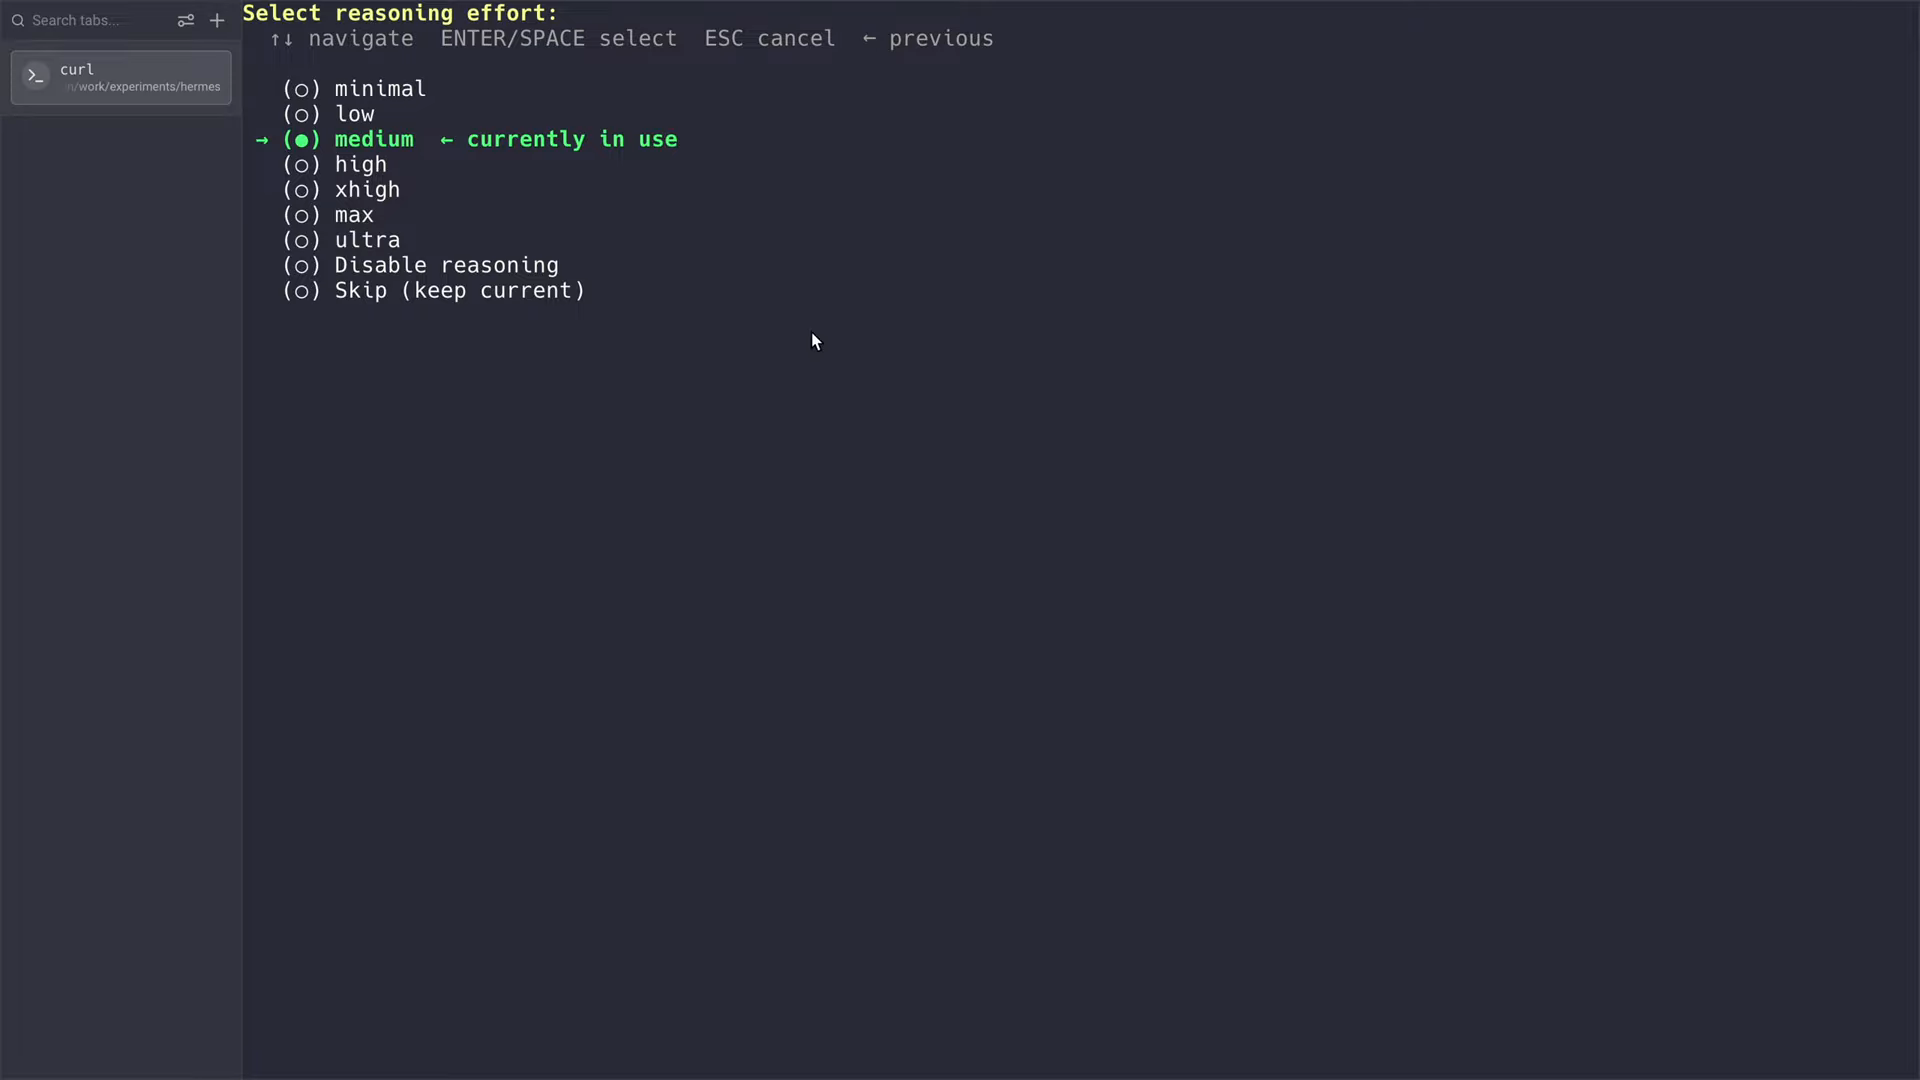
Hermes asks for a reasoning effort. I kept the default, medium.
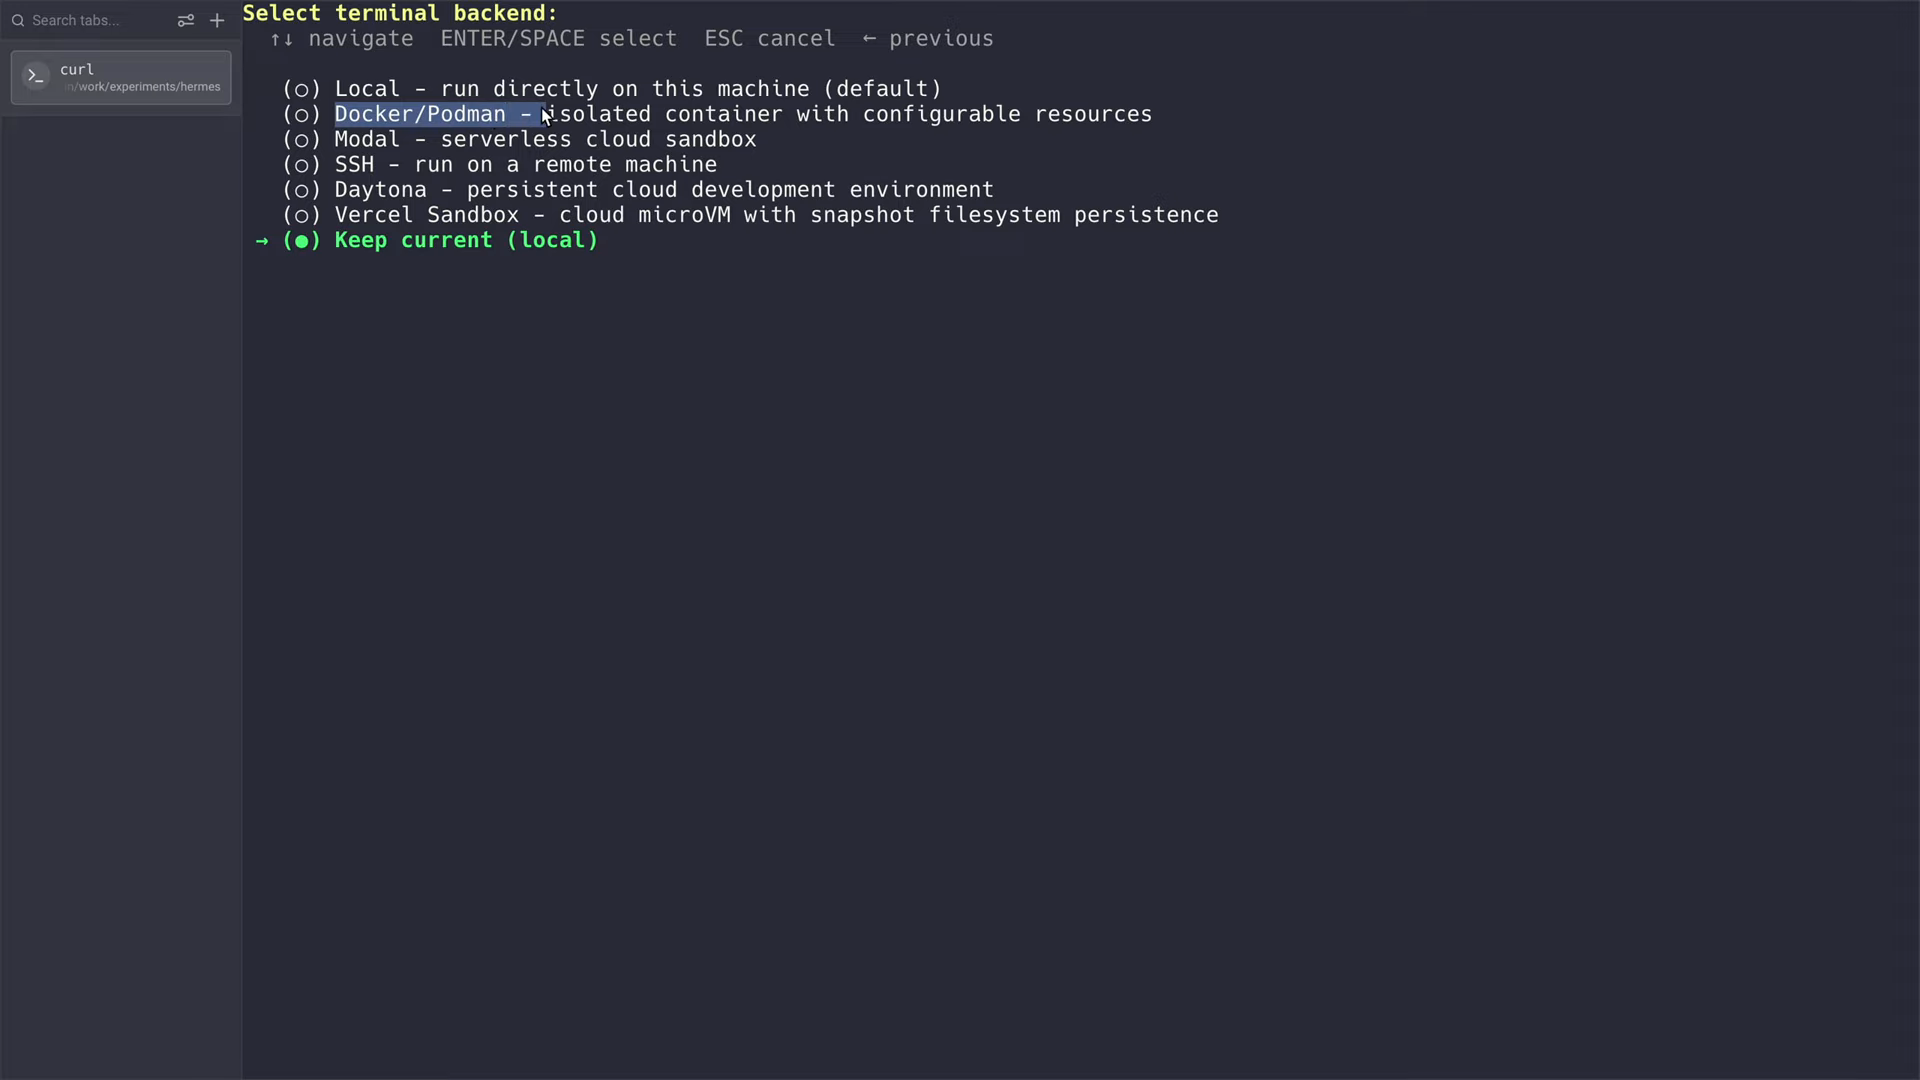
Then it asks where to run terminal commands:
- Local runs commands directly on your Mac. This is the default.
- Docker runs them in an isolated container that can't touch your own files. This is the safer choice if you plan to let the agent run commands freely.
To keep this guide short, I kept local.
Step 9: Finish with a minimal setup
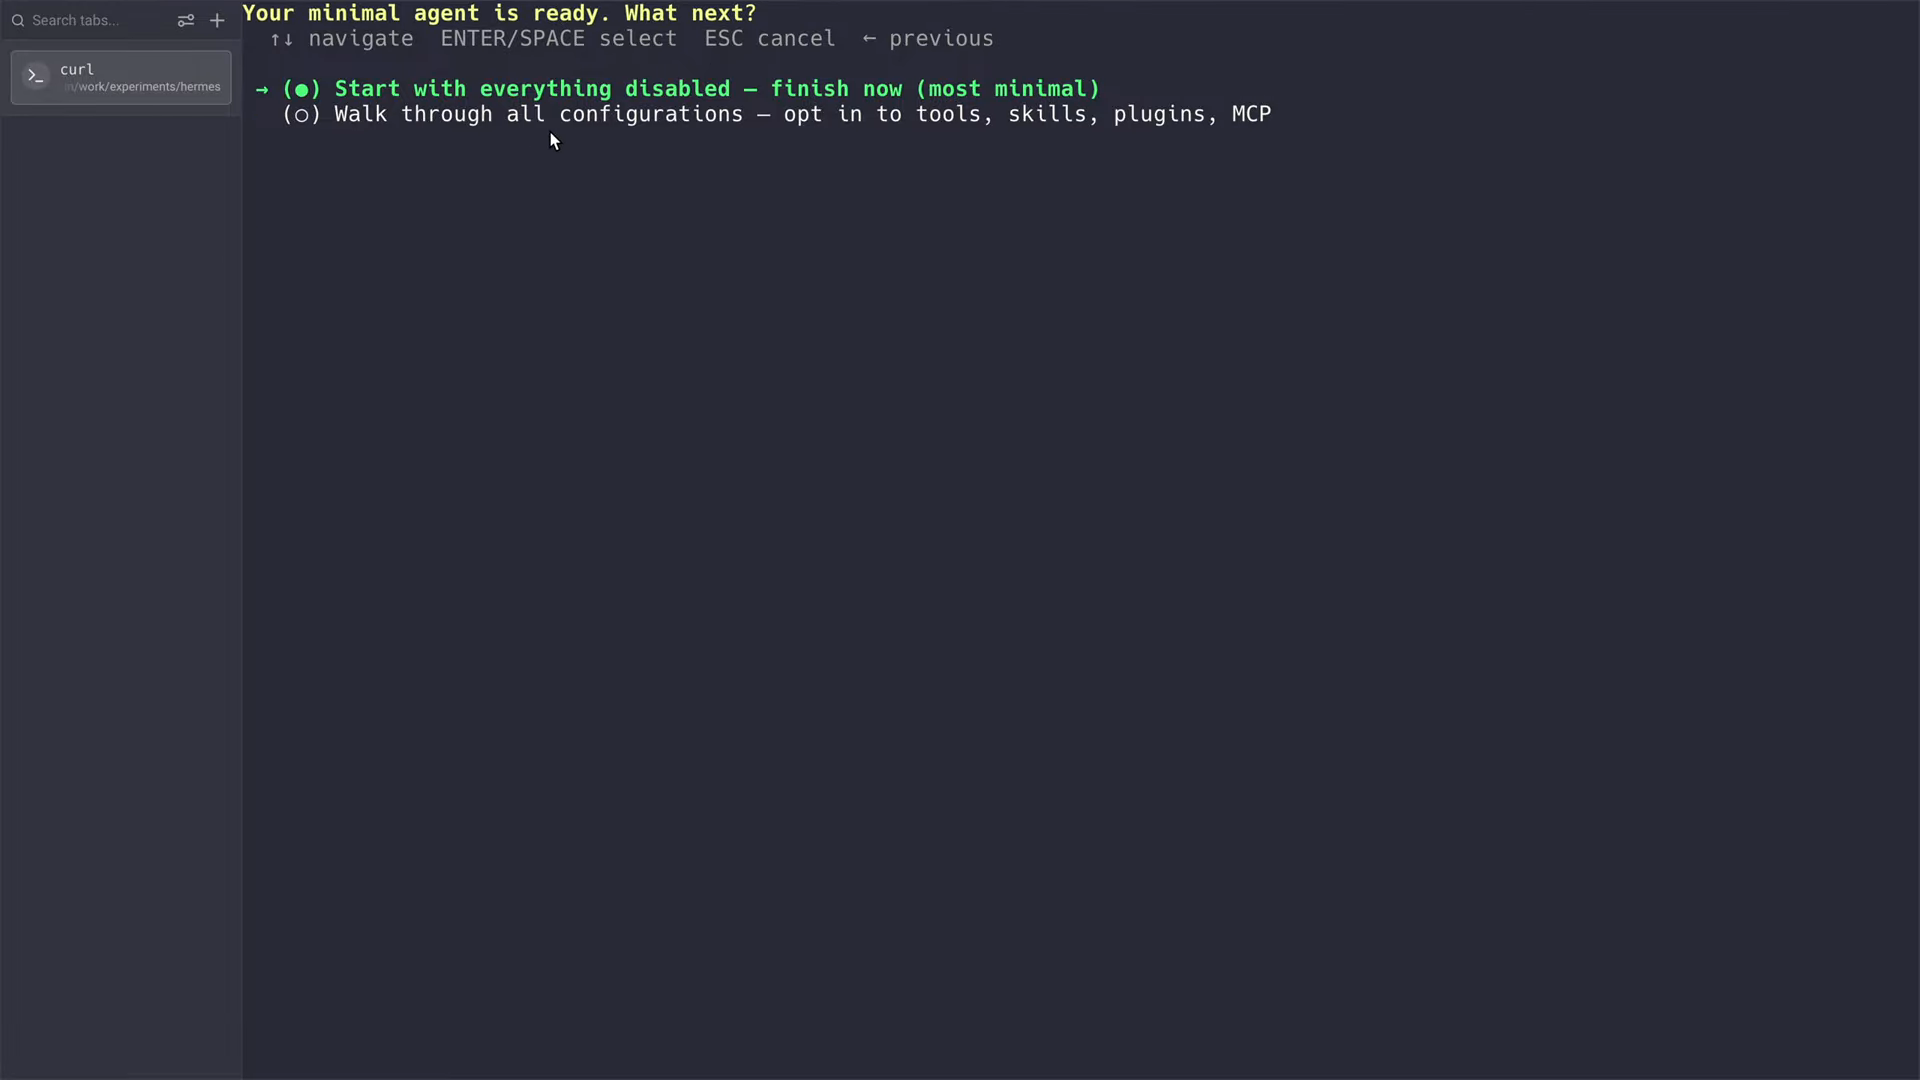
Hermes now says your minimal agent is ready and asks what's next. You can start with everything disabled, or walk through all the configuration (tools, skills, plugins and MCP). I chose the first option so we can start using it straight away. You can add the rest later.
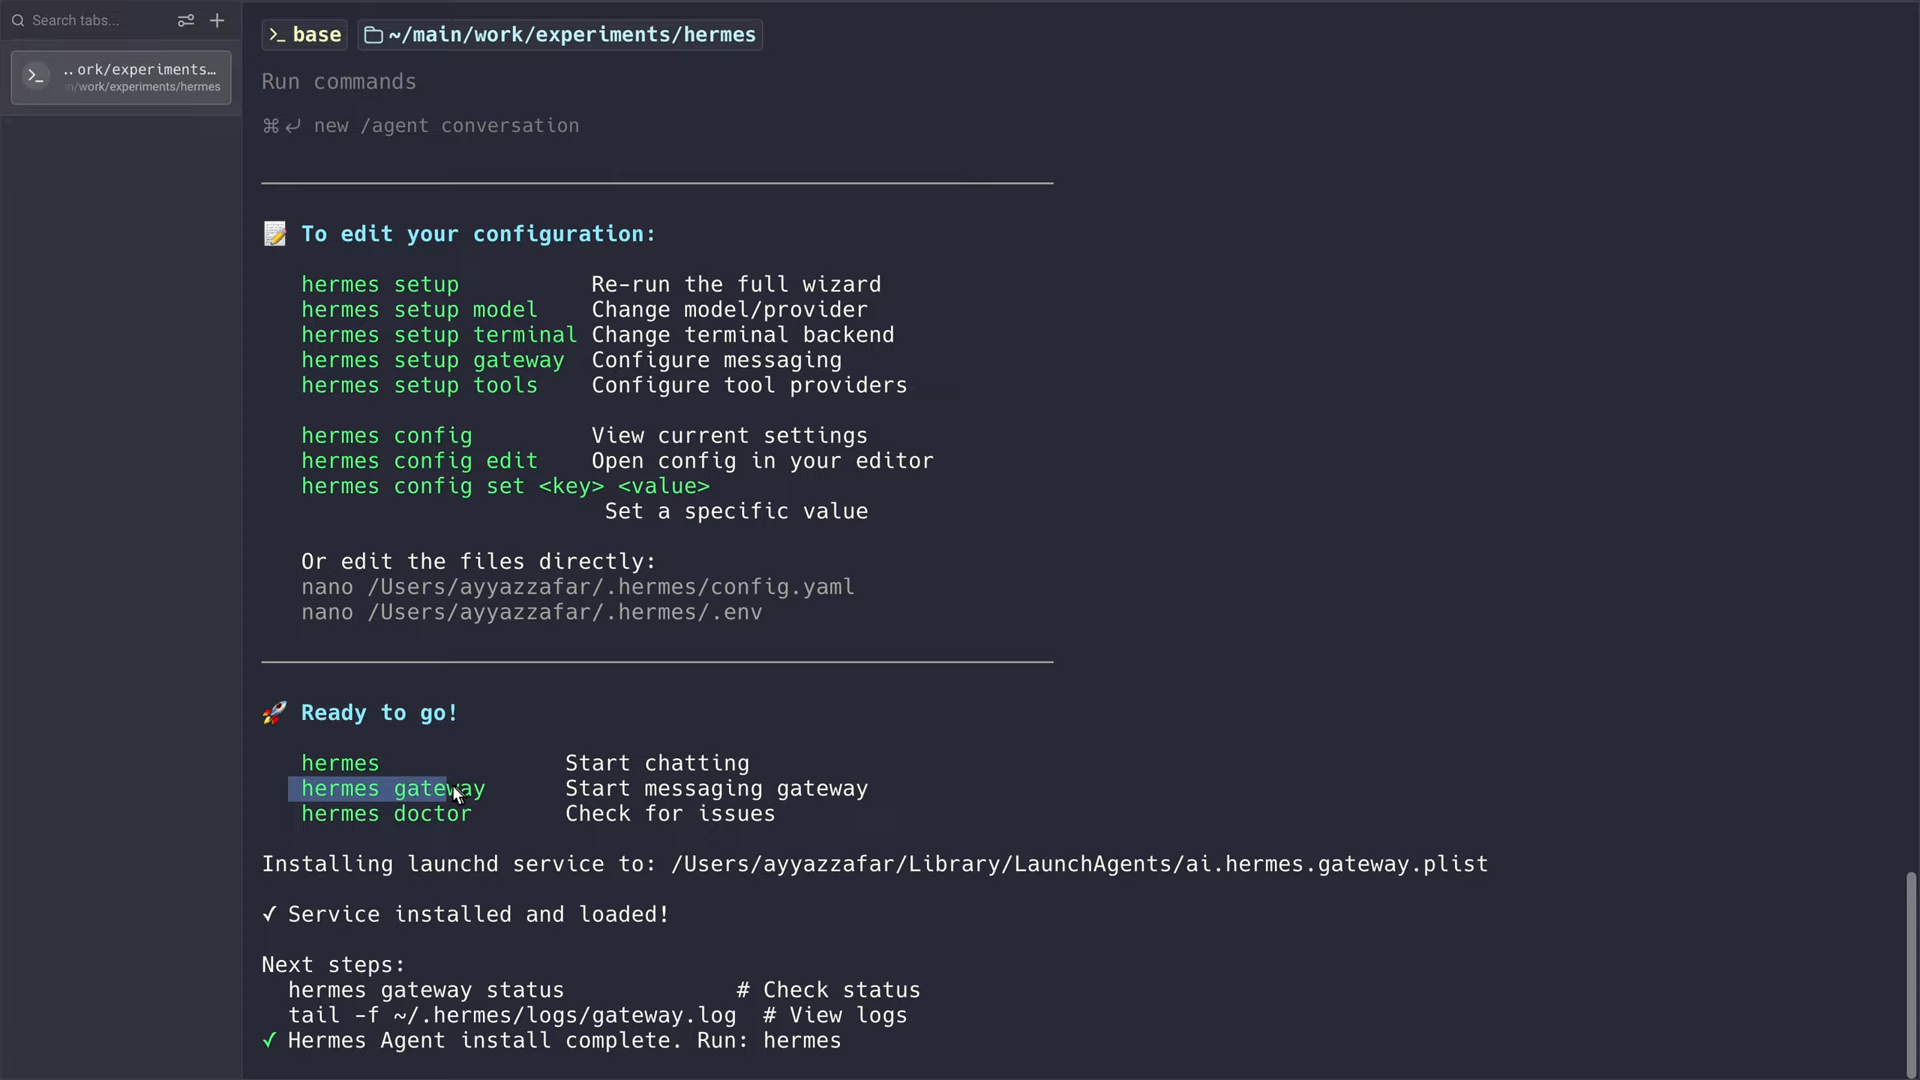
You then get a summary and the commands worth knowing. The main two are:
hermesstarts a chat in the folder you're in.hermes gatewaysets up messaging, so you can talk to your agent through apps like WhatsApp or Discord.
Step 10: Reload your shell
I skipped this in the recording and came back to it, so don't miss it. The docs say to reload your shell after installing, so the hermes command works in every terminal. The docs show source ~/.bashrc with source ~/.zshrc as the alternative. Macs use zsh by default, so run:
source ~/.zshrcOr just open a new terminal window. The installer adds ~/.local/bin to your PATH, which is why a fresh shell is needed.
Step 11: Start Hermes and say hello
In your project folder, type hermes and press Enter. The Hermes interface opens with its logo, the model you picked and the tools and skills it has.
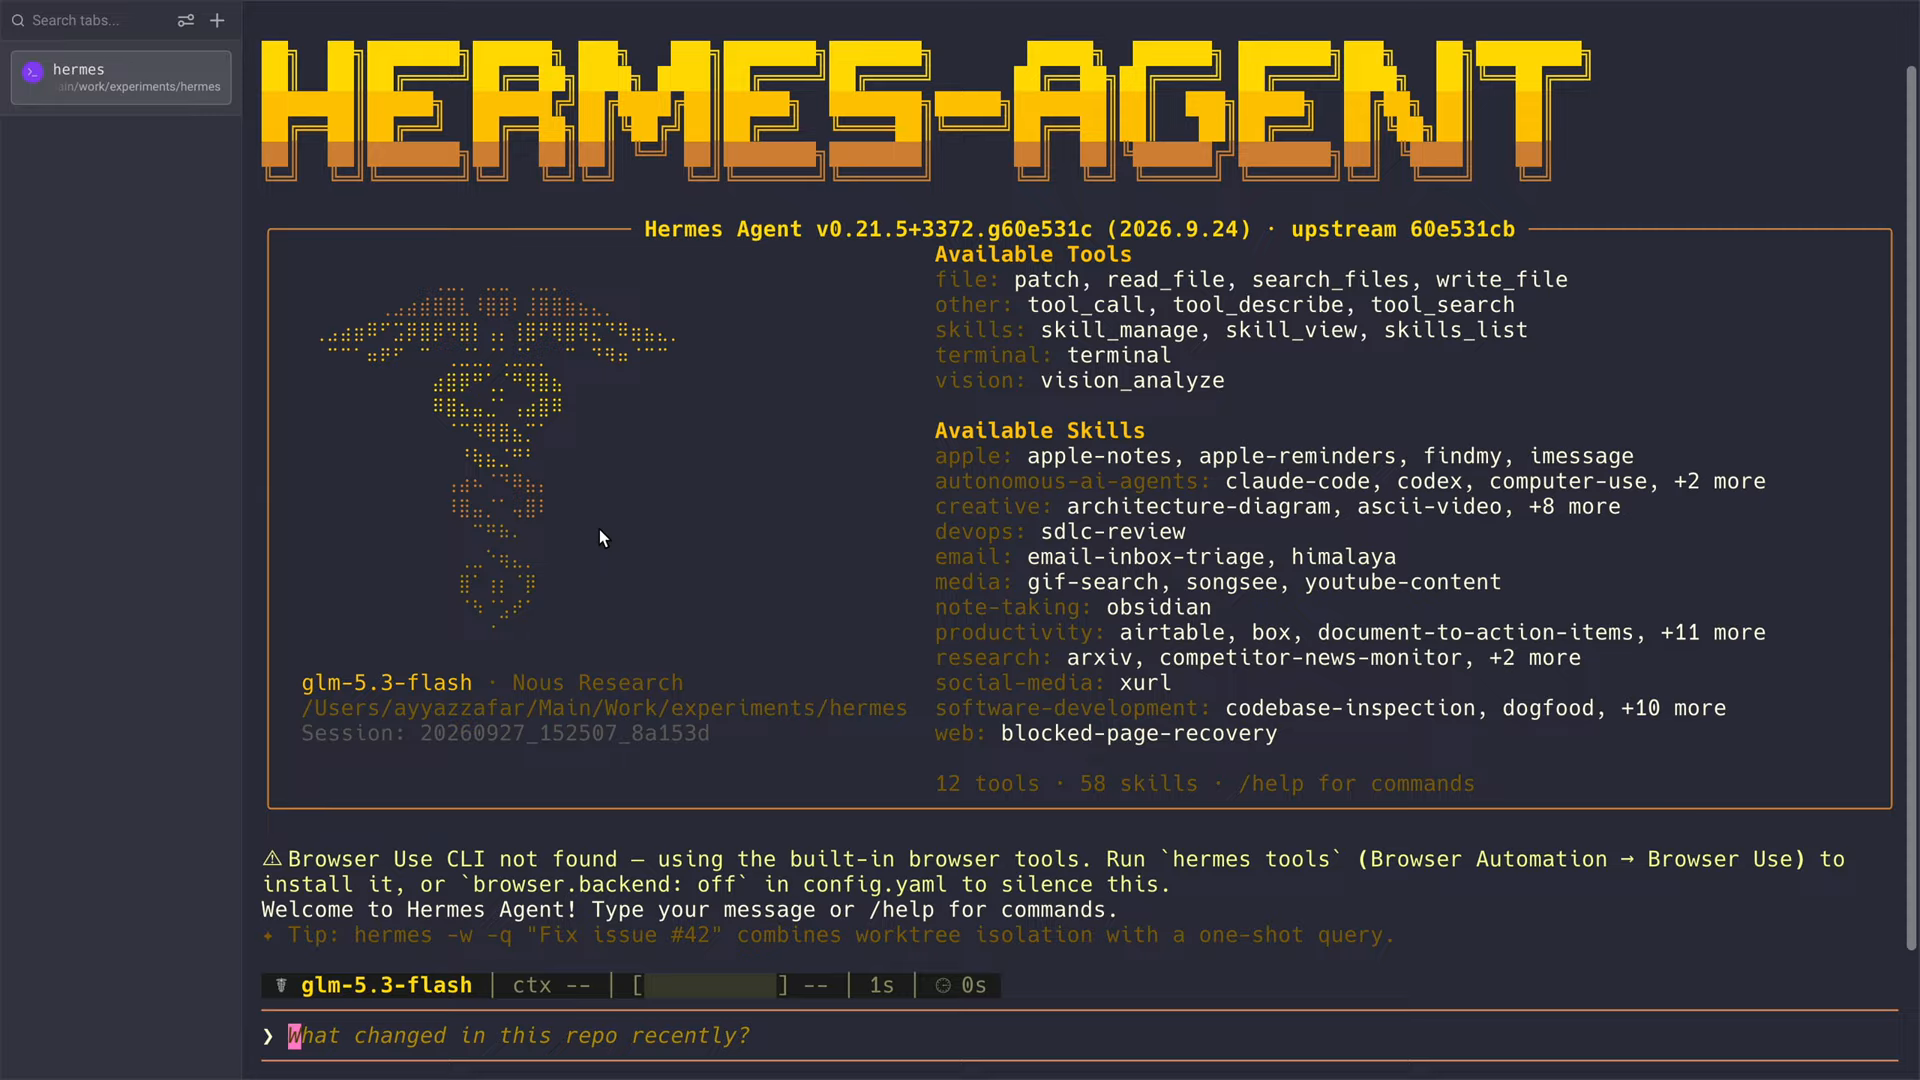
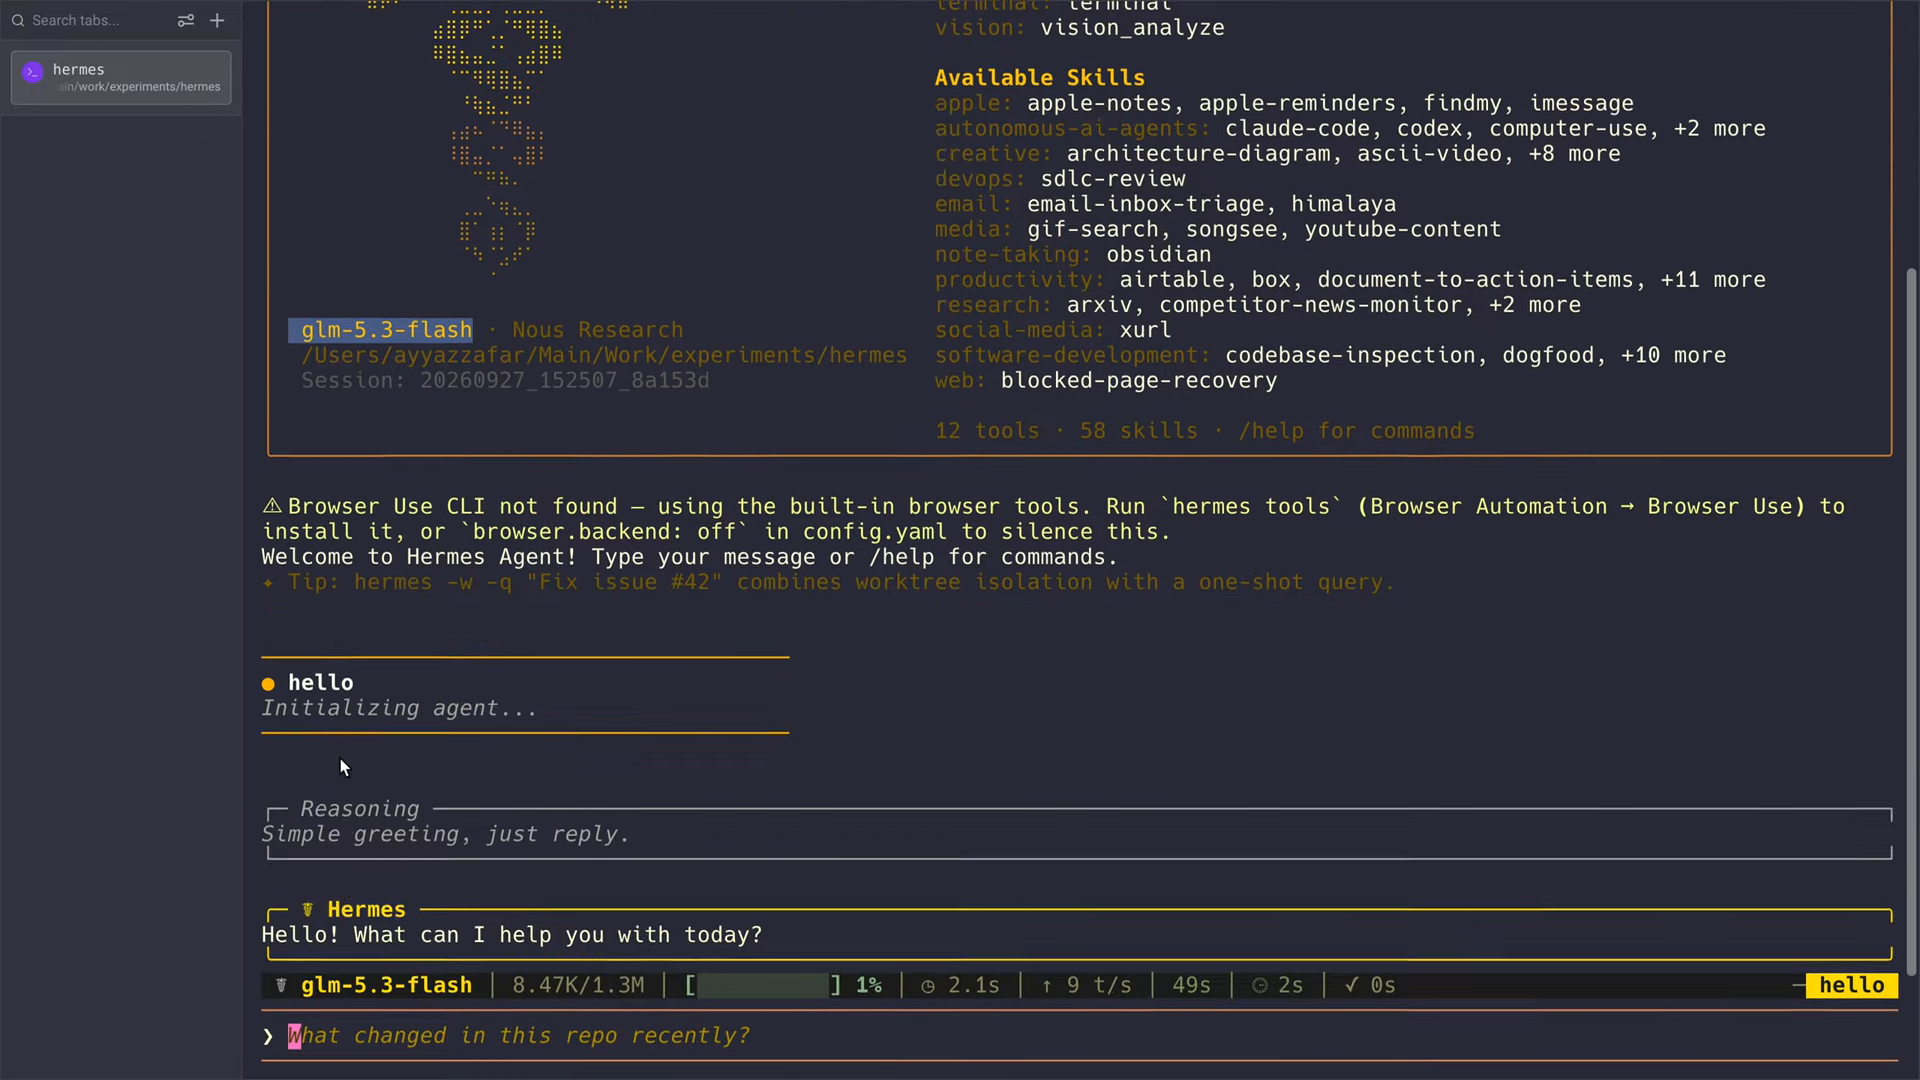
If you've used Claude Code, this will feel familiar, but Hermes has a lot more built in. I sent a simple "hello" to check the model was connected, and got a reply straight away. The bar at the bottom shows how much of the context window you've used. With GLM 5.3 Flash it reads 1.3M, so there is plenty of room.
Step 12: Give it a real job
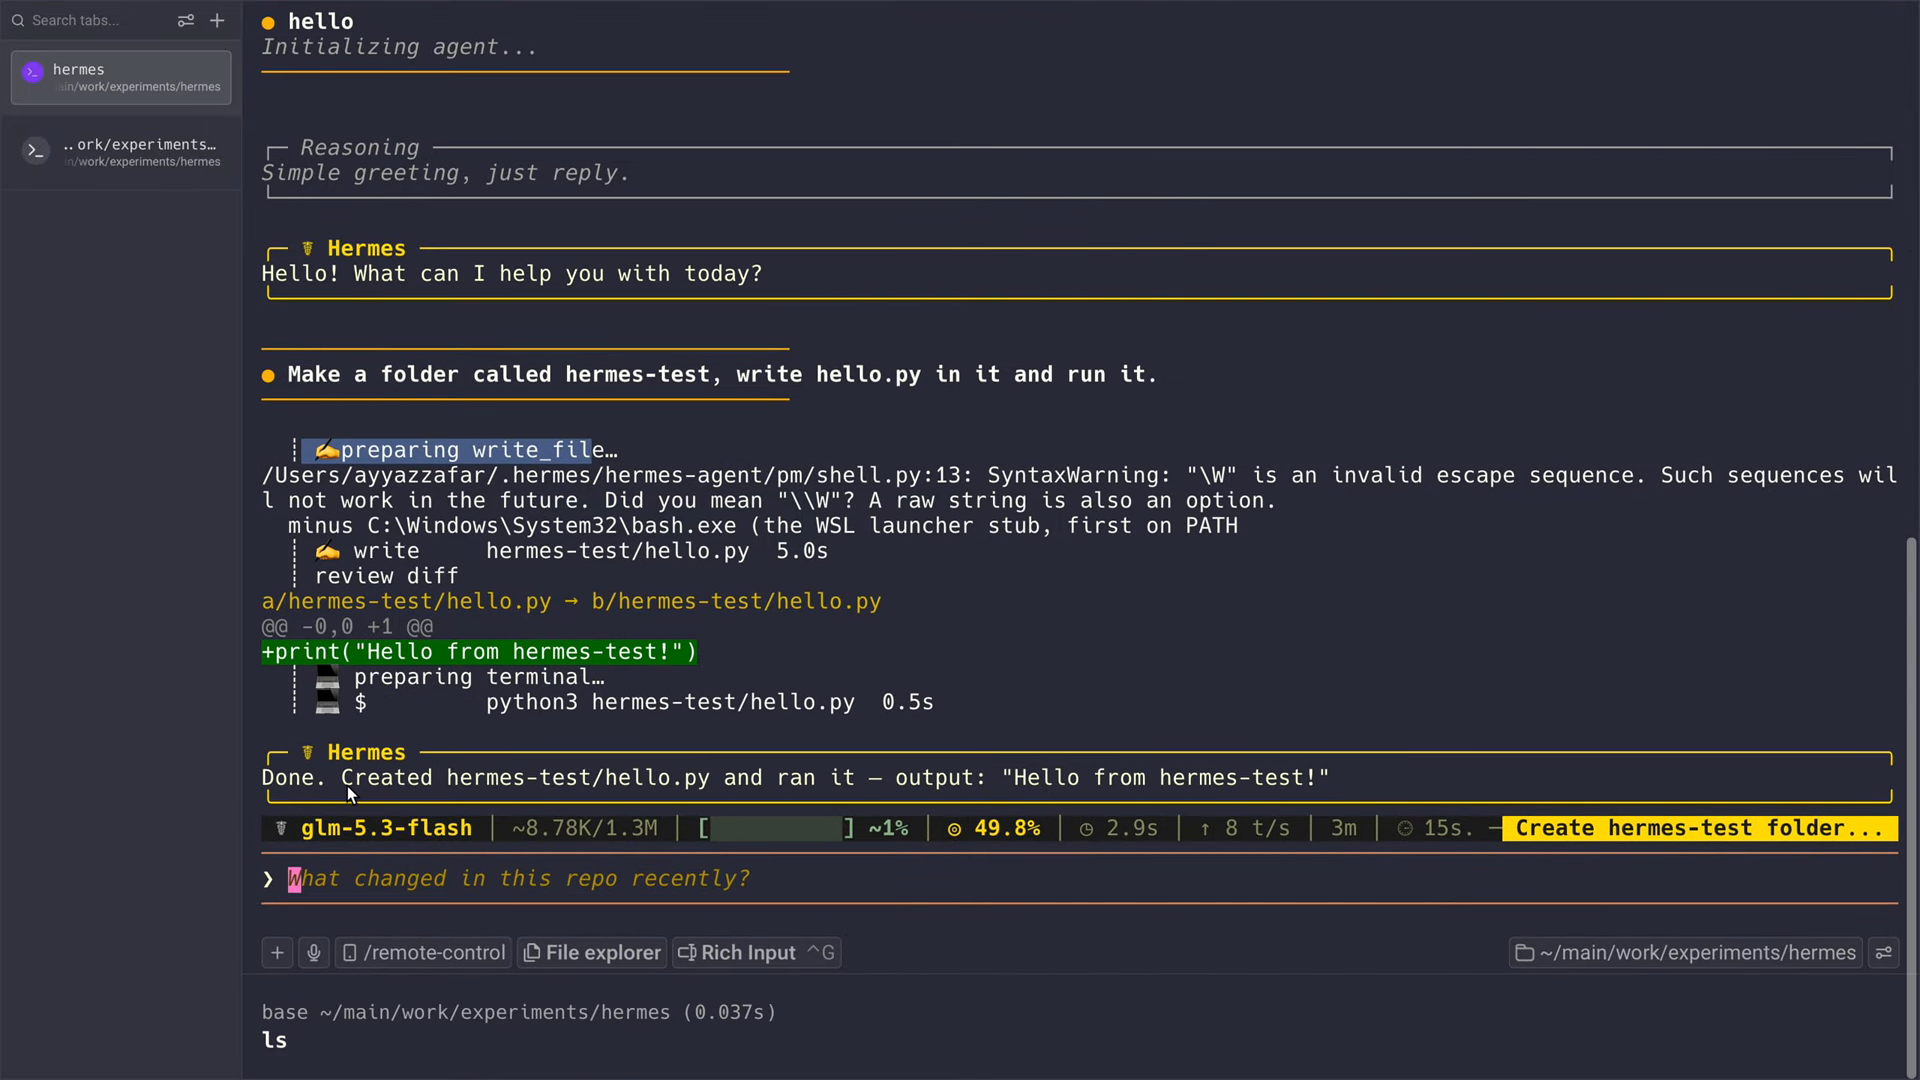
Now something real. I asked:
Make a folder called hermes-test, write hello.py in it and run it.Hermes reasoned for a moment, created the folder, wrote the file, ran it with python3 and reported back: Done. Created hermes-test/hello.py and ran it, with the output Hello from hermes-test!.
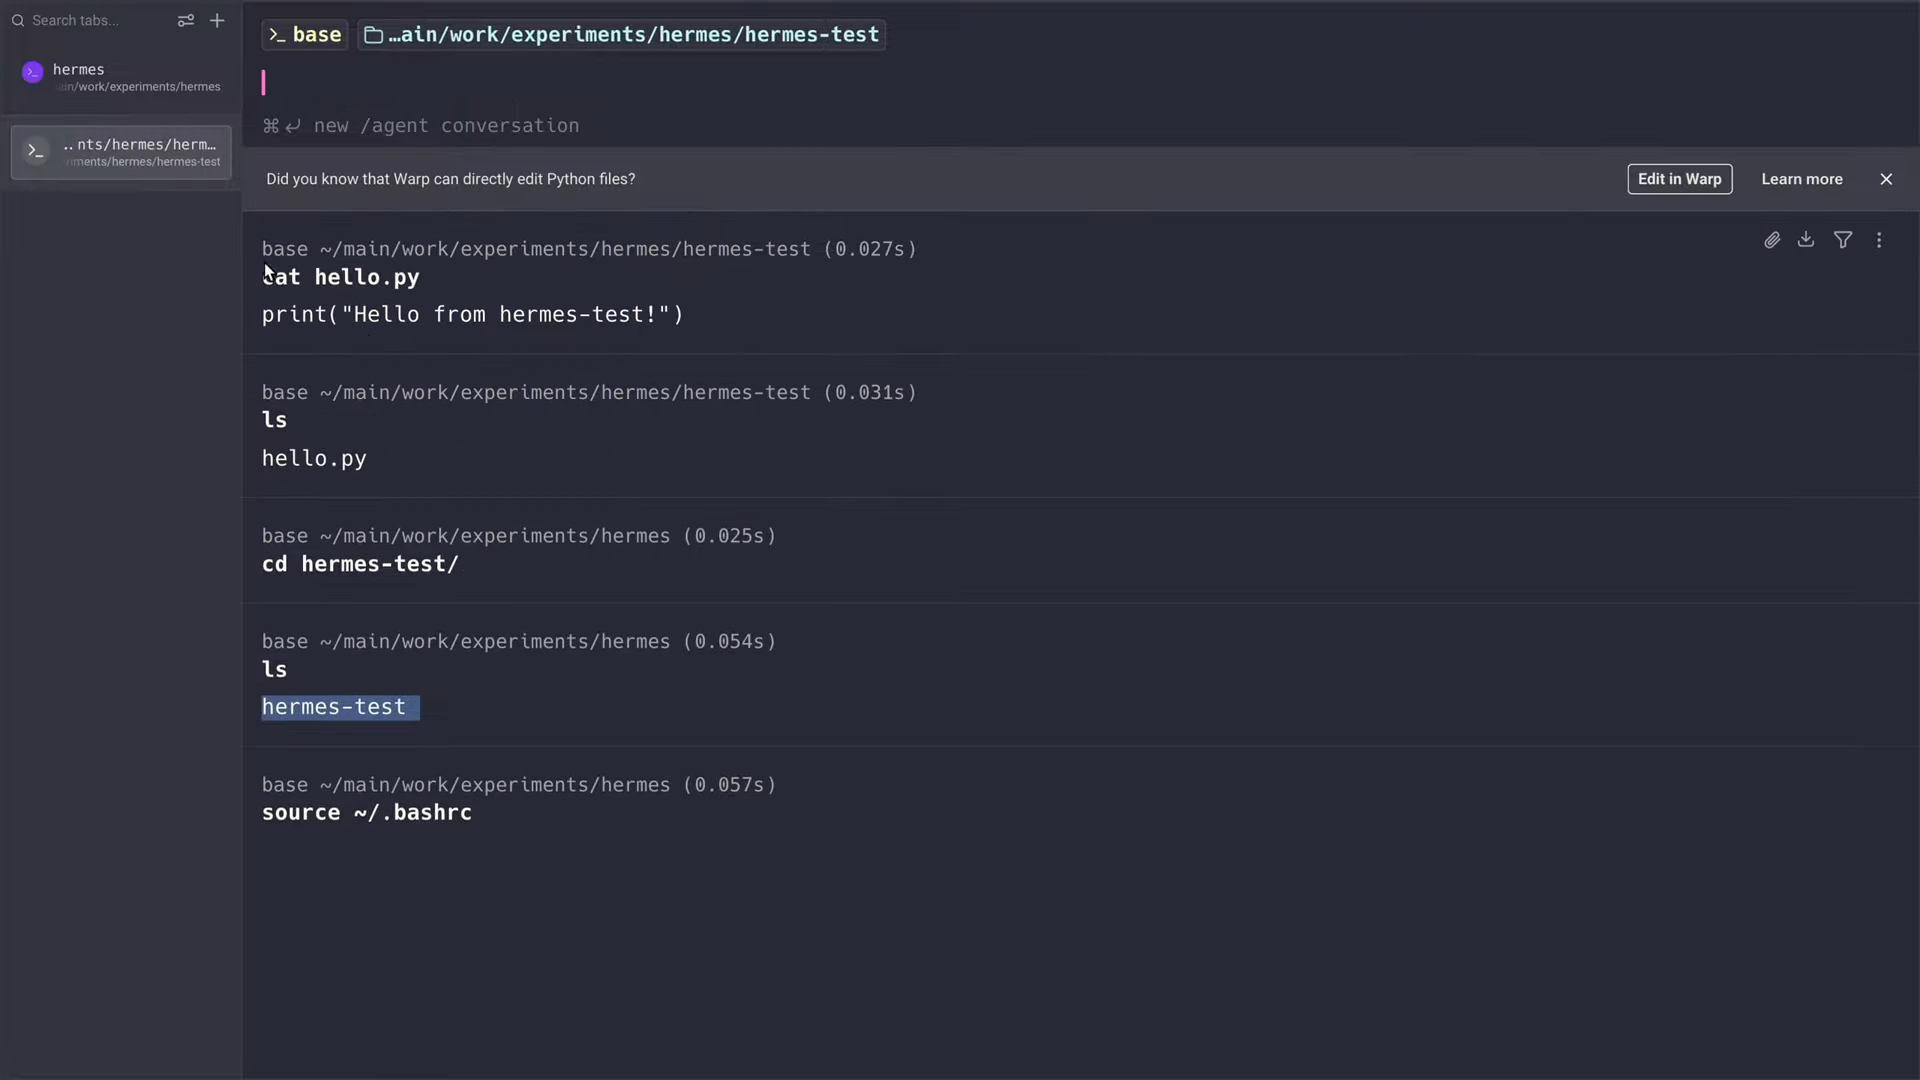
To double-check, I listed the folder in a second terminal. The hermes-test folder was there, and hello.py held the code Hermes wrote.
What's next
That's the whole install. Hermes is on your Mac, connected to OpenRouter and already doing real work. This is only the basics, and Hermes can do a lot more. In the next guide, I give Hermes access to my email inbox, and it sorts and answers my emails while I watch.
Want an AI agent like this set up for your business? See my services.
Links
Tools I Use
- Hostinger for VPS and hosting: ayyaztech.com/go/hostinger
- Claude and Claude Code, my daily AI pair-programmer: claude.ai
- VS Code, my editor: code.visualstudio.com
Some links above are affiliate links, and using them supports the channel at no extra cost to you.