How to Validate Checkbox Selection in Angular 17 Using Standalone Components
In this article, we'll walk through how to validate checkboxes in Angular 17 using standalone components. This tutorial is also available as a YouTube video, which you can watch here: Let's dive in a...

In this article, we'll walk through how to validate checkboxes in Angular 17 using standalone components. This tutorial is also available as a YouTube video, which you can watch here:
Let's dive in and see how to implement checkbox validation in a few simple steps.
Step 1: Create a New Component First, create a new component called CheckboxExampleComponent to hold the code related to the checkbox example. Use the Angular CLI command ng g c to generate the component folder and files:
ng g c checkbox-example
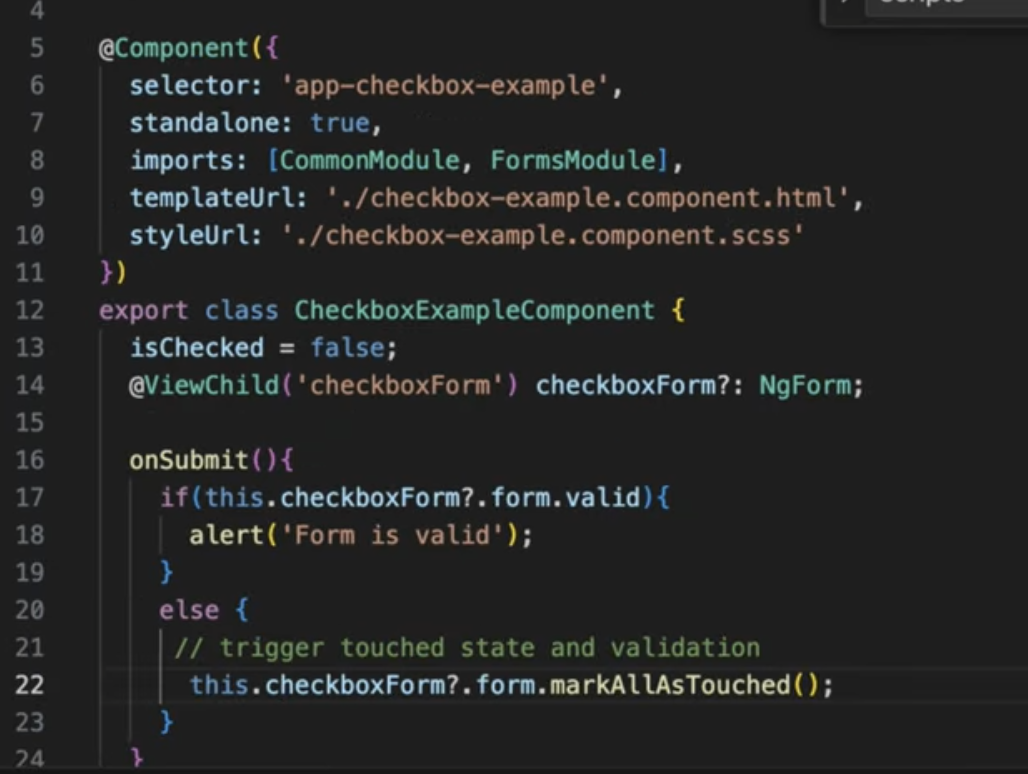
Step 2: Import the Forms Module Open the checkbox-example.component.ts file. Since we're using a standalone component, import the FormsModule directly in the imports array:
Step 3: Add HTML for Checkbox Input and Label In the checkbox-example.component.html file, add an input of type checkbox inside a label tag:
<form #checkboxForm="ngForm" (ngSubmit)="onSubmit()">
  <label>
    <input type="checkbox" name="terms" [(ngModel)]="isChecked" required>
    Accept terms and conditions
  </label>
  <div *ngIf="checkboxForm.invalid && checkboxForm.touched">
    Please accept the terms and conditions.
  </div>
  <button type="submit">Submit</button>
</form>
The key points:
- Wrap the input in a form tag with a template reference variable
#checkboxForm - Use
ngModelfor two-way binding to the isChecked property - Add the required attribute to make the checkbox required
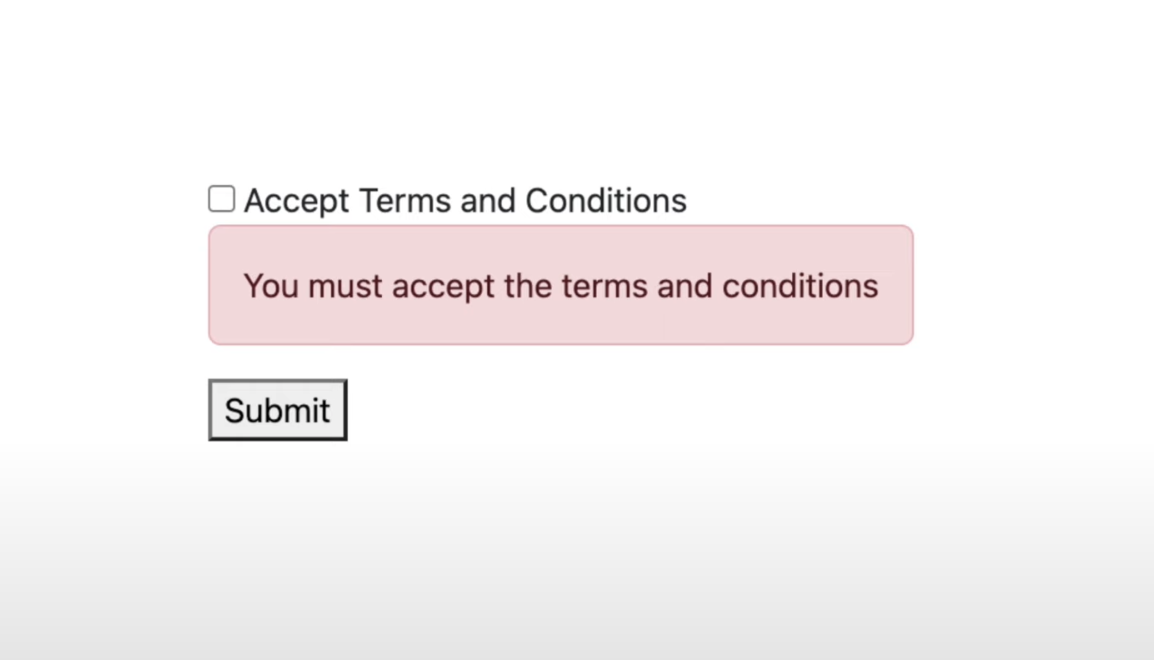
- Show an error message if the form is invalid and has been touched
- Include a submit button
Step 4: Define the isChecked Property In the checkbox-example.component.ts file, define the isChecked property and initialize it to false:
isChecked = false;Step 5: Access the Form Using @ViewChild To access the form in the component class, use the @ViewChild decorator with the template reference variable name:
@ViewChild('checkboxForm') form: any;

onSubmit() {
  if (this.form?.valid) {
    alert('Form is valid');
  } else {
    this.form?.control.markAllAsTouched();
  }
}
The onSubmit method checks if the form is valid. If not, it marks all controls as touched to trigger validation and display the error message.

Step 6: Use the Component Finally, use the CheckboxExampleComponent in the app component. Import it in app.component.ts:
import { CheckboxExampleComponent } from './checkbox-example/checkbox-example.component';

@Component({
  selector: 'app-root',
  templateUrl: './app.component.html',
  styleUrls: ['./app.component.css'],
  standalone: true,
  imports: [CheckboxExampleComponent]
})
export class AppComponent {}
Then add the selector in app.component.html:
<app-checkbox-example></app-checkbox-example>That's it! You have now implemented checkbox validation in Angular 17 using a standalone component. The form will display an error message if the user tries to submit without checking the required checkbox.

I hope this article was useful! Don't forget to watch the full tutorial on YouTube and subscribe to my channel for more Angular tips and techniques. If you have any questions or feedback, please leave a comment below. Thanks for reading!