How to Deploy Next.js to Hostinger VPS - Complete Guide 2025
You built a Next.js app. It runs perfectly on localhost. Now you need to put it on the internet.
But here's where most people get stuck: Next.js isn't a drag-and-drop deployment. It needs a real server, and if you get one step wrong, you're staring at a 502 error.
In this guide, I'll show you exactly how to deploy your Next.js app to Hostinger VPS — step by step, no steps skipped. By the end, your app will be:
- Running on your own VPS
- Secured with HTTPS
- Auto-restarting with PM2
- Ready for real users
Video Tutorial
Prefer watching? Here's the complete video walkthrough:
What You'll Need
Before we start, make sure you have:
- A Next.js app ready to deploy (any Next.js app works)
- A Hostinger VPS plan (I'll show you which one)
- A domain name (can be from Hostinger or anywhere)
- Basic terminal knowledge (we'll use SSH)
- About 30 minutes of focused time
Step 1: Get a Hostinger VPS
Go to hostinger.com and look for VPS Hosting.
For a Next.js app, the KVM1 plan is plenty to start:
- 1 core
- 4 GB RAM
- 50 GB disk space
- 4 TB bandwidth
You can scale up later without losing your setup.
During setup:
- Select Ubuntu 25.10 as your operating system
- Create a strong root password (save it somewhere safe)
- Optionally add an SSH key for passwordless login
Step 2: Set Up Your Domain
While your VPS is being provisioned, set up your domain:
- Go to your domain registrar (Namecheap, GoDaddy, etc.)
- Add an A record pointing to your VPS IP address:
- Type: A
- Name: @ (or your subdomain like
app) - Value: Your VPS IP address
- TTL: Auto
If you want www to work too, add another A record with Name: www
Pro tip: Use dnschecker.org to verify DNS propagation.
Step 3: Connect to Your VPS via SSH
Open your terminal and connect:
ssh root@YOUR_VPS_IPFirst time connecting? Type yes when asked about the fingerprint.
If you set up an SSH key with a custom path:
ssh -i ~/.ssh/your_key_name root@YOUR_VPS_IPPro tip: If you get "connection refused", wait a minute — the server might still be starting up.
Step 4: Install Node.js
Your VPS is a blank Ubuntu server. Install Node.js using NVM:
# Install NVM and Node.js
# Get the latest commands from: https://nodejs.org/en/download
curl -o- https://raw.githubusercontent.com/nvm-sh/nvm/v0.40.1/install.sh | bash
source ~/.bashrc
nvm install --lts
Verify the installation:
node --version
npm --version
You should see version numbers like v24.x.x for Node.
Step 5: Install PM2
PM2 is a process manager that keeps your Next.js app running even after you close the terminal — and restarts it if it crashes.
npm install -g pm2Verify:
pm2 --versionStep 6: Set Up SSH Key for GitHub (Private Repos)
If your repo is private, you need to authenticate. SSH keys are the cleanest way.
Generate a new SSH key on your VPS:
ssh-keygen -t ed25519 -C "your-email@example.com"Press Enter to accept defaults. Then copy your public key:
cat ~/.ssh/id_ed25519.pubCopy the entire output, then:
- Go to your GitHub repository
- Click Settings → Deploy Keys → Add deploy key
- Paste your key and give it a name
- Click Add key
Test the connection:
ssh -T git@github.comYou should see: "Hi username/repo! You've successfully authenticated..."
Step 7: Clone Your Next.js App
Create the web directory and clone your repo:
mkdir -p /var/www
cd /var/www
git clone git@github.com:YOUR_USERNAME/YOUR_REPO.git
cd YOUR_REPO
Note: The /var/www folder doesn't exist on fresh servers — that's normal, we just create it.
If your repo is public, use HTTPS instead:
git clone https://github.com/YOUR_USERNAME/YOUR_REPO.gitStep 8: Install Dependencies and Build
pnpm install   # or npm install
pnpm run build # or npm run build
The build step is important — Next.js needs to compile your app for production.
If build fails:
- Check your Node version matches what you use locally
- Make sure all environment variables are set
Setting Environment Variables
If your app uses environment variables, create a .env.local file:
nano .env.localAdd your variables:
DATABASE_URL=your_database_url
NEXT_PUBLIC_API_KEY=your_api_key
Save with Ctrl+O, Enter, then Ctrl+X.
Important: After adding env variables, rebuild:
pnpm run buildStep 9: Start with PM2
Start your app:
pm2 start npm --name "nextjs-app" -- startWhy PM2 instead of just npm start? Because if your SSH session closes, your app dies. PM2 keeps it running in the background forever.
Check status:
pm2 statusYou should see your app with status "online".
Make PM2 start on server reboot:
pm2 startup
pm2 save
Your app is now running on port 3000, but we can't access it from the browser yet — we need Nginx.
Step 10: Install and Configure Nginx
Nginx will receive traffic on port 80/443 and forward it to your Next.js app on port 3000.
sudo apt install nginx -yCreate a config file:
sudo nano /etc/nginx/sites-available/nextjsPaste this configuration:
server {
    listen 80;
    server_name yourdomain.com www.yourdomain.com;

    location / {
        proxy_pass http://localhost:3000;
        proxy_http_version 1.1;
        proxy_set_header Upgrade $http_upgrade;
        proxy_set_header Connection 'upgrade';
        proxy_set_header Host $host;
        proxy_cache_bypass $http_upgrade;
    }
}
Replace yourdomain.com with your actual domain.
Enable the site:
sudo ln -s /etc/nginx/sites-available/nextjs /etc/nginx/sites-enabled/Important: Remove the default Nginx site:
sudo rm /etc/nginx/sites-enabled/defaultTest and restart:
sudo nginx -t
sudo systemctl restart nginx
At this point, visiting your server's IP should show your Next.js app!
Step 11: Add SSL (HTTPS) with Let's Encrypt
Free SSL with Certbot:
sudo apt install certbot python3-certbot-nginx -y
sudo certbot --nginx -d yourdomain.com -d www.yourdomain.com
Follow the prompts — enter your email and agree to terms.
Certbot automatically:
- Obtains your certificate
- Configures Nginx for HTTPS
- Sets up auto-renewal
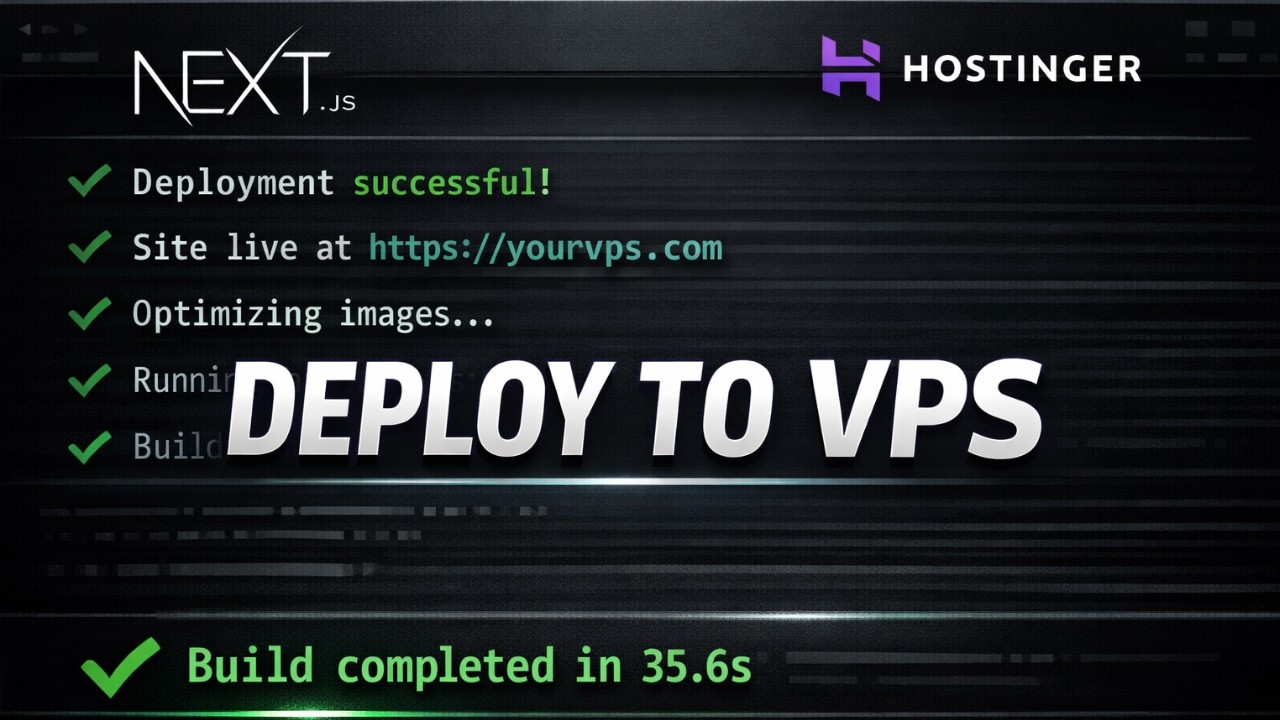
Your App is Live!
Open your browser and go to your domain. You should see your Next.js app running with HTTPS!
Your app is now:
- ✅ Running on your own VPS
- ✅ Secured with HTTPS
- ✅ Auto-restarting with PM2
- ✅ Ready for real users
Updating Your App
When you make changes and push to GitHub:
cd /var/www/YOUR_REPO
git pull
pnpm run build   # or npm run build
pm2 restart nextjs-app
Quick Reference Checklist
- Get Hostinger VPS, connect via SSH
- Install Node.js and PM2
- Set up SSH key for GitHub (if private repo)
- Clone your repo, install dependencies, build
- Start with PM2
- Install Nginx as reverse proxy
- Point domain, add SSL
Bookmark this guide. Next time you deploy, it'll take 10 minutes.
Common Issues
Nginx shows default page instead of Next.js
Remove the default site: sudo rm /etc/nginx/sites-enabled/default
"Connection refused" when SSHing
Wait a minute — the server might still be starting up.
Build fails
- Check Node version matches local
- Verify environment variables are set
SSL certificate fails
- Make sure domain is pointing to server first (check with dnschecker.org)
- Ensure port 80 is open
What's Next?
Want automatic deployments where every git push updates your live site? That's CI/CD with GitHub Actions — coming in the next tutorial!
Have questions? Drop a comment on the video — I read every single one.