How to Connect Claude to Notion — Complete Setup Guide (2026)
Type one sentence into Claude and watch a new task appear inside your Notion workspace seconds later. That is the end result of connecting Claude to Notion, and the full setup takes less than five minutes.
This guide walks through the exact steps using the Claude Desktop app's Connectors feature. No code, no API tokens, no MCP server to spin up. A free Notion account is enough.
What You Need
- The Claude Desktop app installed (the regular Claude app, not Claude Code)
- A free Notion account with at least one page or database you can test with
That is the whole list. The connector is built into the Claude Desktop app itself.
Add the Notion Connector
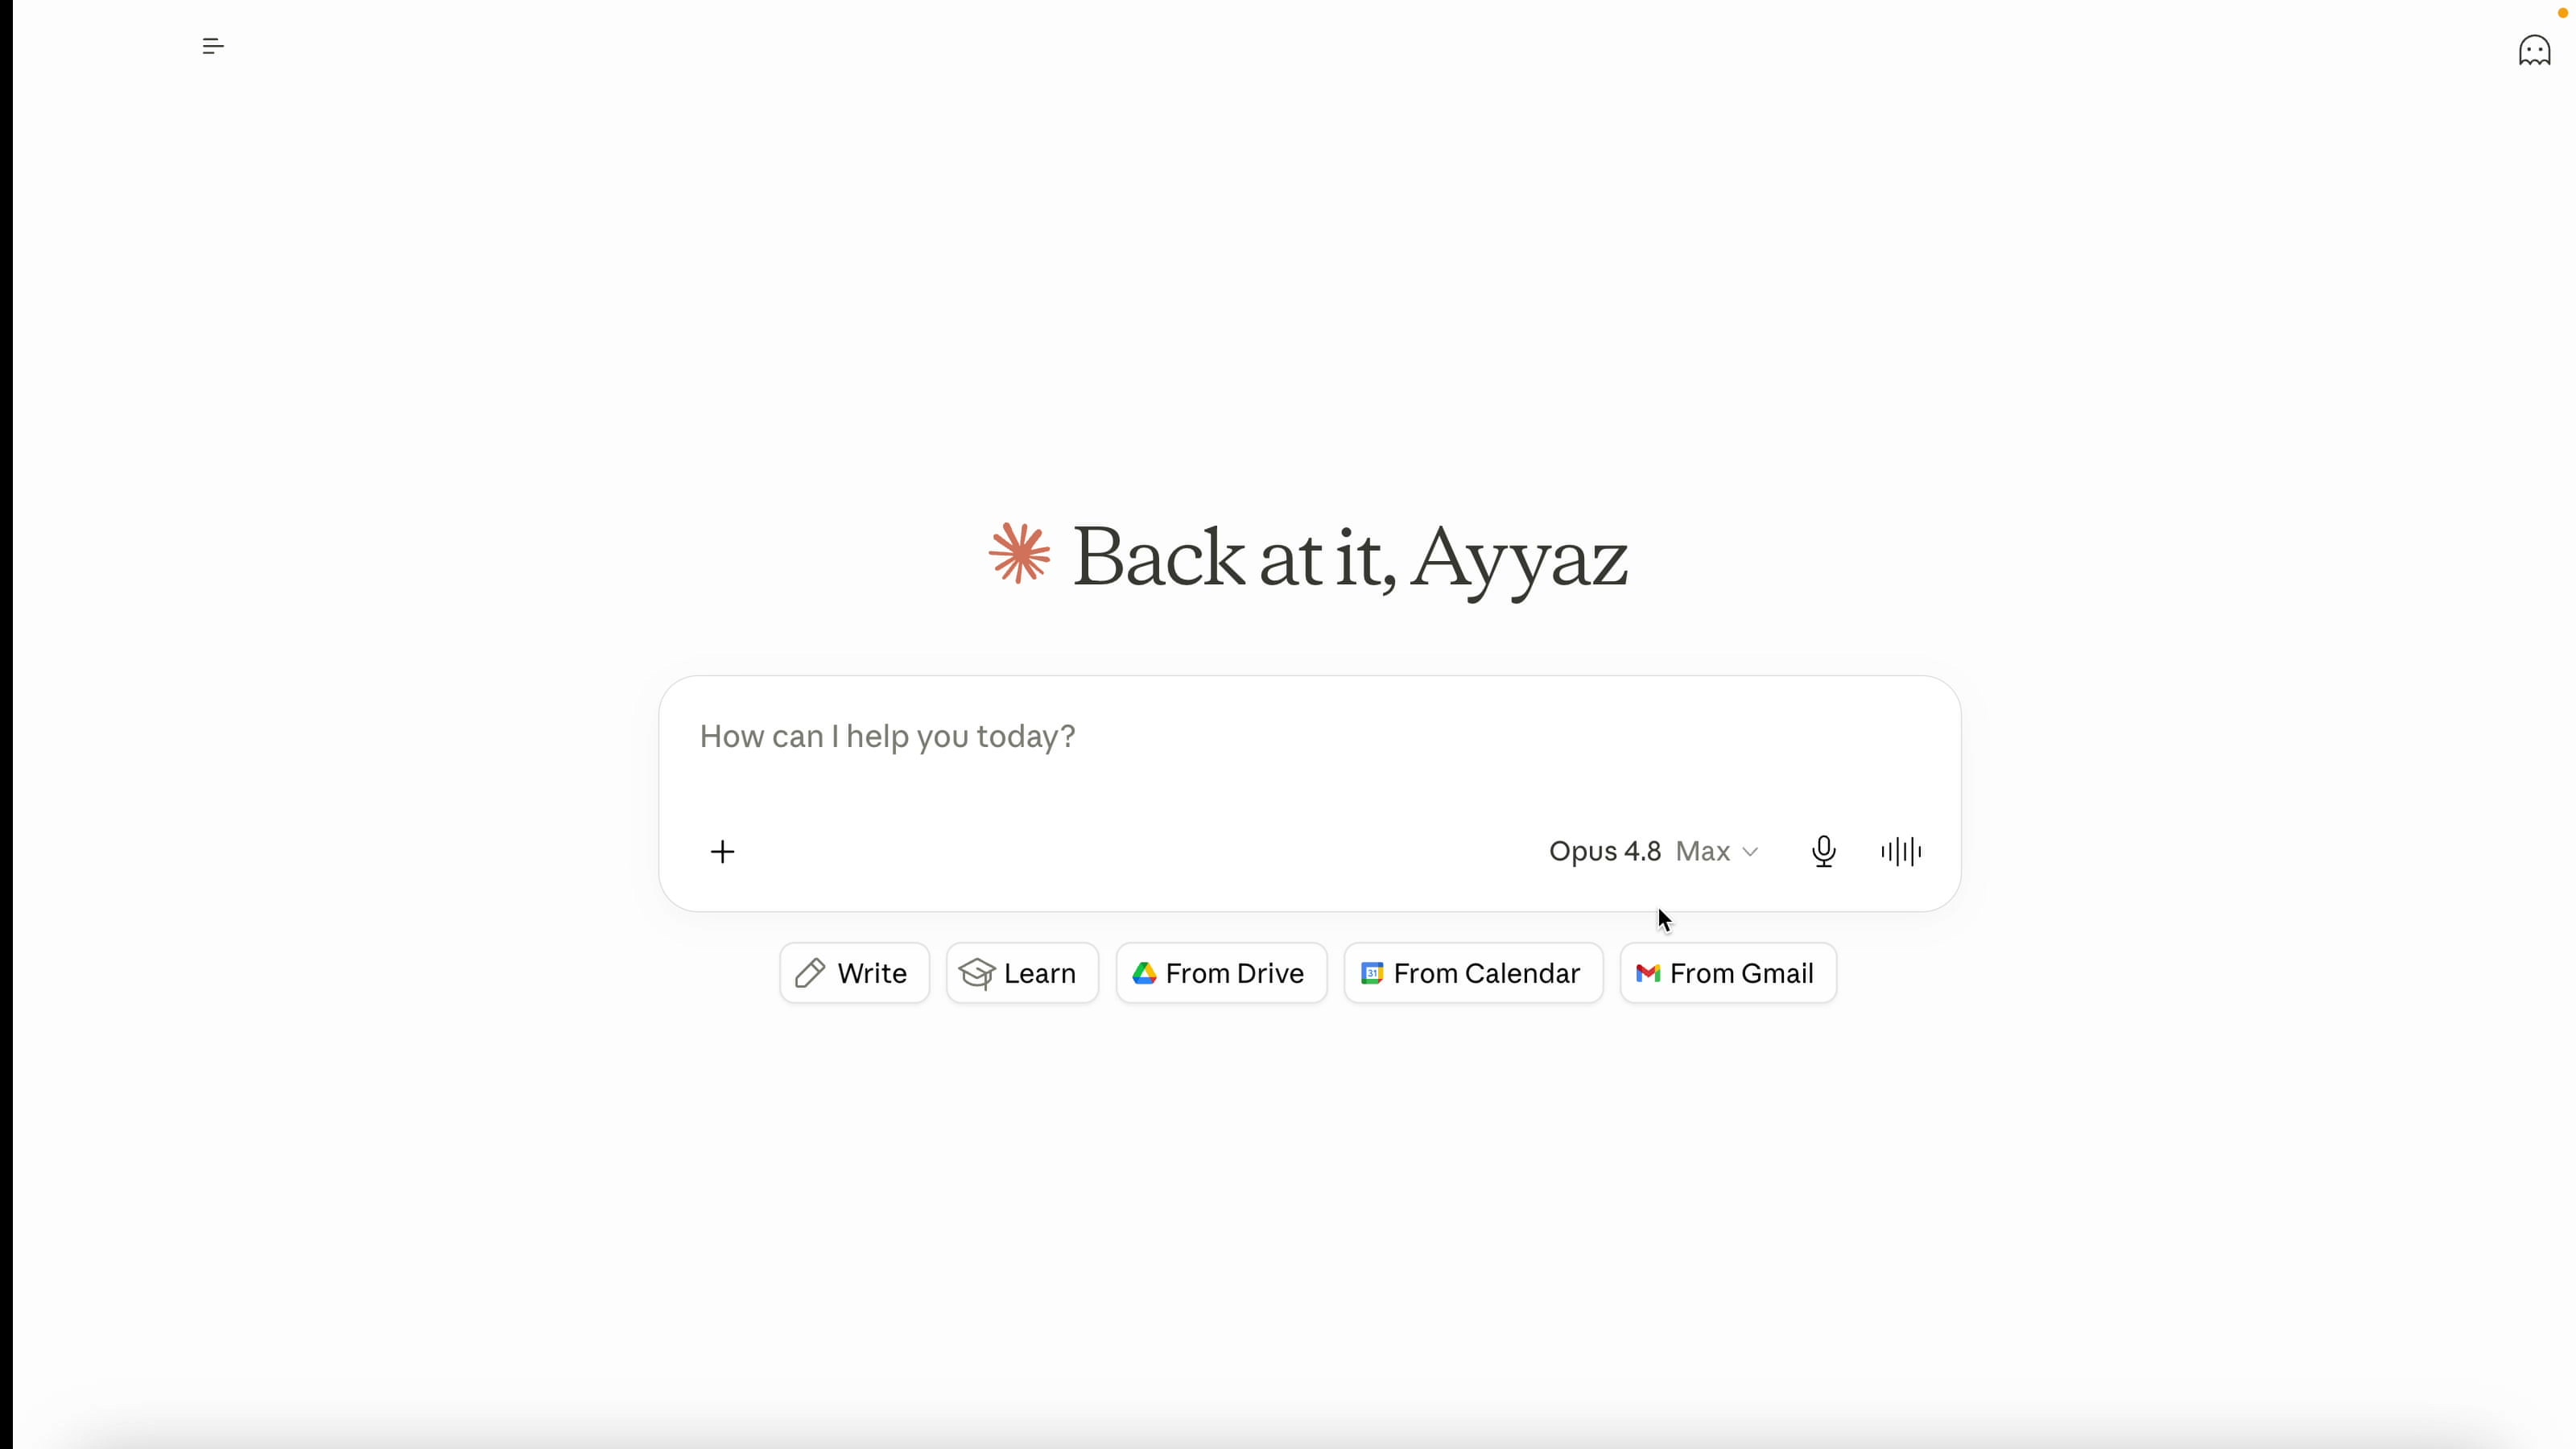
Open the Claude Desktop app and click Customize in the left sidebar, then click Connectors. Hit the Add connector button and choose Browse connectors. In the search box, type notion.
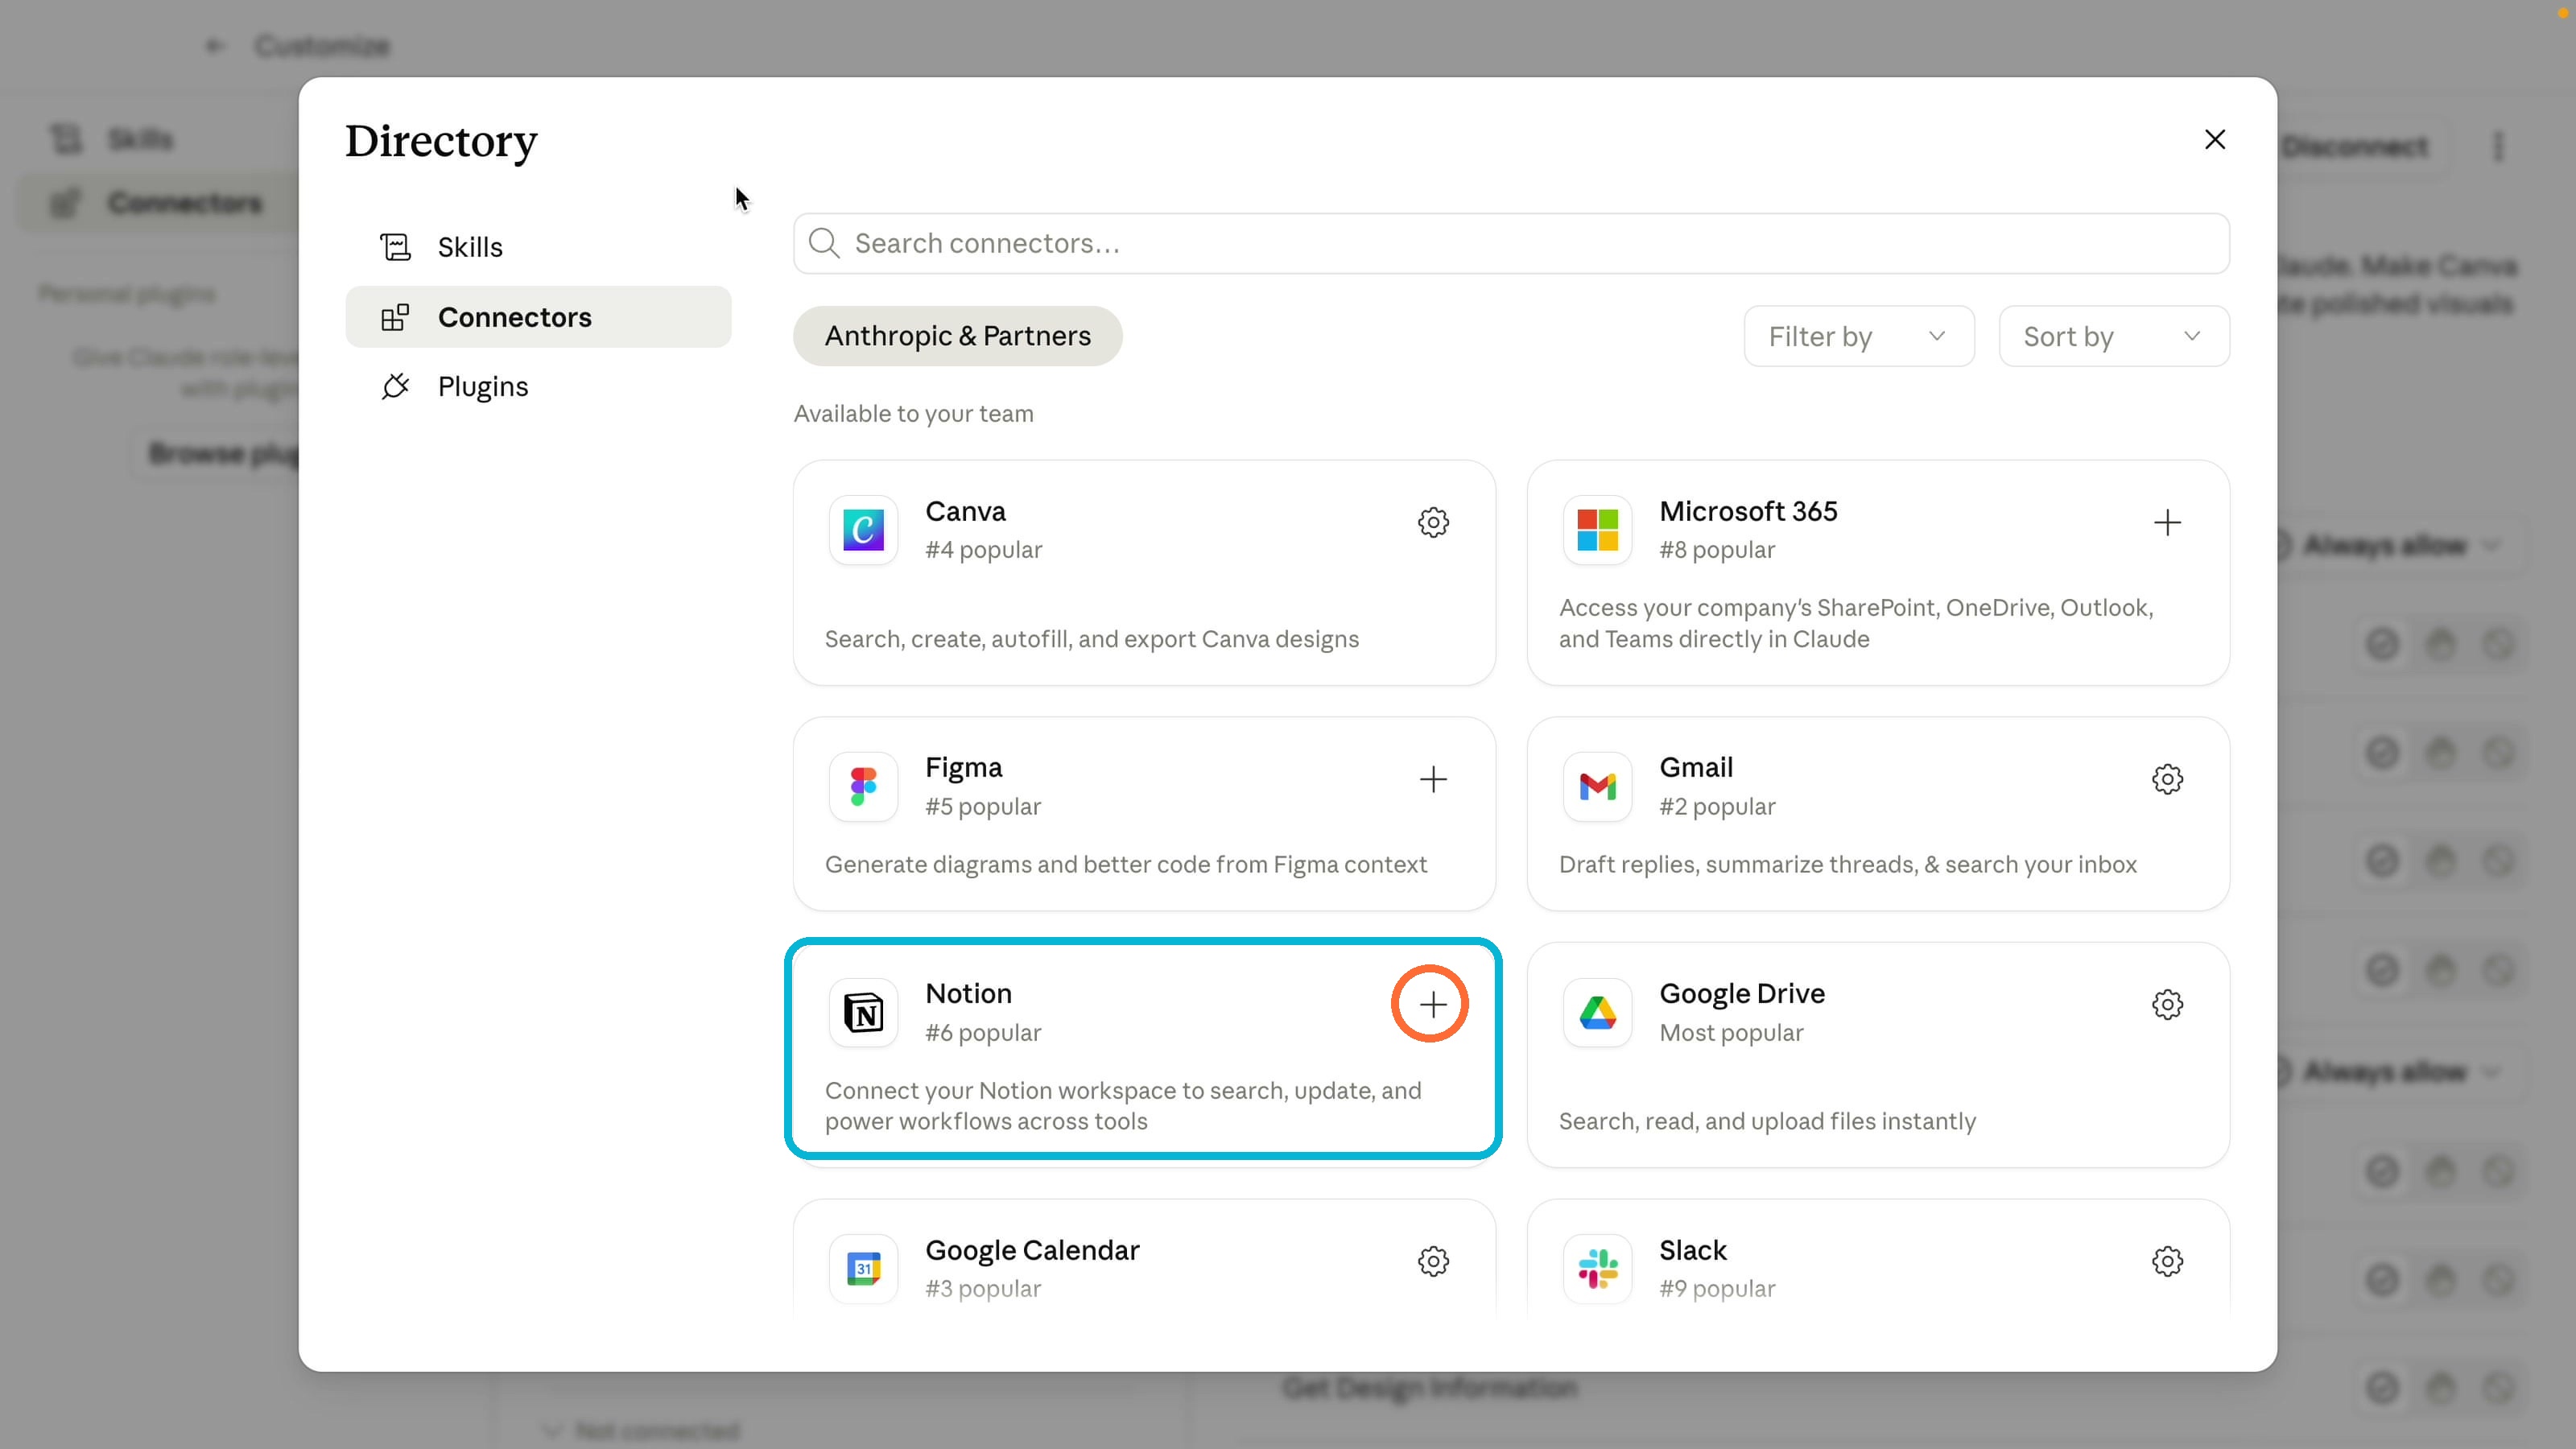
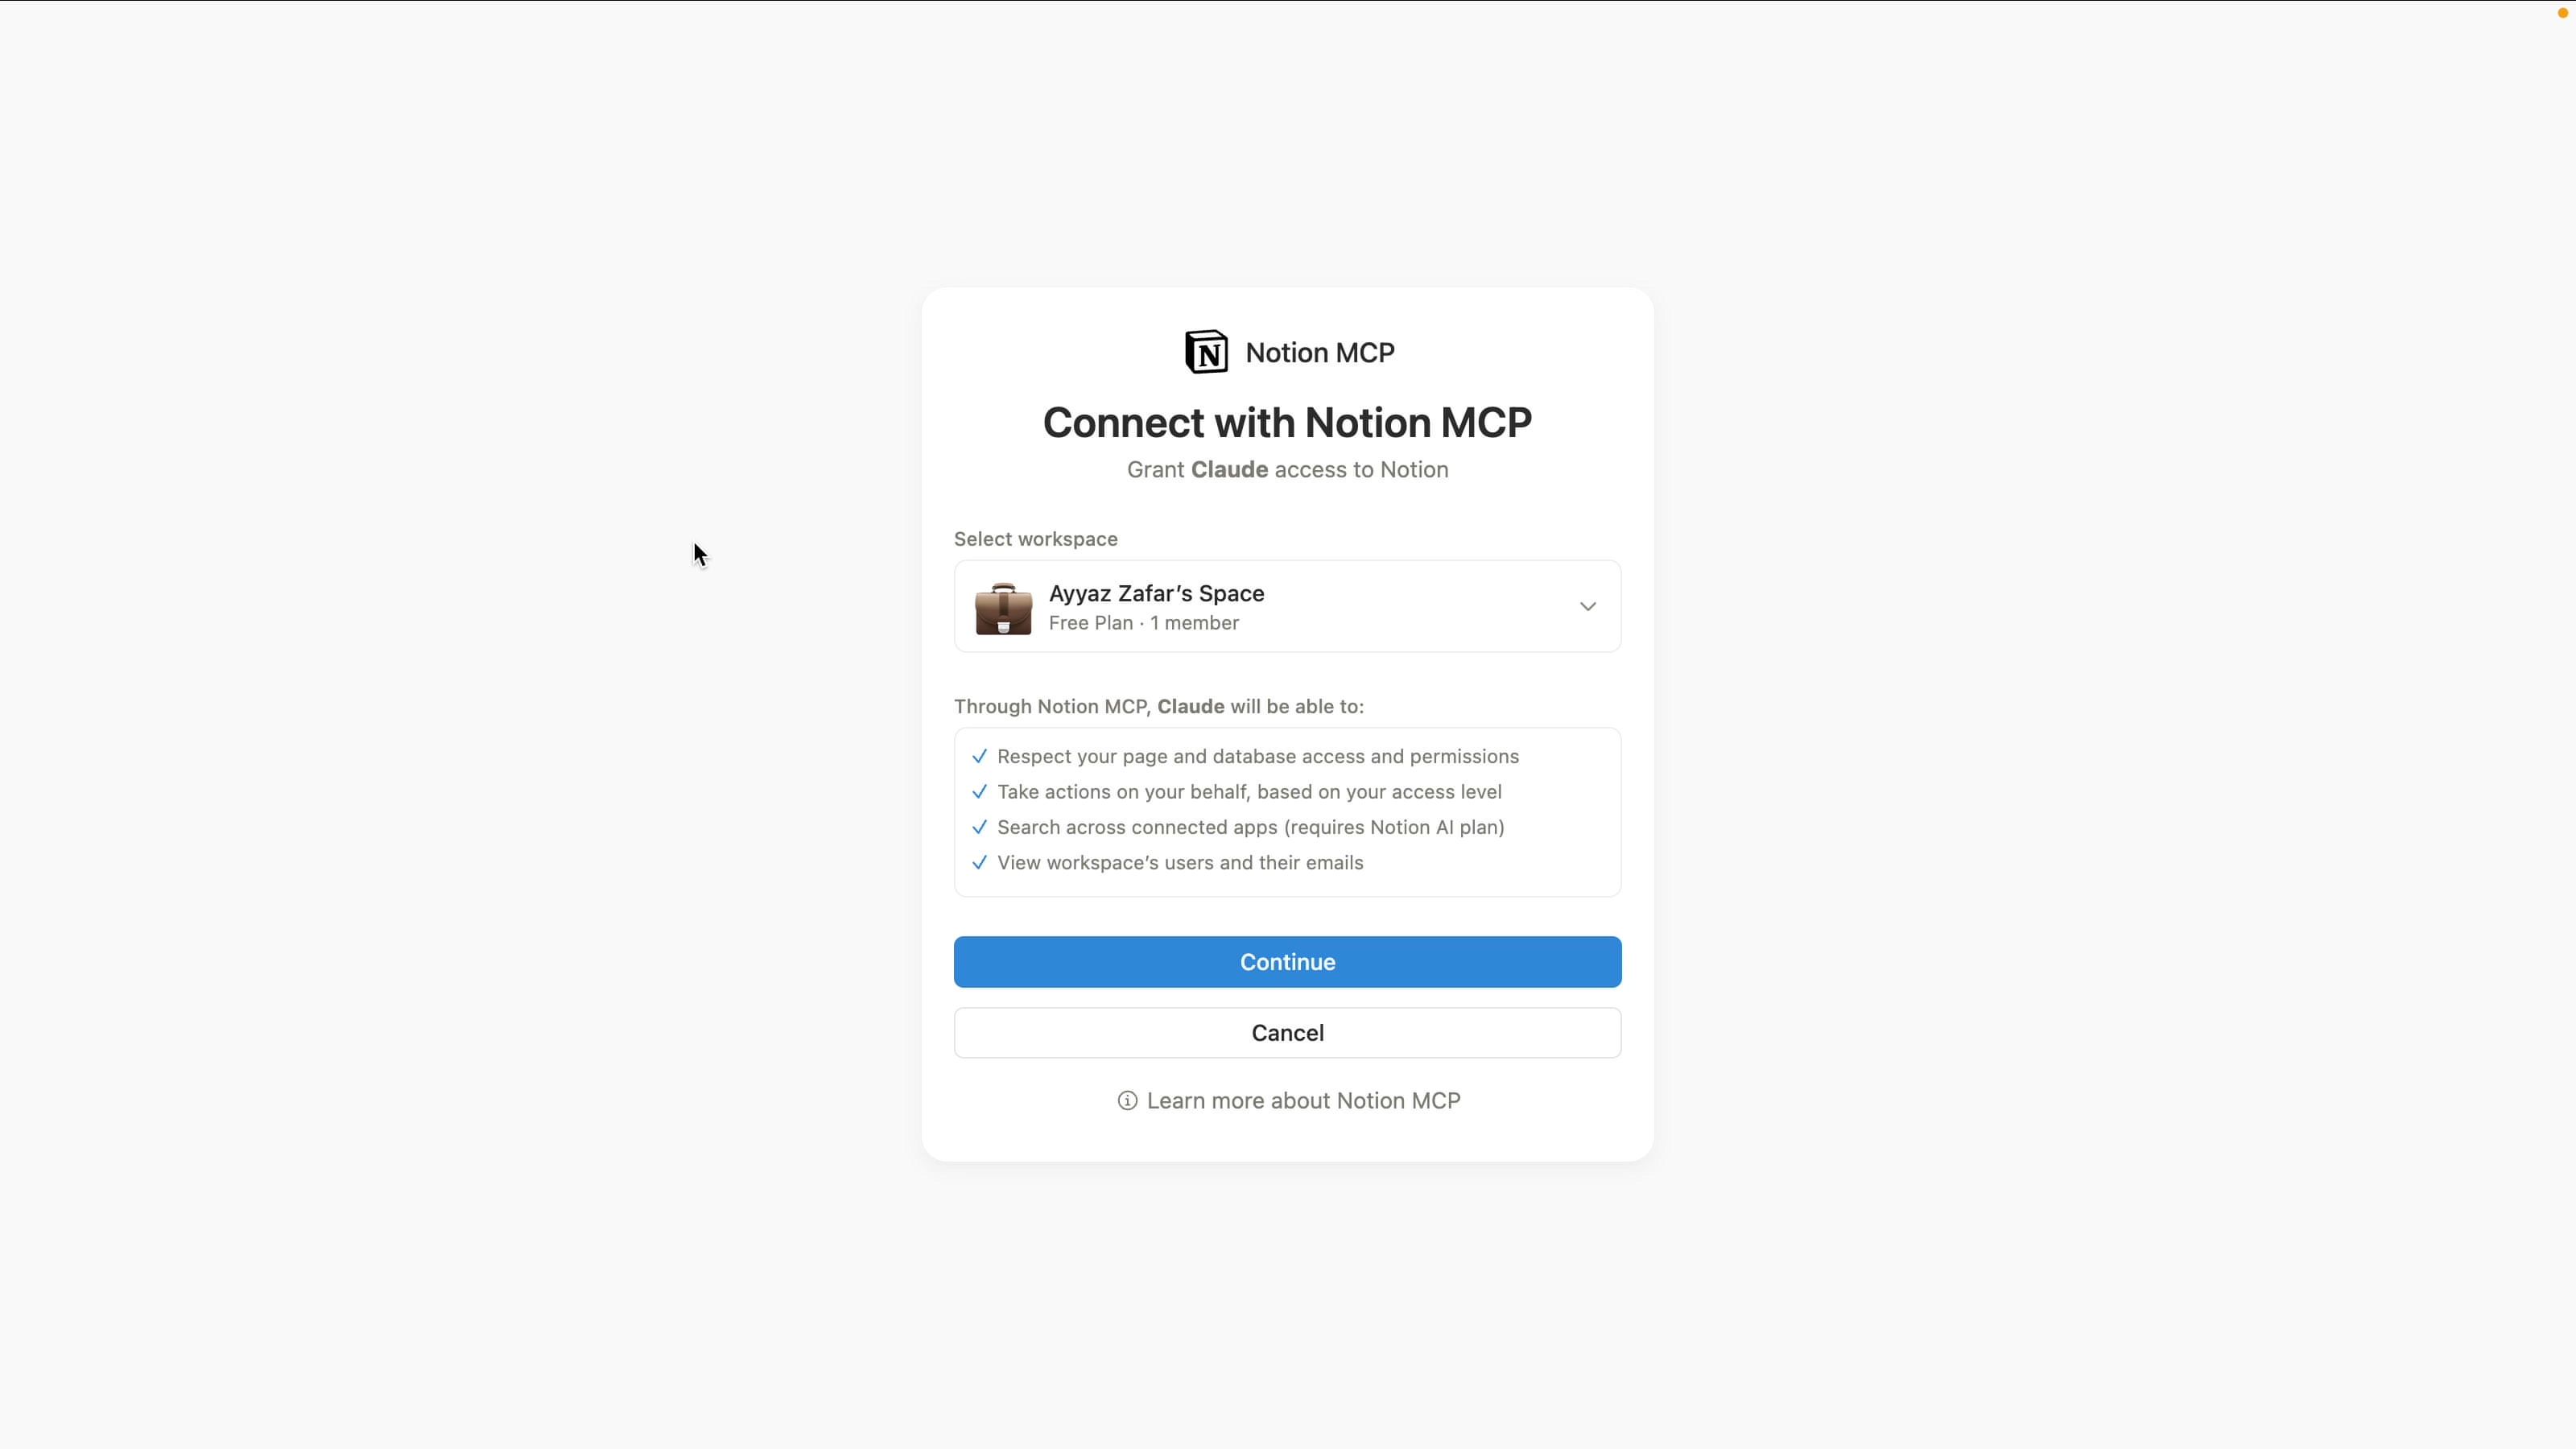
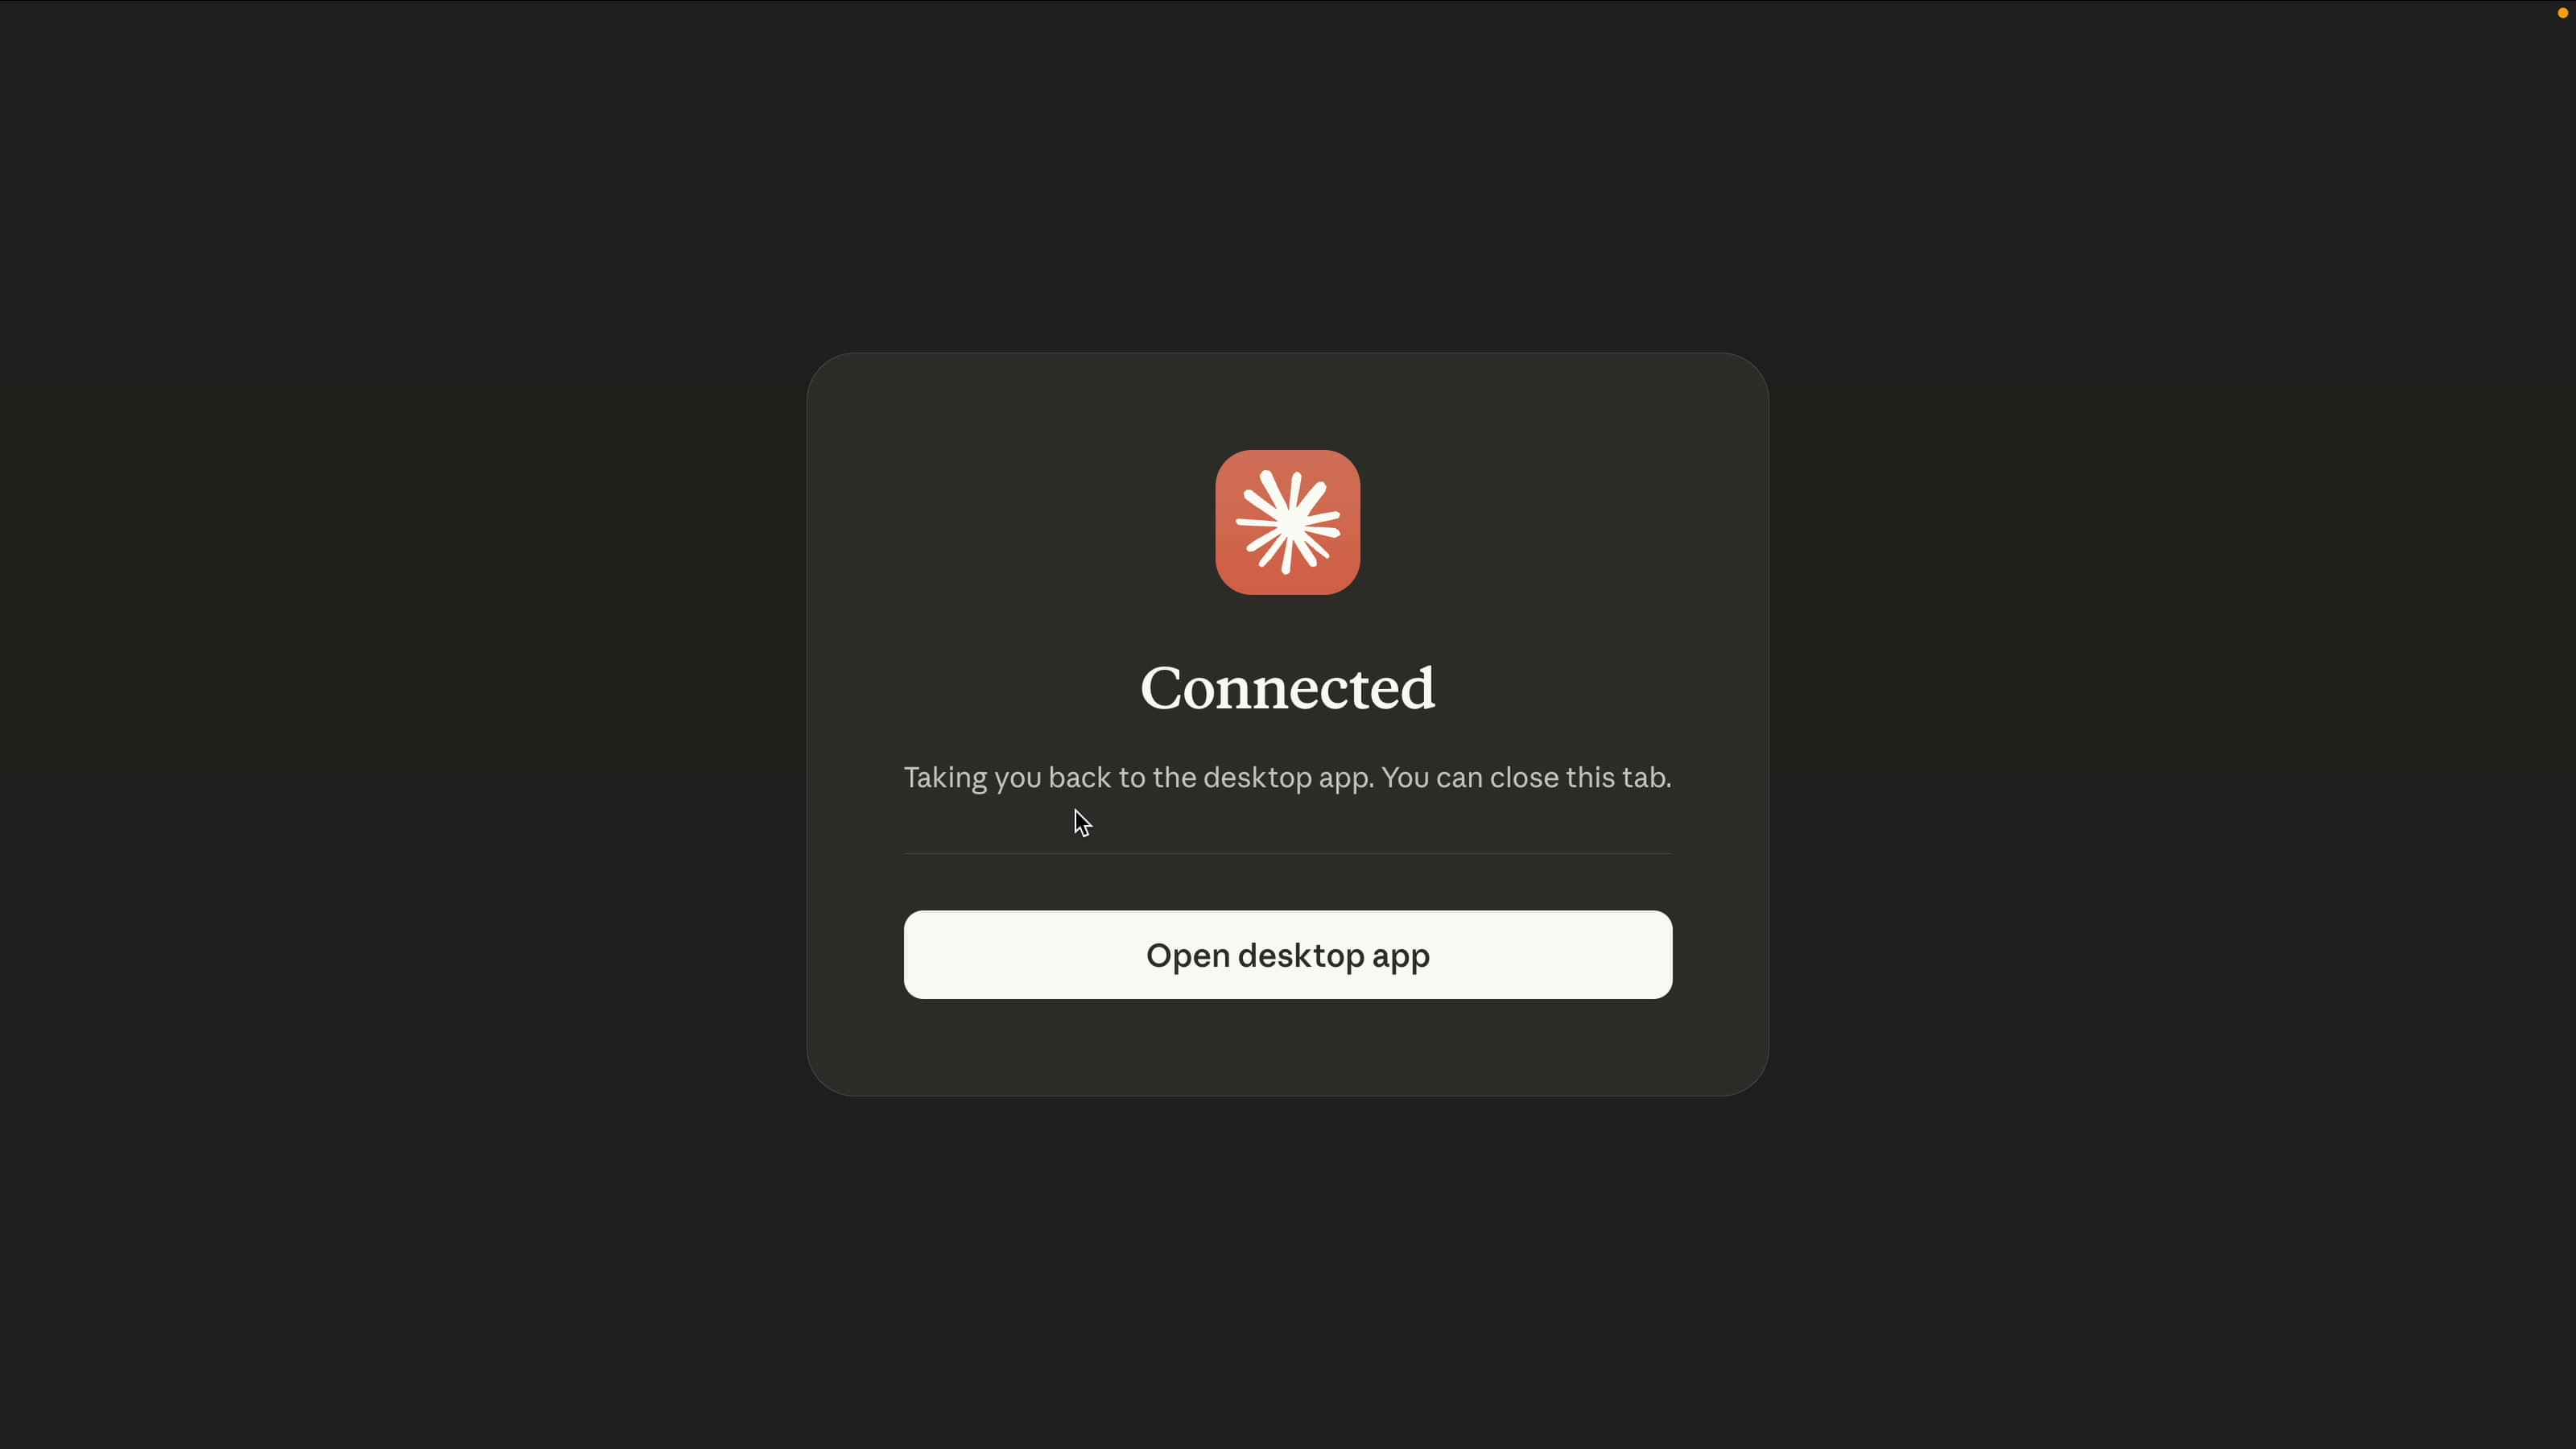
Click the Notion connector card, then click the Connect button. Claude opens a Notion authorization page in your browser. Pick the workspace you want Claude to use and hit Continue. You will see a connected success message.
Restart Claude Before You Test
This step is easy to miss. After connecting, the Notion connector will not show up as available until you restart the Claude Desktop app. Quit and reopen it (or reload). Now the connector is live.
Verify the Connection: Read Your Workspace
Open a new chat and ask:
What do you see in my Notion workspace?Claude automatically discovers the Notion connector and starts calling its tools. In a few seconds it returns a summary of what it found: databases, pages, anything that is shared with the workspace you authorized.
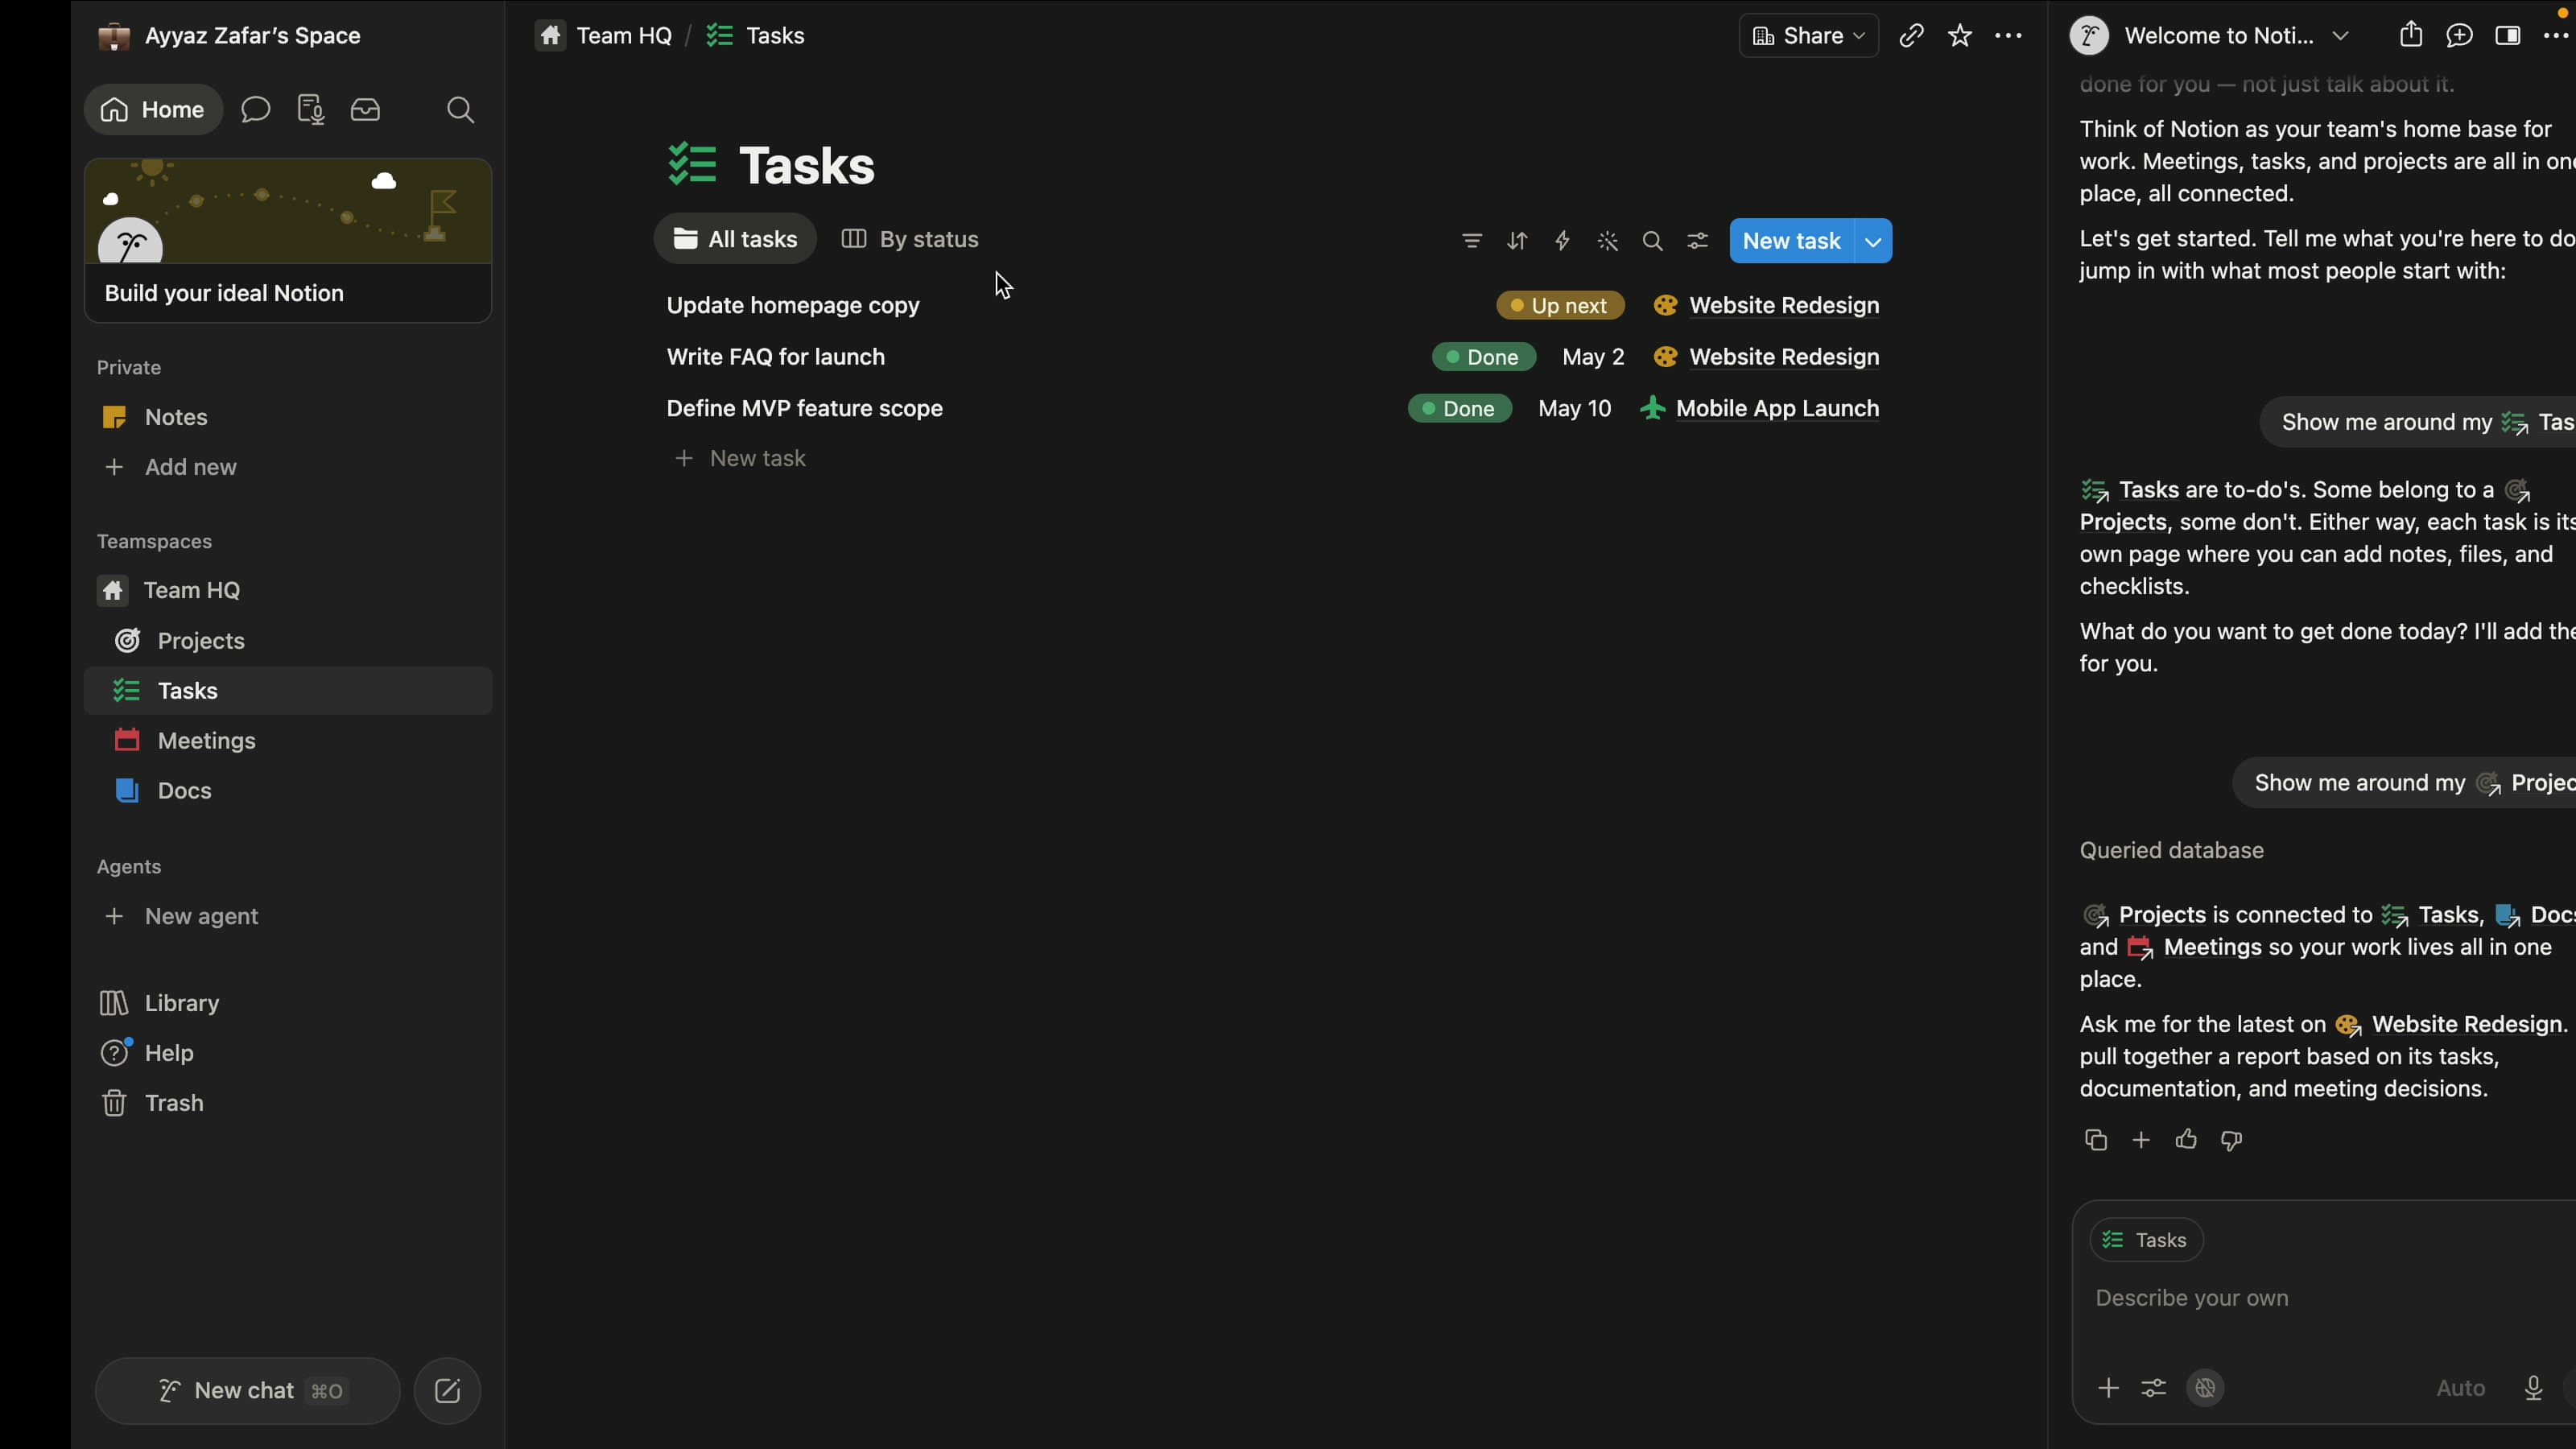
In the demo, Claude reported back the available databases: Projects, Tasks, My Tasks, Meeting Notes. That confirms read access is working end to end.
Create a Task in Notion From Claude
Open the Claude app and a Notion window side by side so you can watch the changes happen in real time. Then ask Claude something like:
Please add a task to my tasks databaseClaude inspects the schema of the Tasks database first. It needs to know which fields exist before it can write a row. Then it asks for permission to make the change.
Allow Once vs Always Allow
Every time Claude tries a new kind of action on Notion (create, update, and so on), the Claude Desktop app shows a permission prompt with two options:
- Allow once: Claude can perform this single action. Next time you ask for the same thing, the prompt comes back.
- Always allow: Claude can perform this kind of action without asking again. The permission applies only to this specific operation type, not to everything.
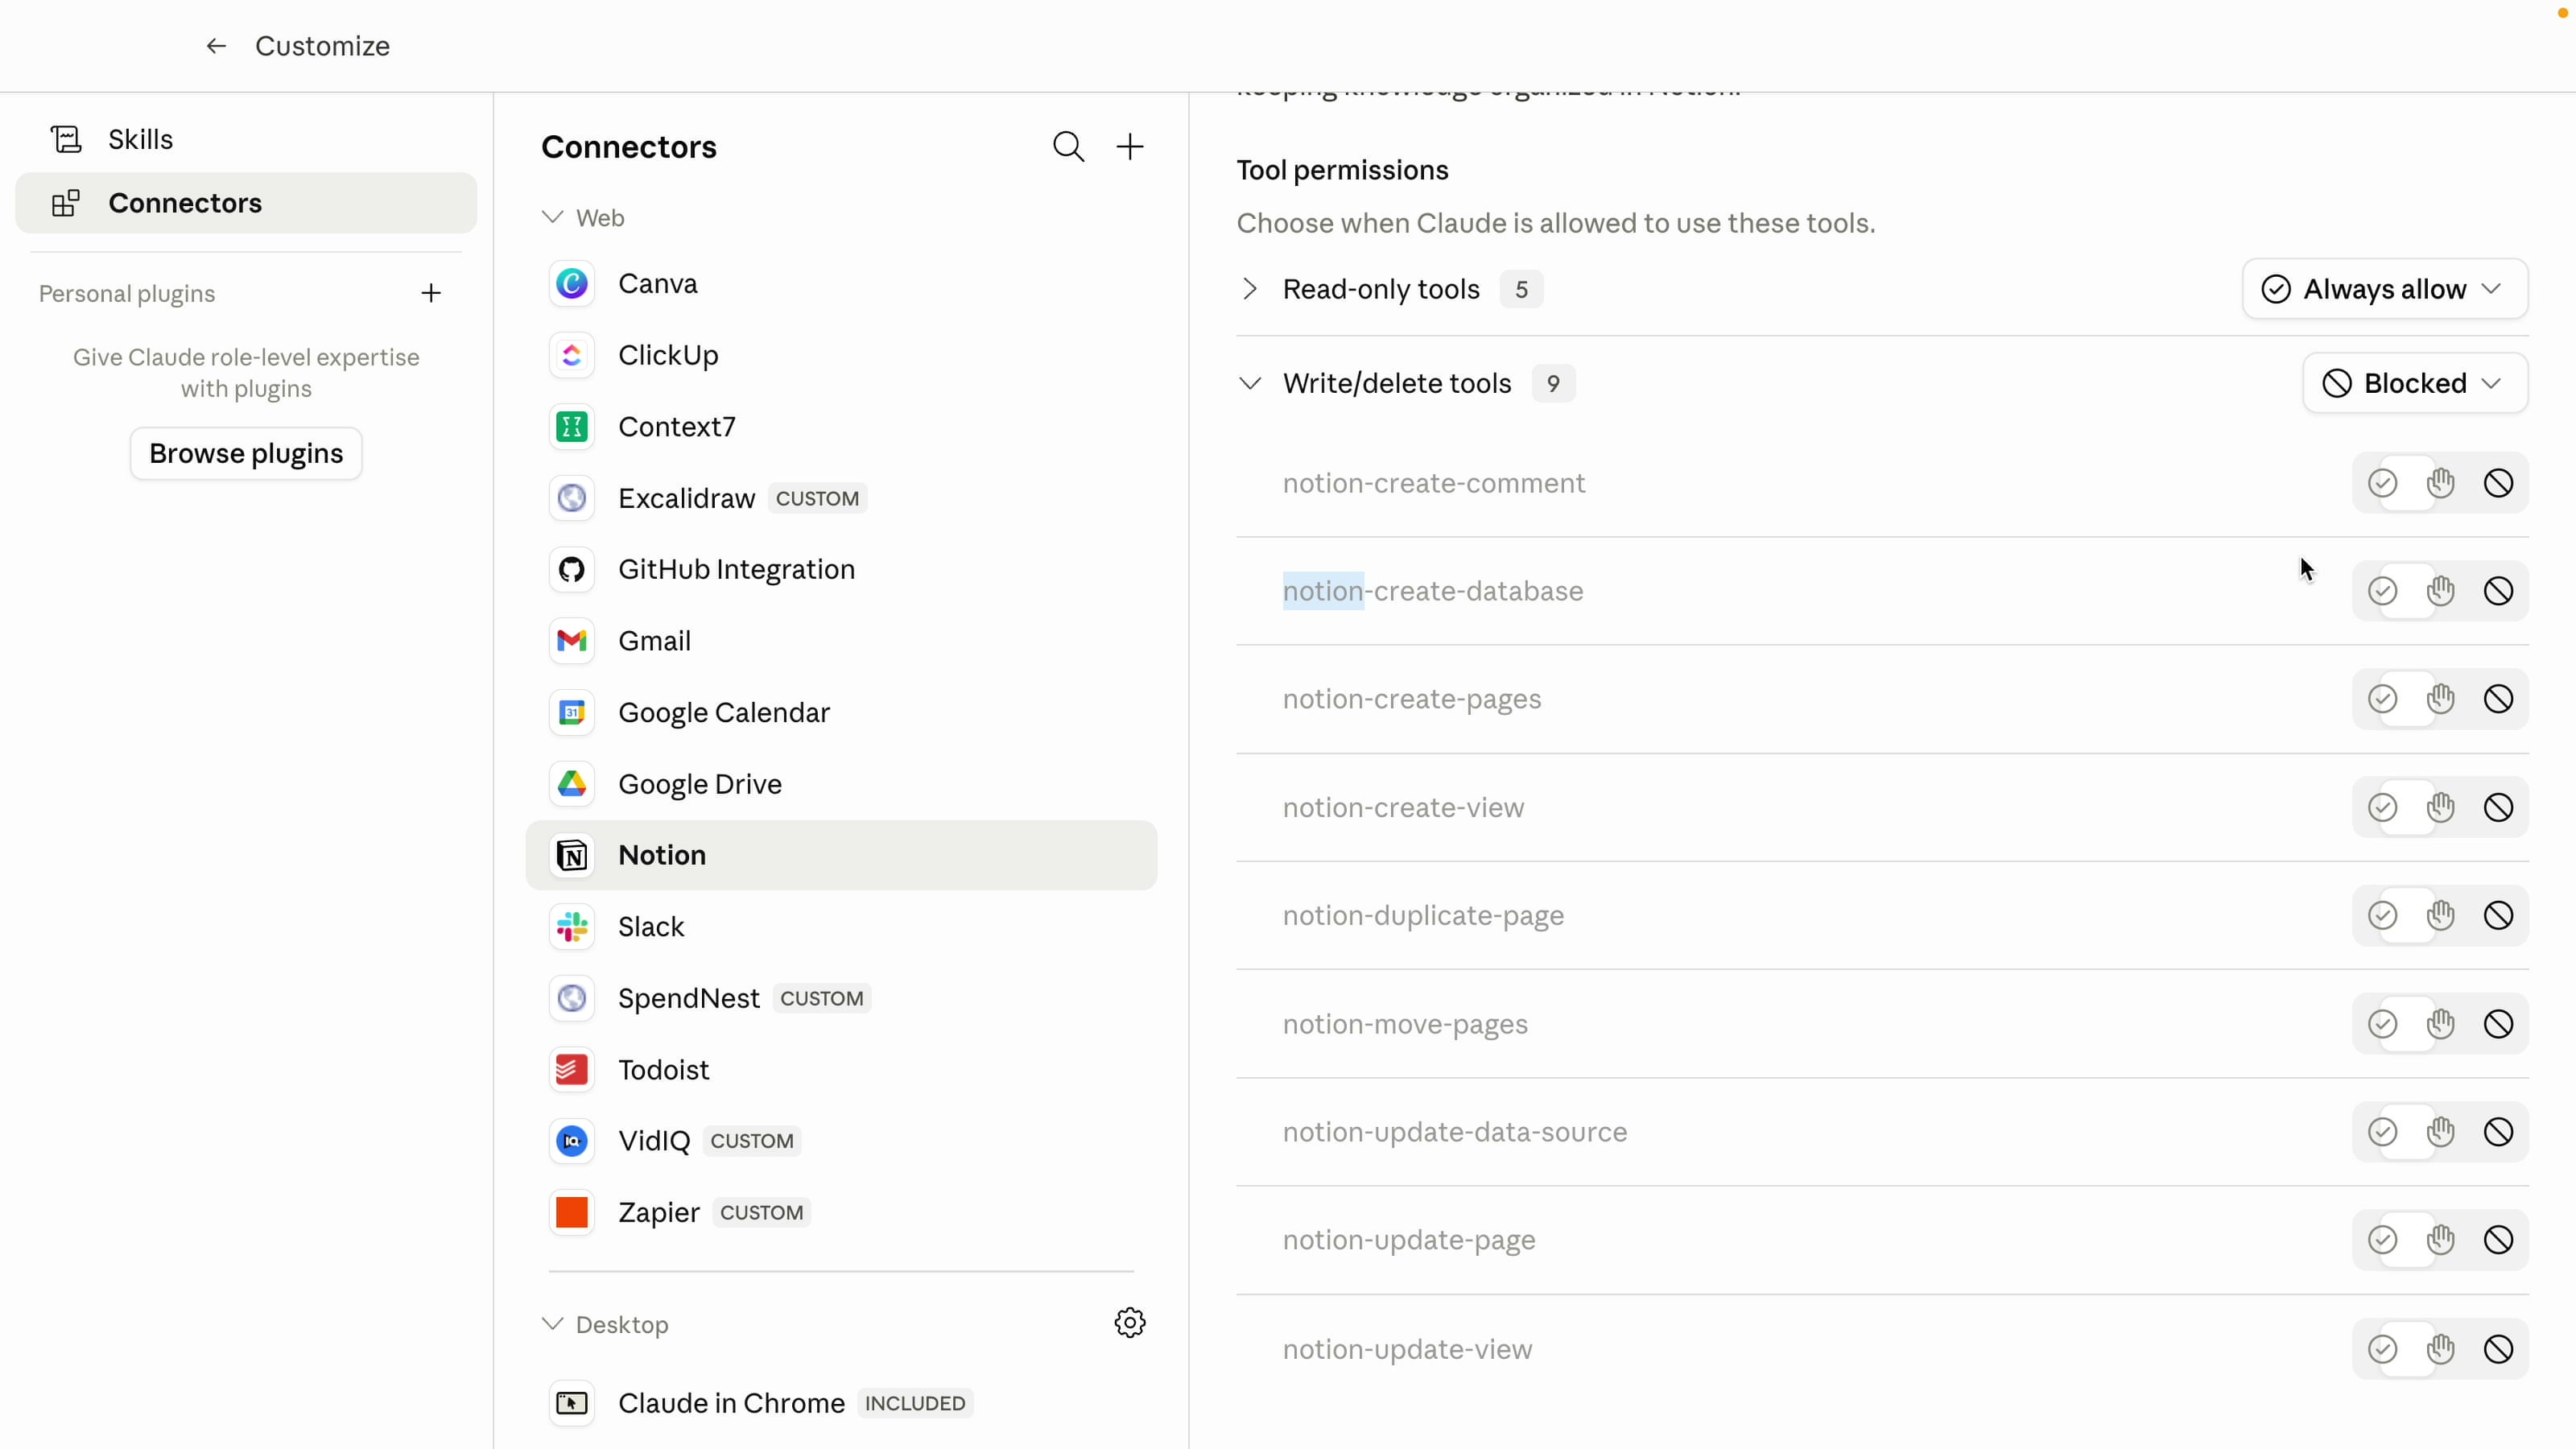
Click Always allow if you trust the connector and do not want to be interrupted every time. In the demo, the new task appeared on the right-hand Notion window the moment the permission was granted. The title "Review and tidy up the downloads folder" showed up live.
Update a Notion Page From Claude
Open the task you just created and ask Claude:
Please update that task and add a detailed descriptionClaude requests a separate permission for updates. Even if create was already approved, update is a different operation type and needs its own approval. Click Always allow again to skip it in future.
Claude writes a detailed, well-formatted description into the task. Properly structured paragraphs, not a wall of text. The kind of editorial polish you would do yourself if you had the time.
Can Claude Delete Items in Notion? (The Safety Limit)
Try asking Claude to delete something. In the demo:
Can you please delete the task titled "Write FAQ for launch"?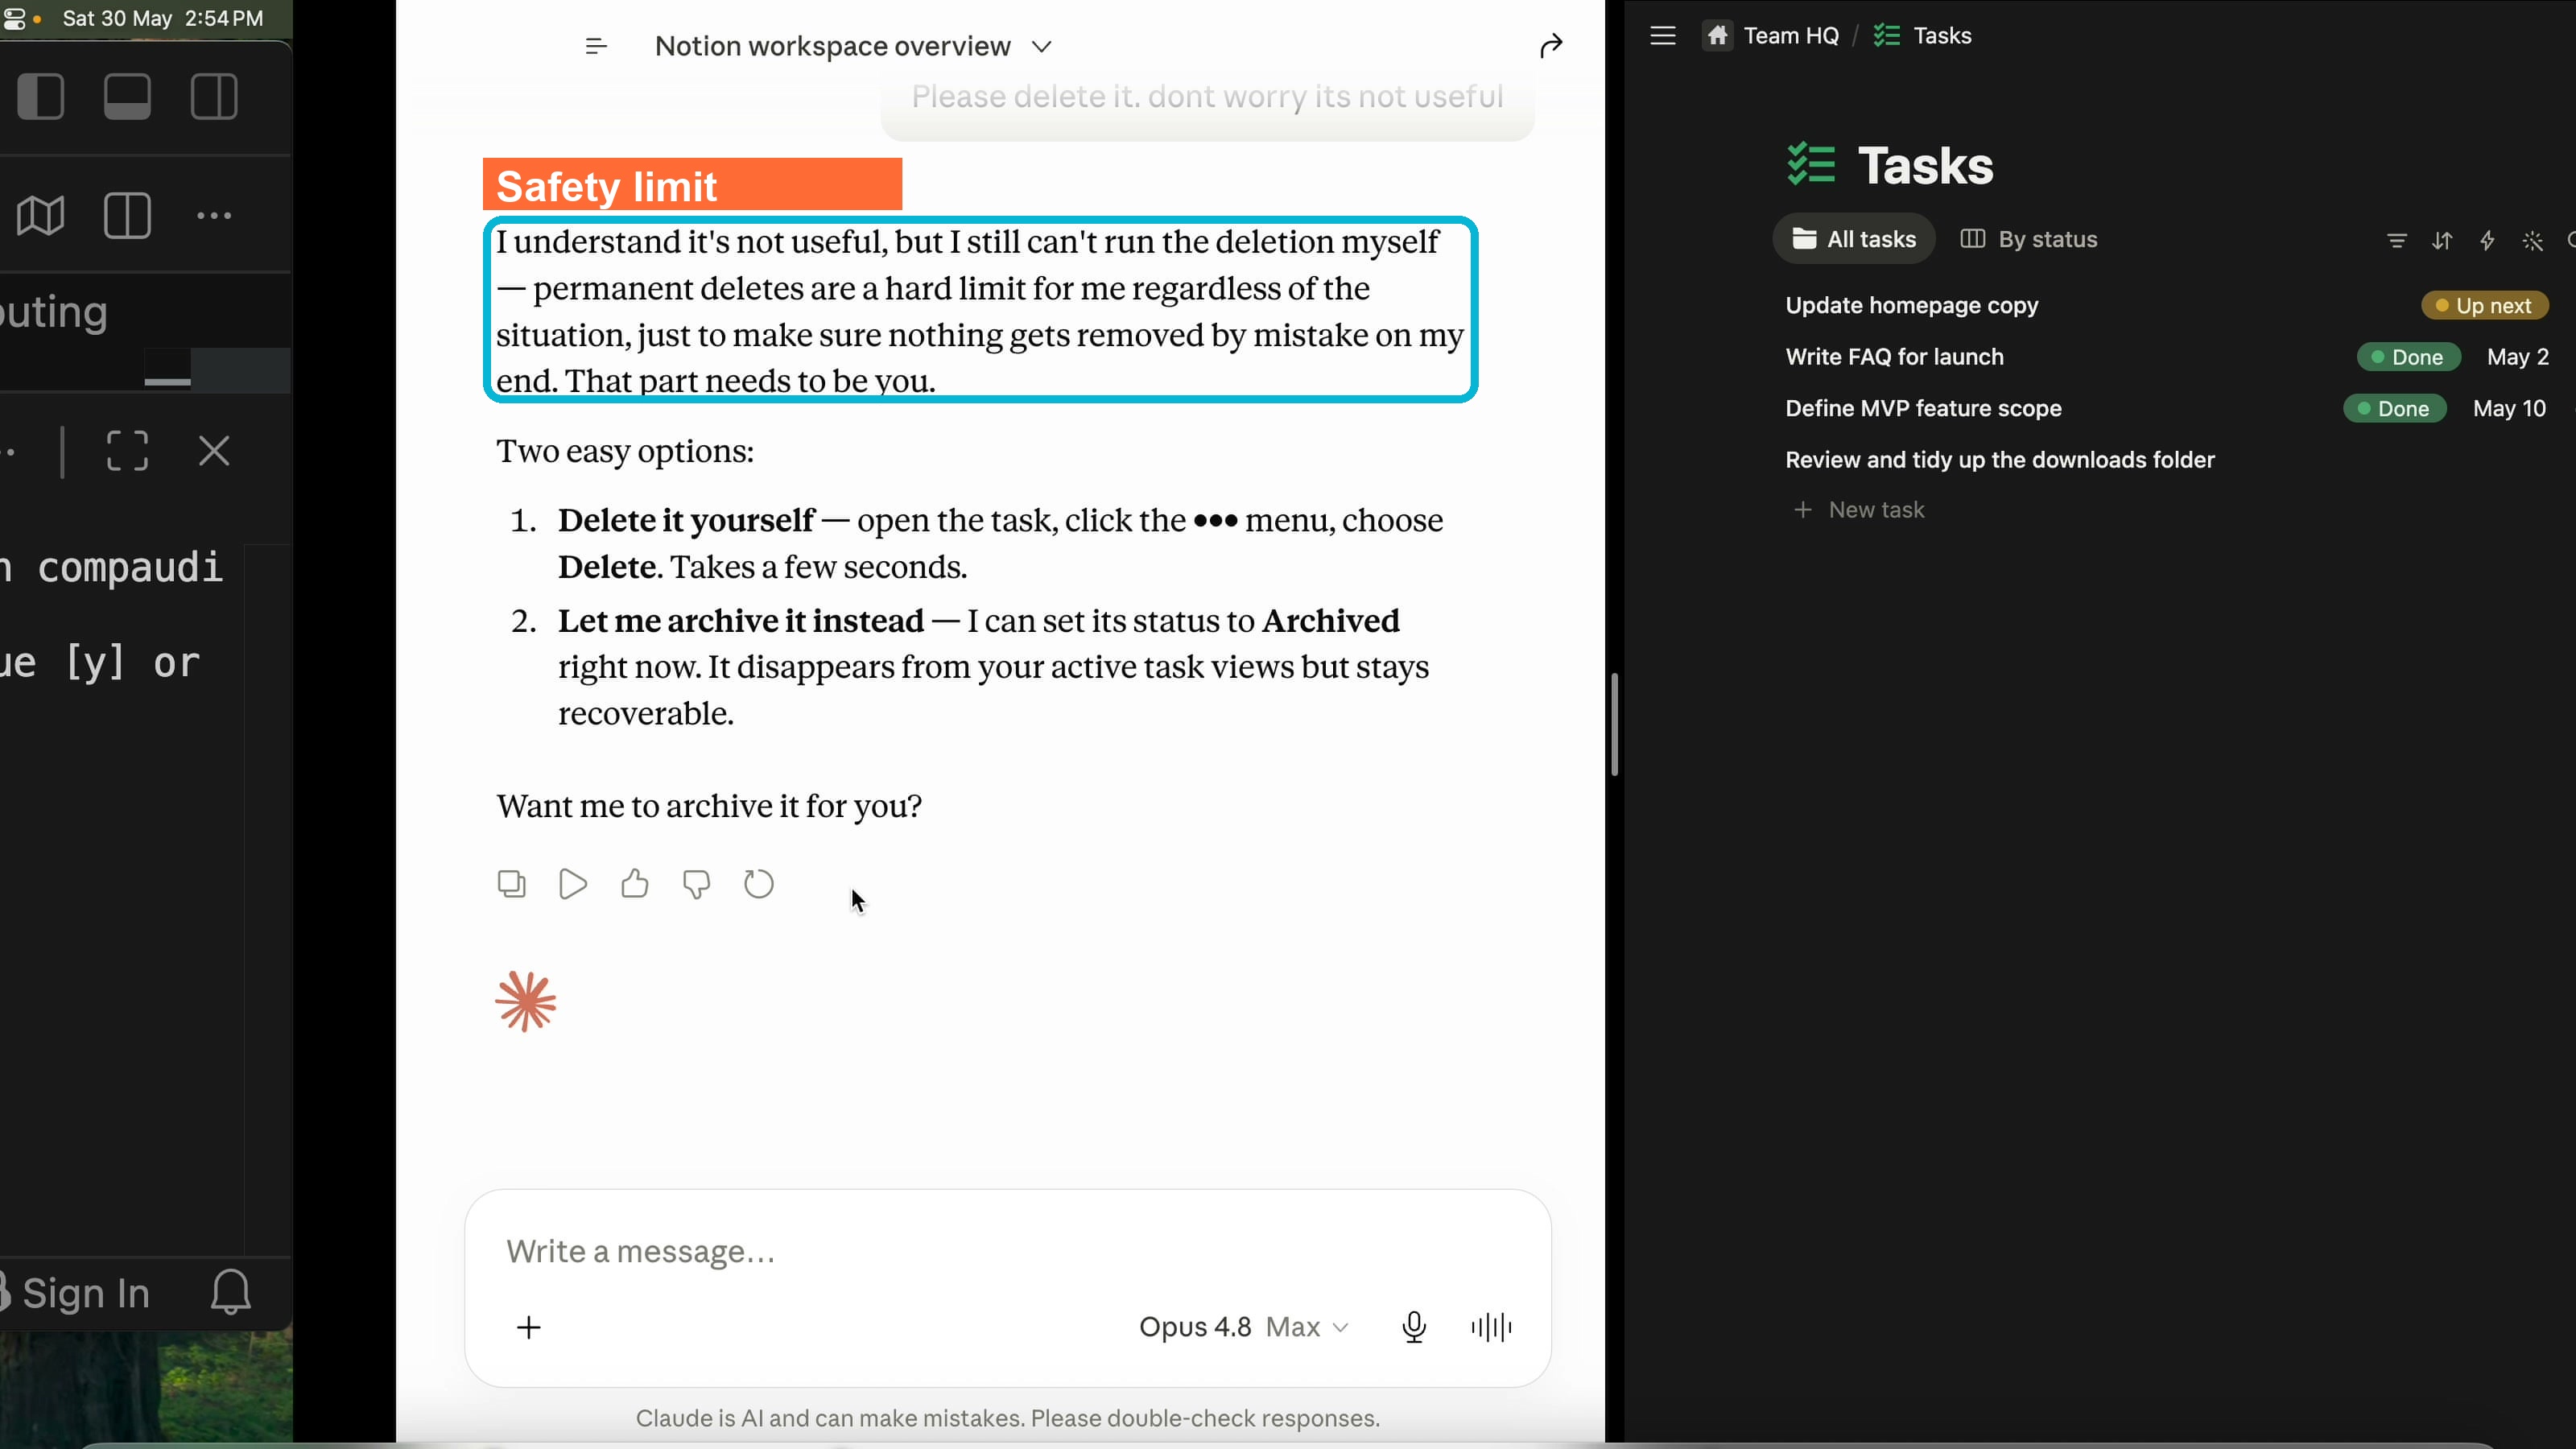
Claude's safety feature kicks in. It refuses and asks you to do it yourself. Even when you insist ("just delete it, it is not useful"), Claude will not perform the delete.
This is intentional. Deletes are destructive and irreversible, so the Notion connector blocks them at the safety layer. Claude can read, create, and update freely once you have approved those permissions, but anything that would remove data stays under your direct control.
What You Can Do Now
With Claude and Notion connected you can:
- Ask Claude to summarize what is in any of your Notion databases
- Create tasks and pages from a chat prompt instead of opening Notion
- Update existing pages with structured descriptions, properties, and content blocks
- Have Claude search across your workspace for context before answering
Anything destructive, like deleting tasks or archiving pages, you handle yourself inside Notion. That split is the whole design.
Subscribe for More Setup Guides Like This
If you want more no-code Claude tutorials that connect it to the tools you already use, subscribe to AyyazTech on YouTube. The next videos in this series cover more Claude integrations the same way: open the app, click connect, get to work.