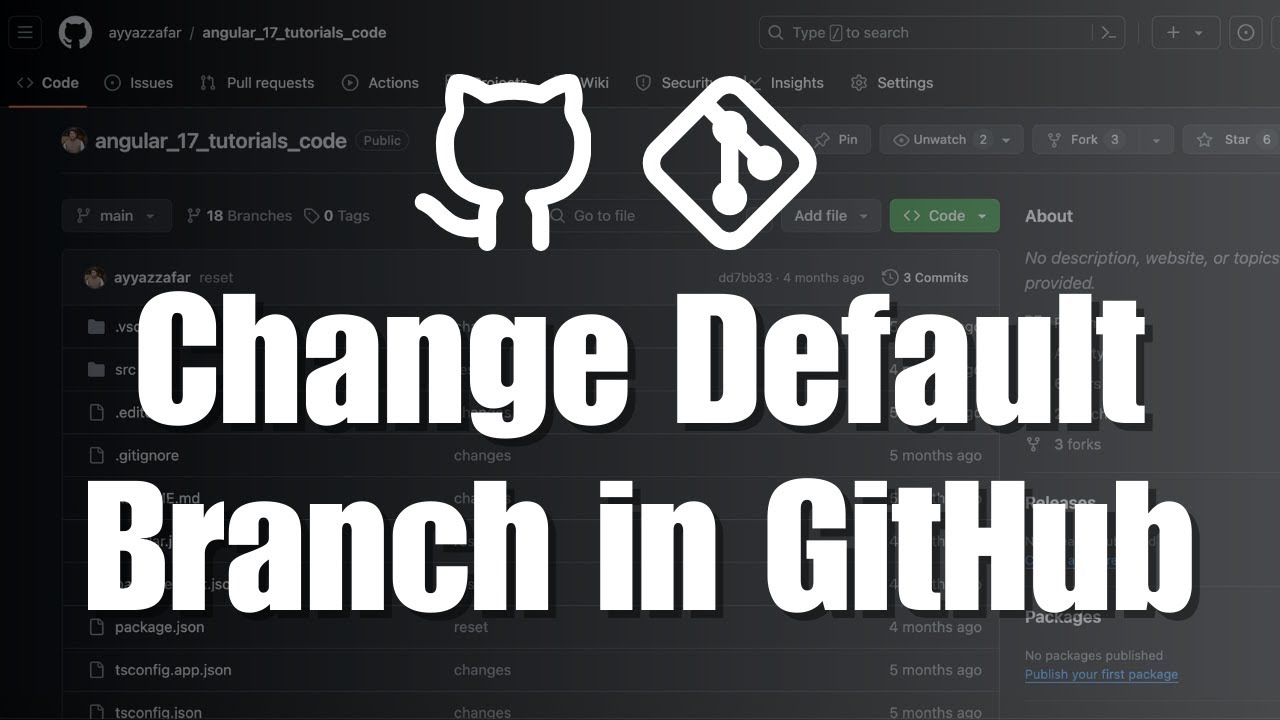
How to Change the Default Branch in Your GitHub Repository?
How to Change the Default Branch in Your GitHub RepositoryUnderstanding Default Branch Management in GitHubManaging your GitHub repository's default branch is a crucial skill for developers and team c...

How to Change the Default Branch in Your GitHub Repository
Understanding Default Branch Management in GitHub
Managing your GitHub repository's default branch is a crucial skill for developers and team collaborators. Typically, repositories start with "main" or "master" as the default branch, but sometimes you might need to change this to reflect your project's current workflow or naming conventions.
Why Change Your Default Branch?
- Align with team's branching strategy
- Reflect modern development practices
- Improve project organization
Step-by-Step Guide to Changing Your Default Branch
The process of changing your default branch is straightforward. In the video tutorial, I walk through the exact steps to modify your repository's primary branch settings in GitHub.
Key Steps Covered in the Tutorial
- Navigating repository settings
- Selecting a new default branch
- Confirming and implementing the change
- Communicating the update to your team
Watch the full video tutorial here to get a comprehensive walkthrough of changing your GitHub repository's default branch.
Don't forget to subscribe to our channel for more tutorials and tips! We regularly share in-depth guides on GitHub, version control, and software development best practices.
Hosting Recommendation
If you're looking to host your projects, I recommend checking out Hostinger. They offer reliable hosting with easy-to-use control panels and 24/7 customer support. Use my affiliate link for an exclusive discount!