How to Build a CRM App with Claude Code in Next.js (Full Tutorial 2026)
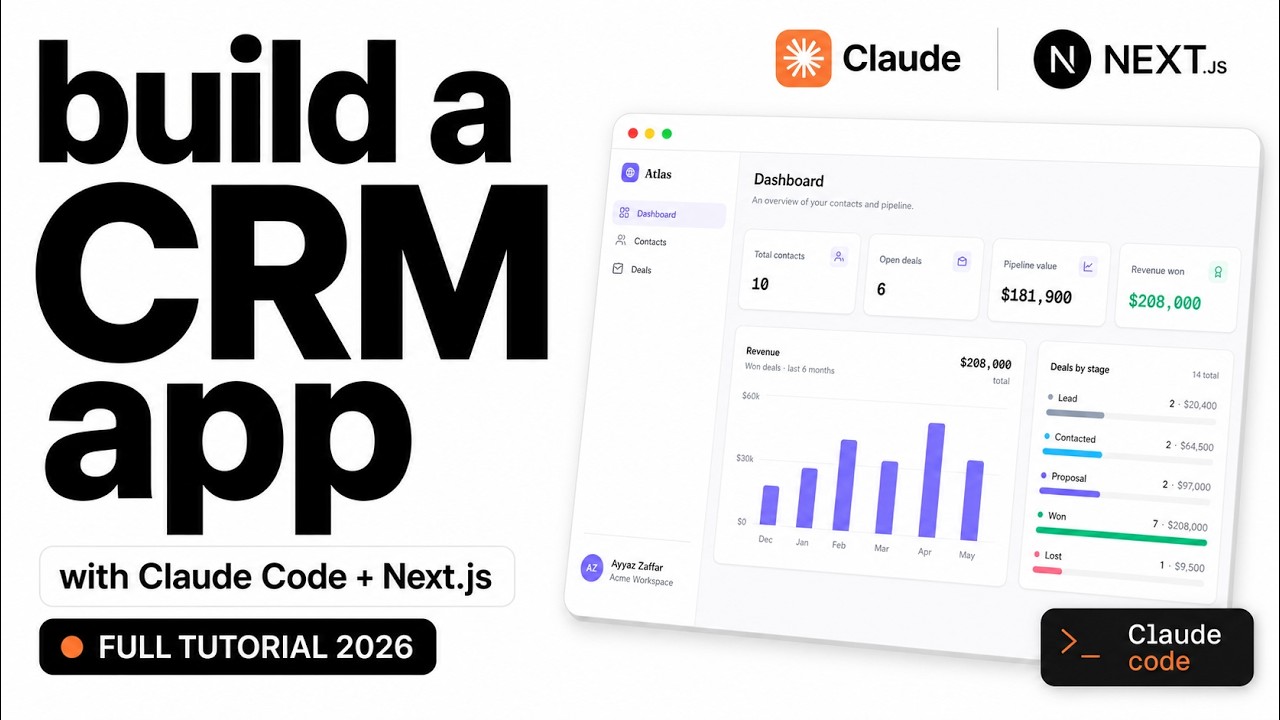
I built a complete, working CRM by talking to Claude Code. Contacts, a drag-and-drop deal pipeline, a live dashboard, and a login screen. No template, no boilerplate. This post walks through the whole build, including every prompt and command I used, and the one design trick that stops the result from looking like generic AI output.
The stack is Next.js (App Router), Prisma, Tailwind CSS, and SQLite. Everything runs locally, so you can follow along without deploying anything.
What We're Building
A real CRM (I called it Atlas) with four features. I added each one in its own stage, so the app grows step by step:
- Contacts: list, create, edit, delete (name, email, phone, company, status)
- Deal pipeline: a drag-and-drop Kanban board, with a value on each card
- Dashboard: live stats and a revenue chart
- Login: a simple username and password gate so it feels like a real product
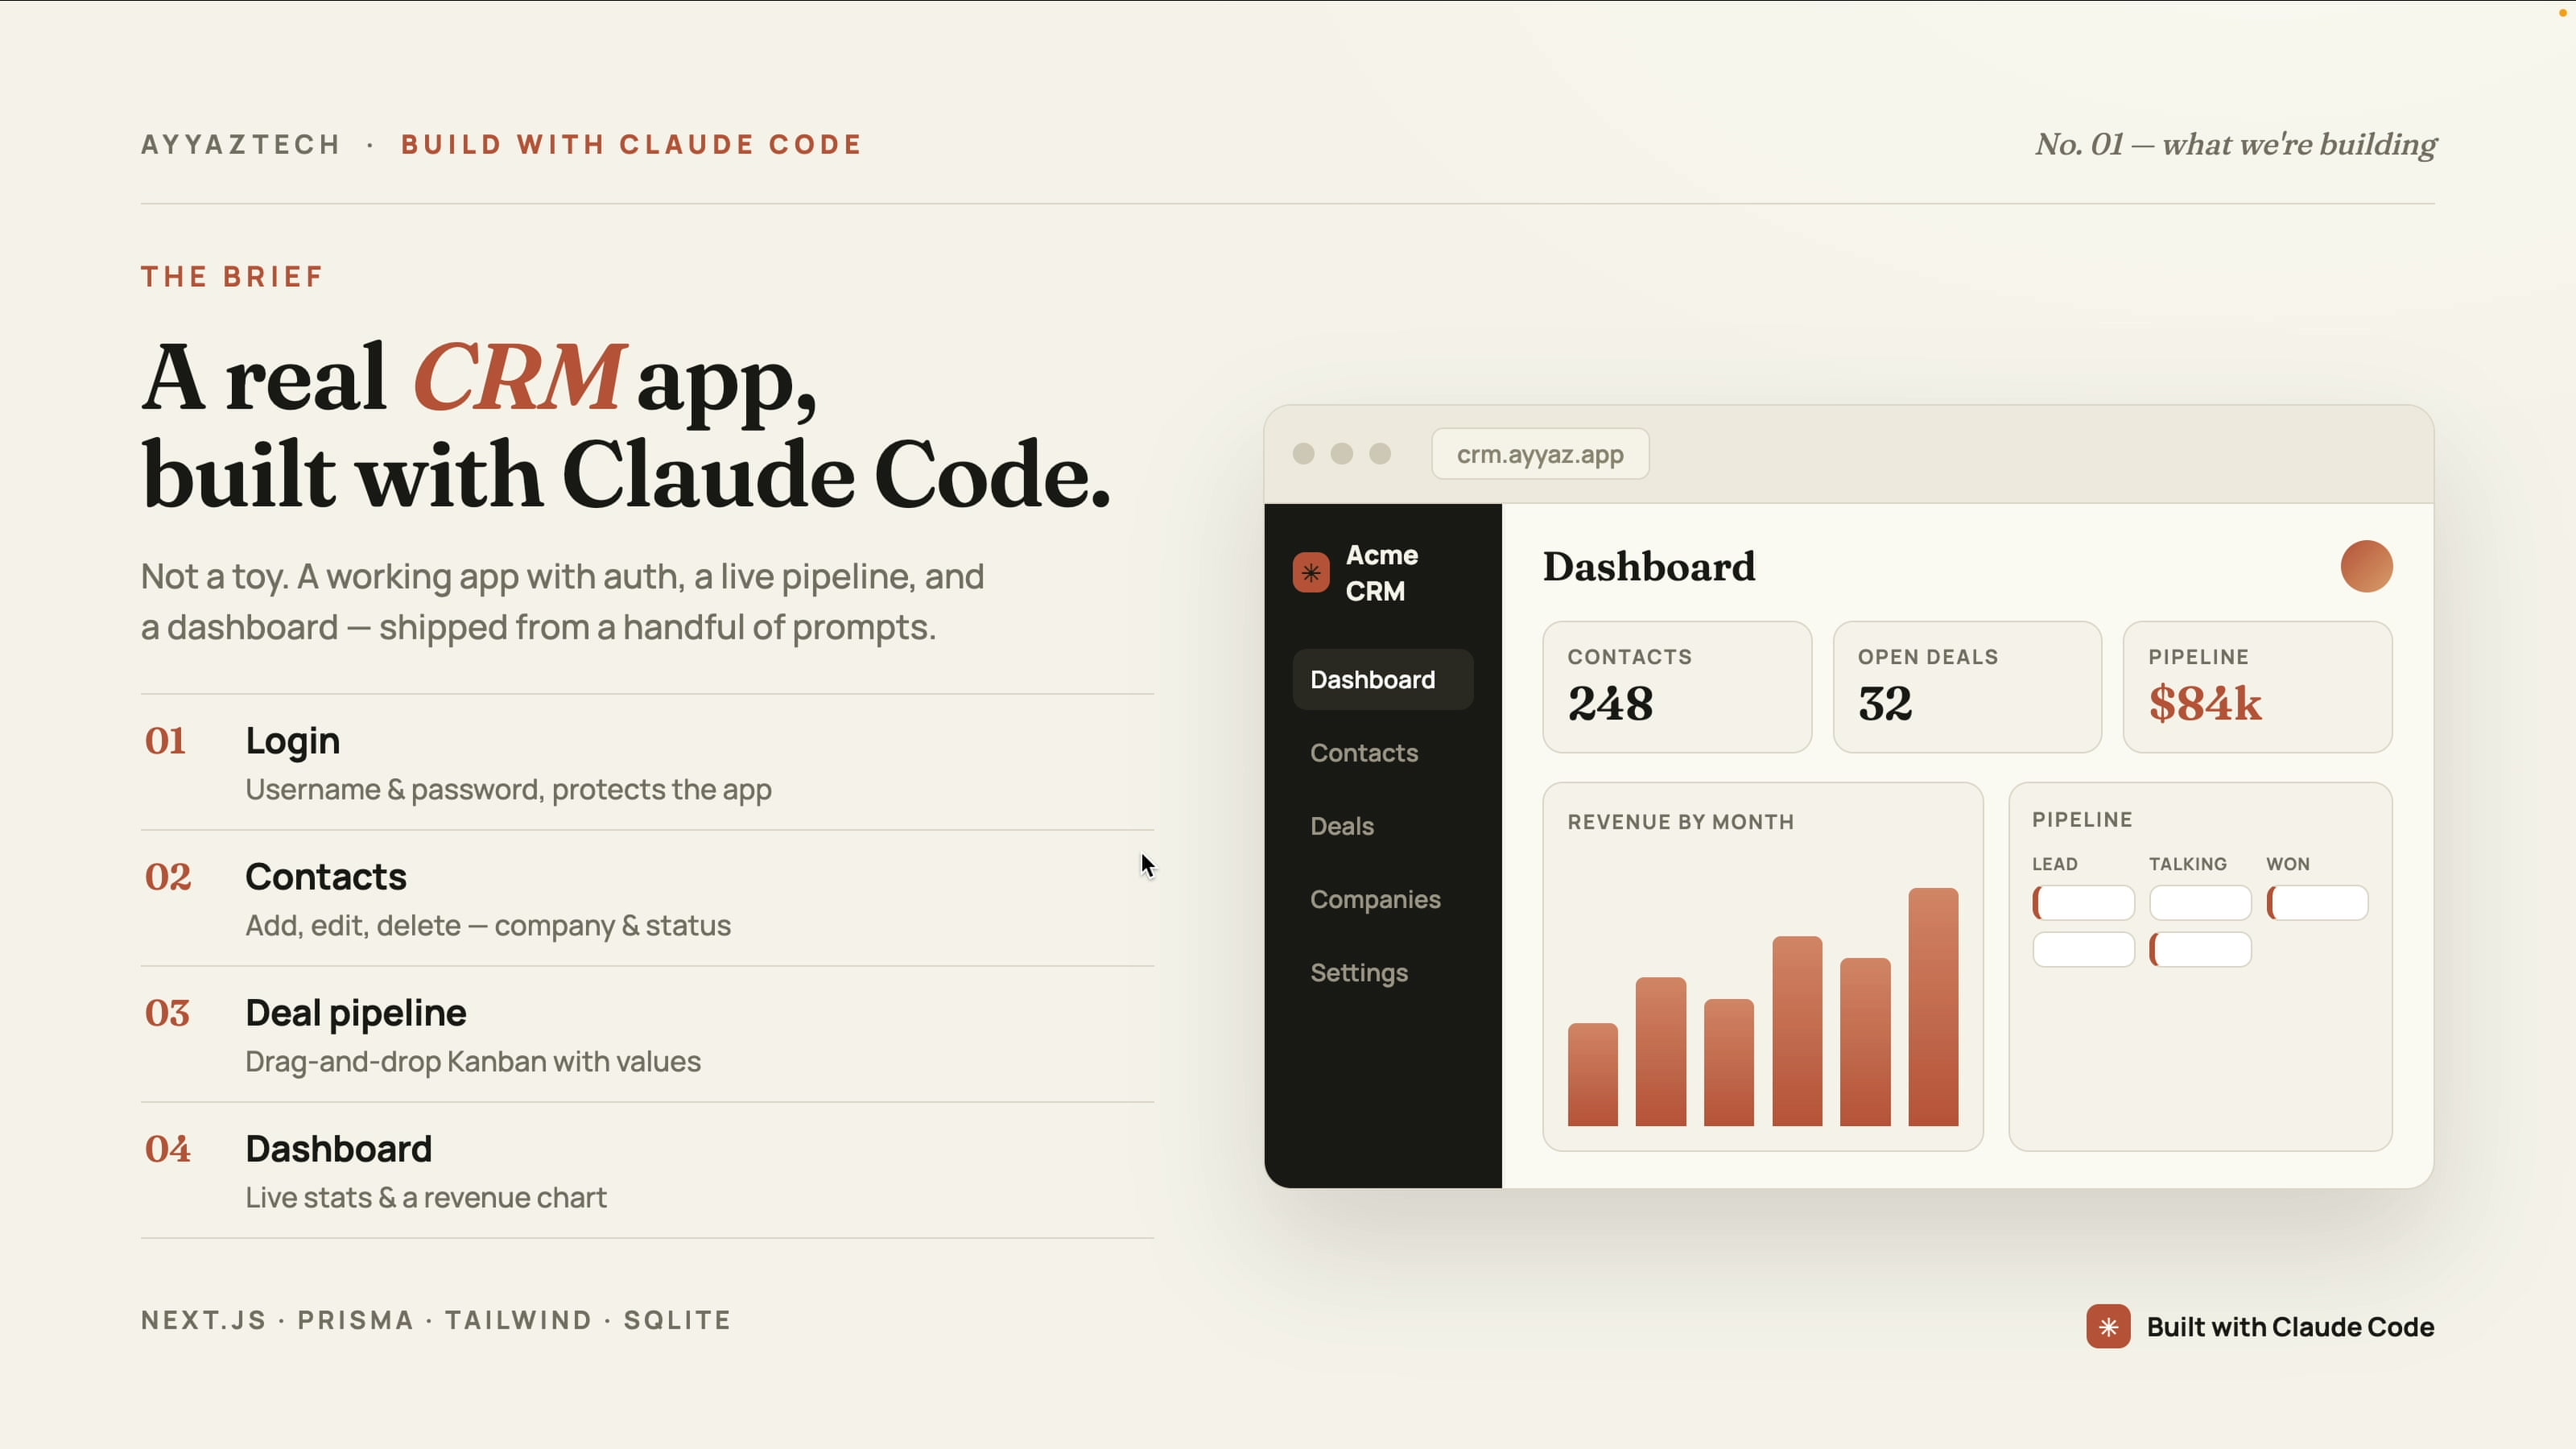
The thing that makes this work is simple. Do not paste one giant prompt. Build in stages. Each stage gives you a working checkpoint, something new to test, and it teaches the skill that actually transfers: iterating with Claude Code.
Step 1: Scaffold the Next.js App
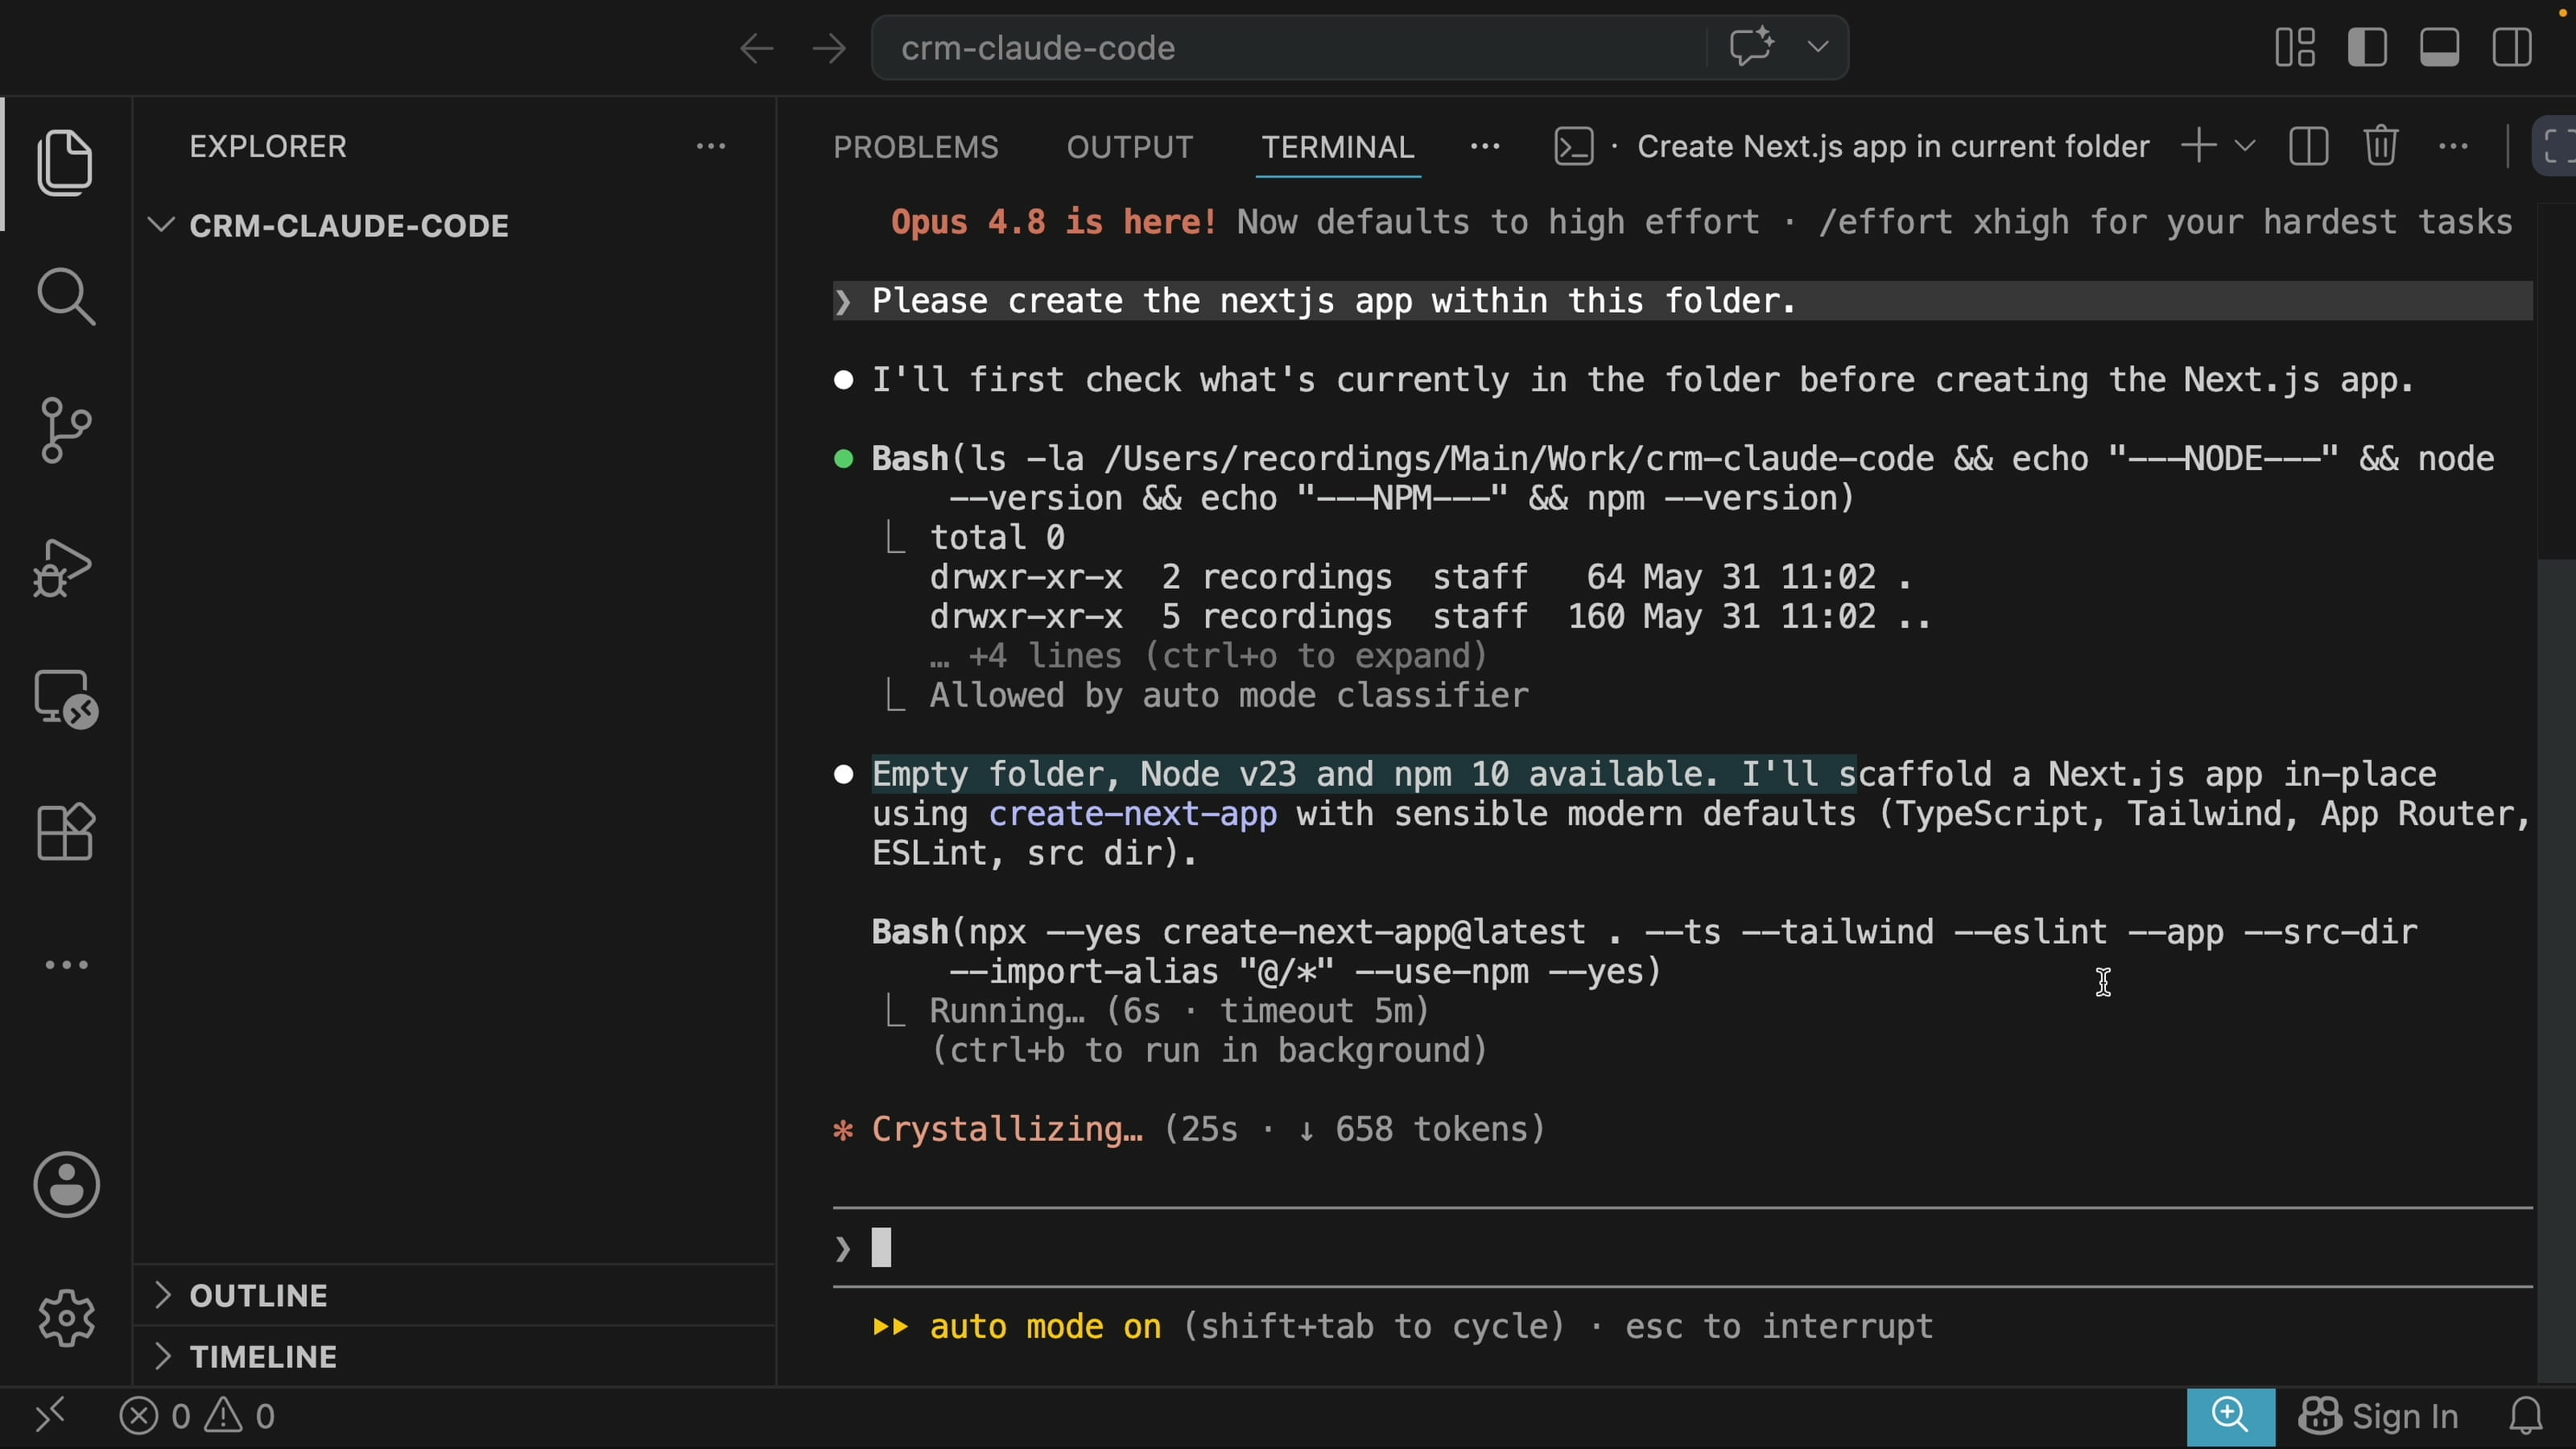
Open the empty project folder in VS Code and start Claude Code in the terminal. Before any feature work, I ask it to set up the base app so the dependencies install first:
Please create the Next.js app within this folder. Use bunx instead of npm.I ask for bunx on purpose. It installs dependencies much faster than npm. The whole app scaffolded in about 38 seconds, with Next.js (App Router), React, TypeScript, Tailwind CSS, and ESLint already set up.
Start the dev server with Bun:
bun run devOpen http://localhost:3000 and you get the default Next.js page. That is the blank canvas we build on.
Step 2: Install the frontend-design Skill
Before the real prompt, install Anthropic's official frontend-design skill. It makes Claude pick a real, consistent look (type, color, layout) instead of the generic defaults most AI-built interfaces ship with. This is the single biggest thing that makes the result look professional.
Install it from inside Claude Code with this command:
/plugin install frontend-design@claude-plugins-officialClaude shows the plugin details and asks where to install it. Choose Install for you (user scope) so the skill is available in every project, not just this one.
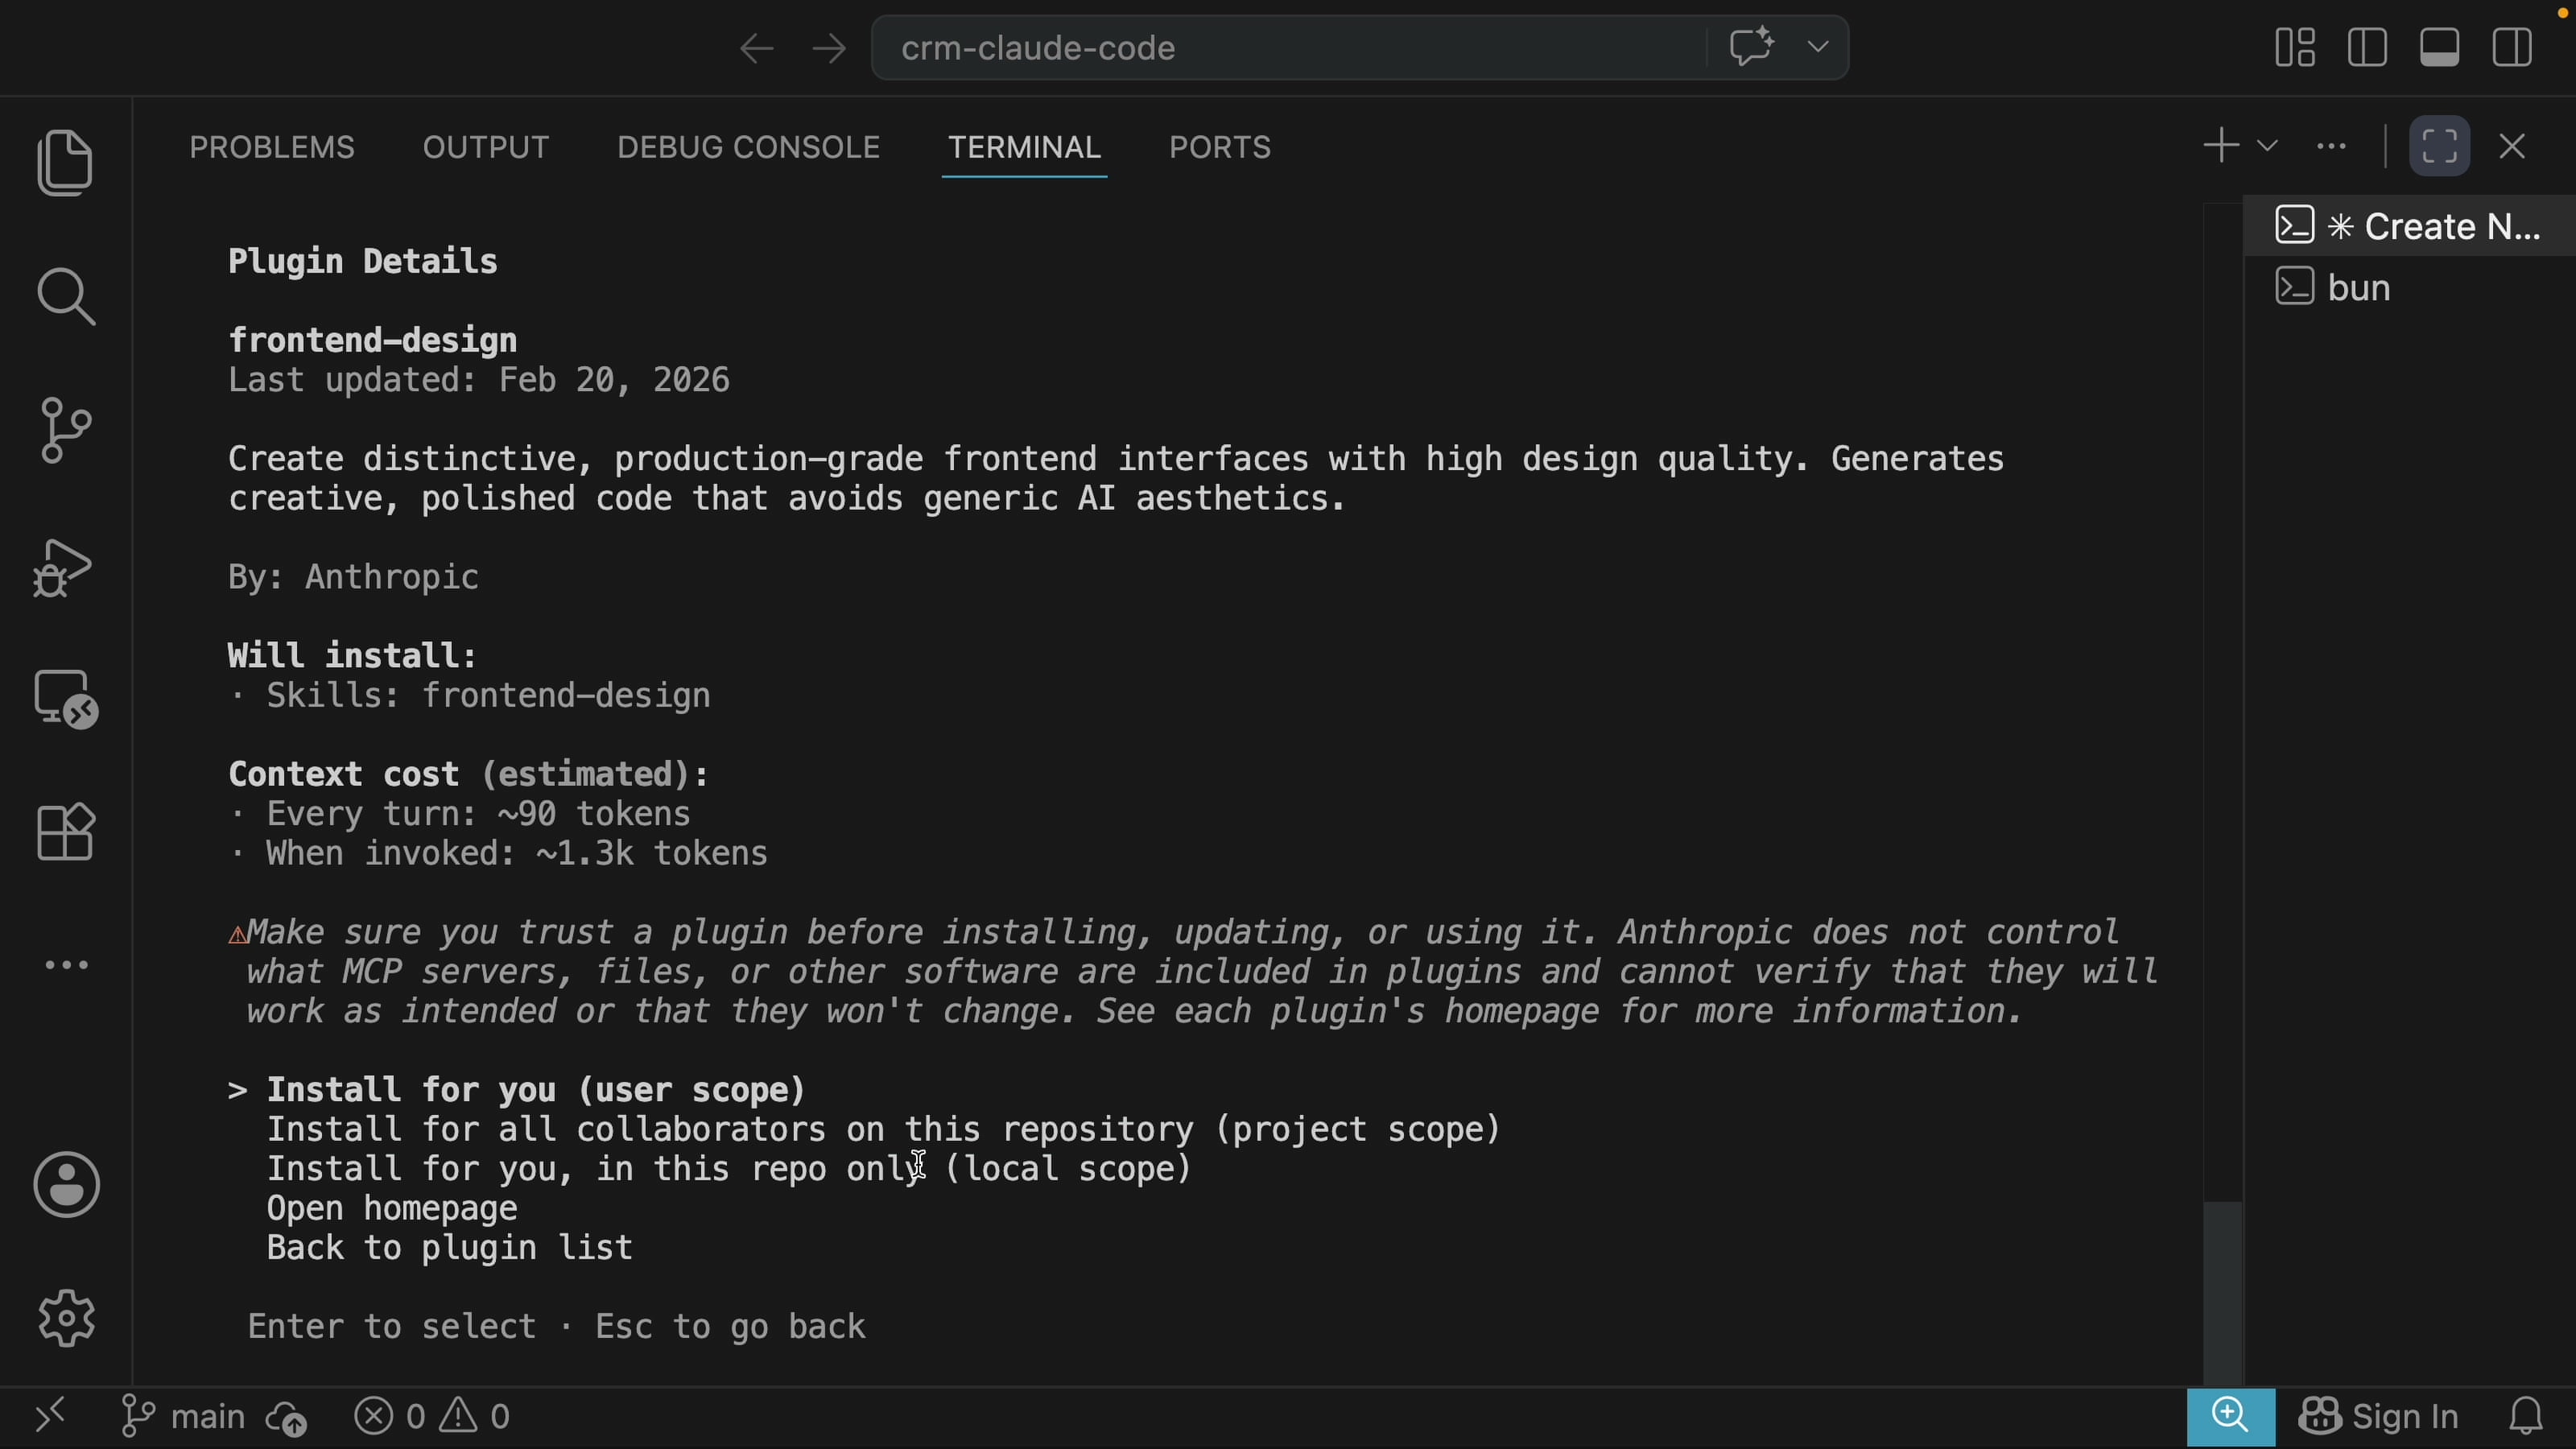
After it installs, run /reload-plugins (or restart Claude Code) so the skill becomes active.
If you have never used official plugins before, you may need to add the official marketplace first. Open the plugin browser with /plugin, add the claude-plugins-official marketplace, then run the install command above.
Step 3: Plan Before You Build
Do not send the prompt straight away. Switch to Plan mode (hold Shift and tap Tab until it switches), then send it. Claude writes a plan first: the Prisma schema, the routes, the components it intends to build, all before touching code. Read it, and only approve once you are happy it understood the job. This is how I work on real projects.
Here is the Stage 1 prompt:
Build the foundation of a CRM web app in this Next.js project. For now, only build:
- A clean, modern SaaS dashboard layout with a sidebar (think Linear or Stripe).
- A Contacts page: list, create, edit, delete (name, email, phone, company, status).
- Use Prisma with SQLite. Seed 10 realistic sample contacts.
Do not build deals, a dashboard, or login yet. We will add those next, one at a time.
Use the frontend-design skill and commit to one cohesive, trustworthy aesthetic.
Claude asked two quick questions: the overall theme (I picked the Stripe-like direction) and the accent color (I chose indigo-violet). Then it produced the plan and built it.
Stage 1: Contacts
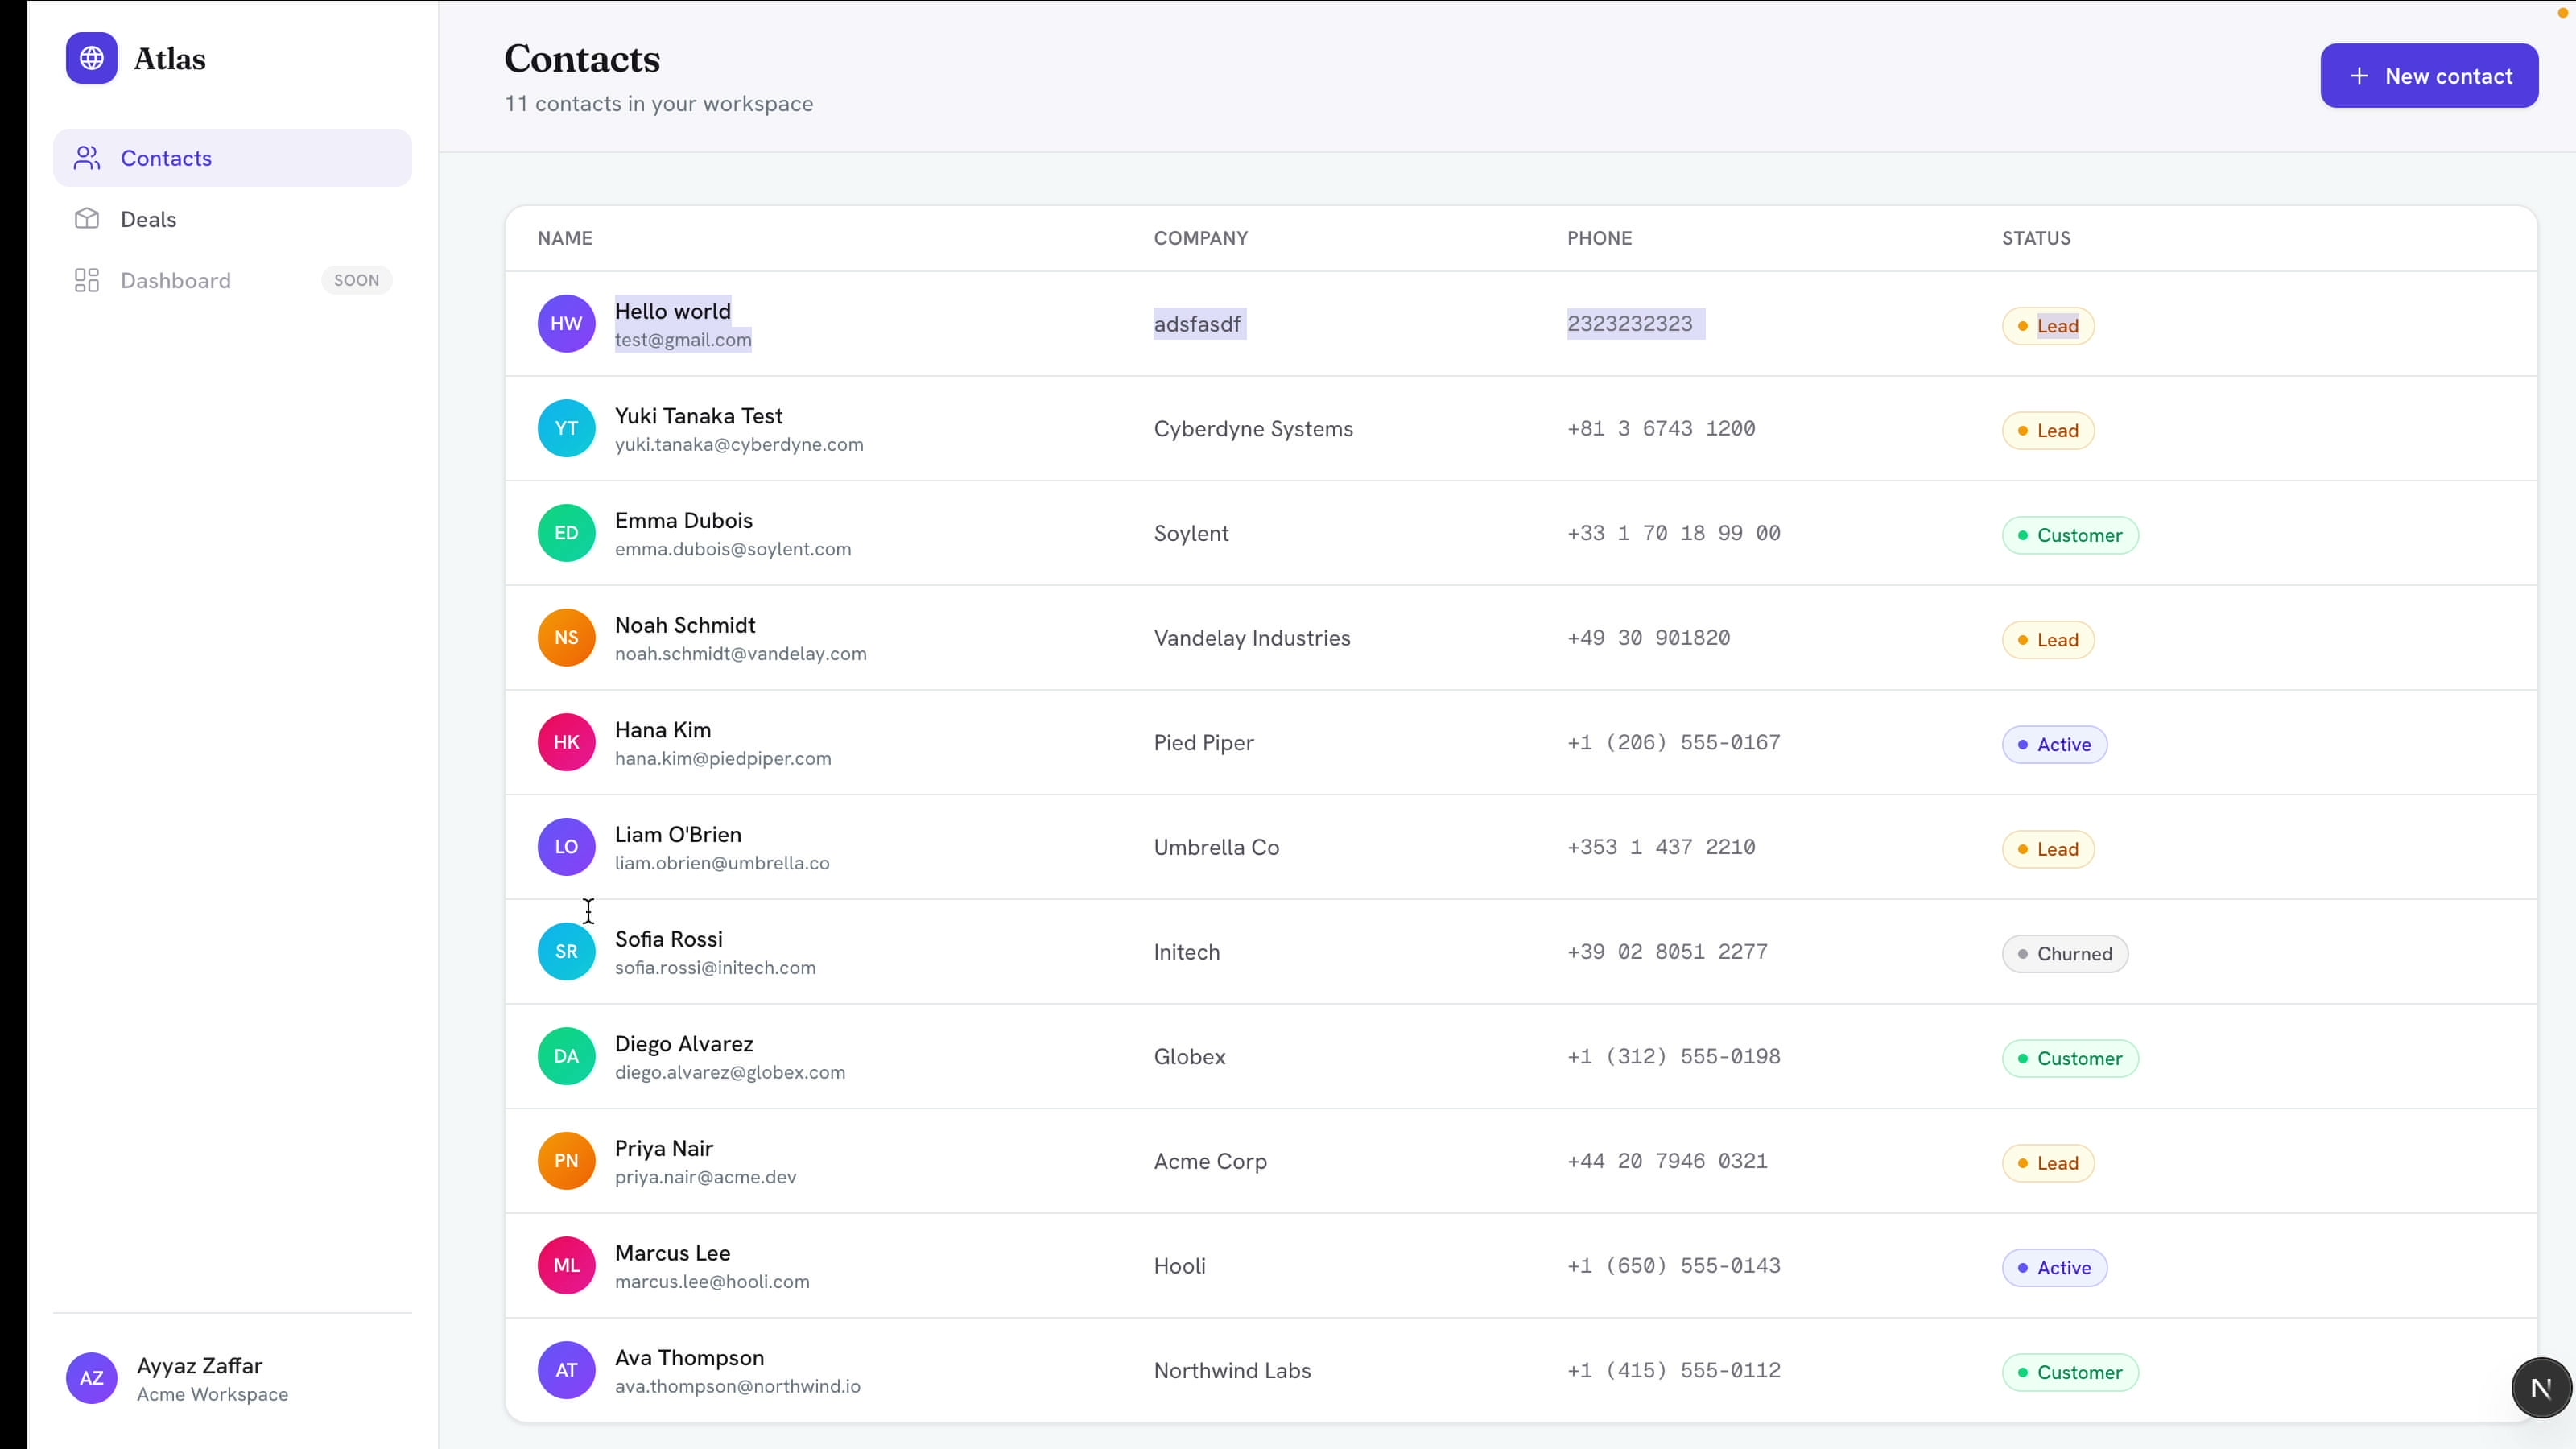
The first run gives a working contacts page. A real table backed by SQLite, not dummy data, with a sidebar that looks like Stripe, plus working edit and delete.
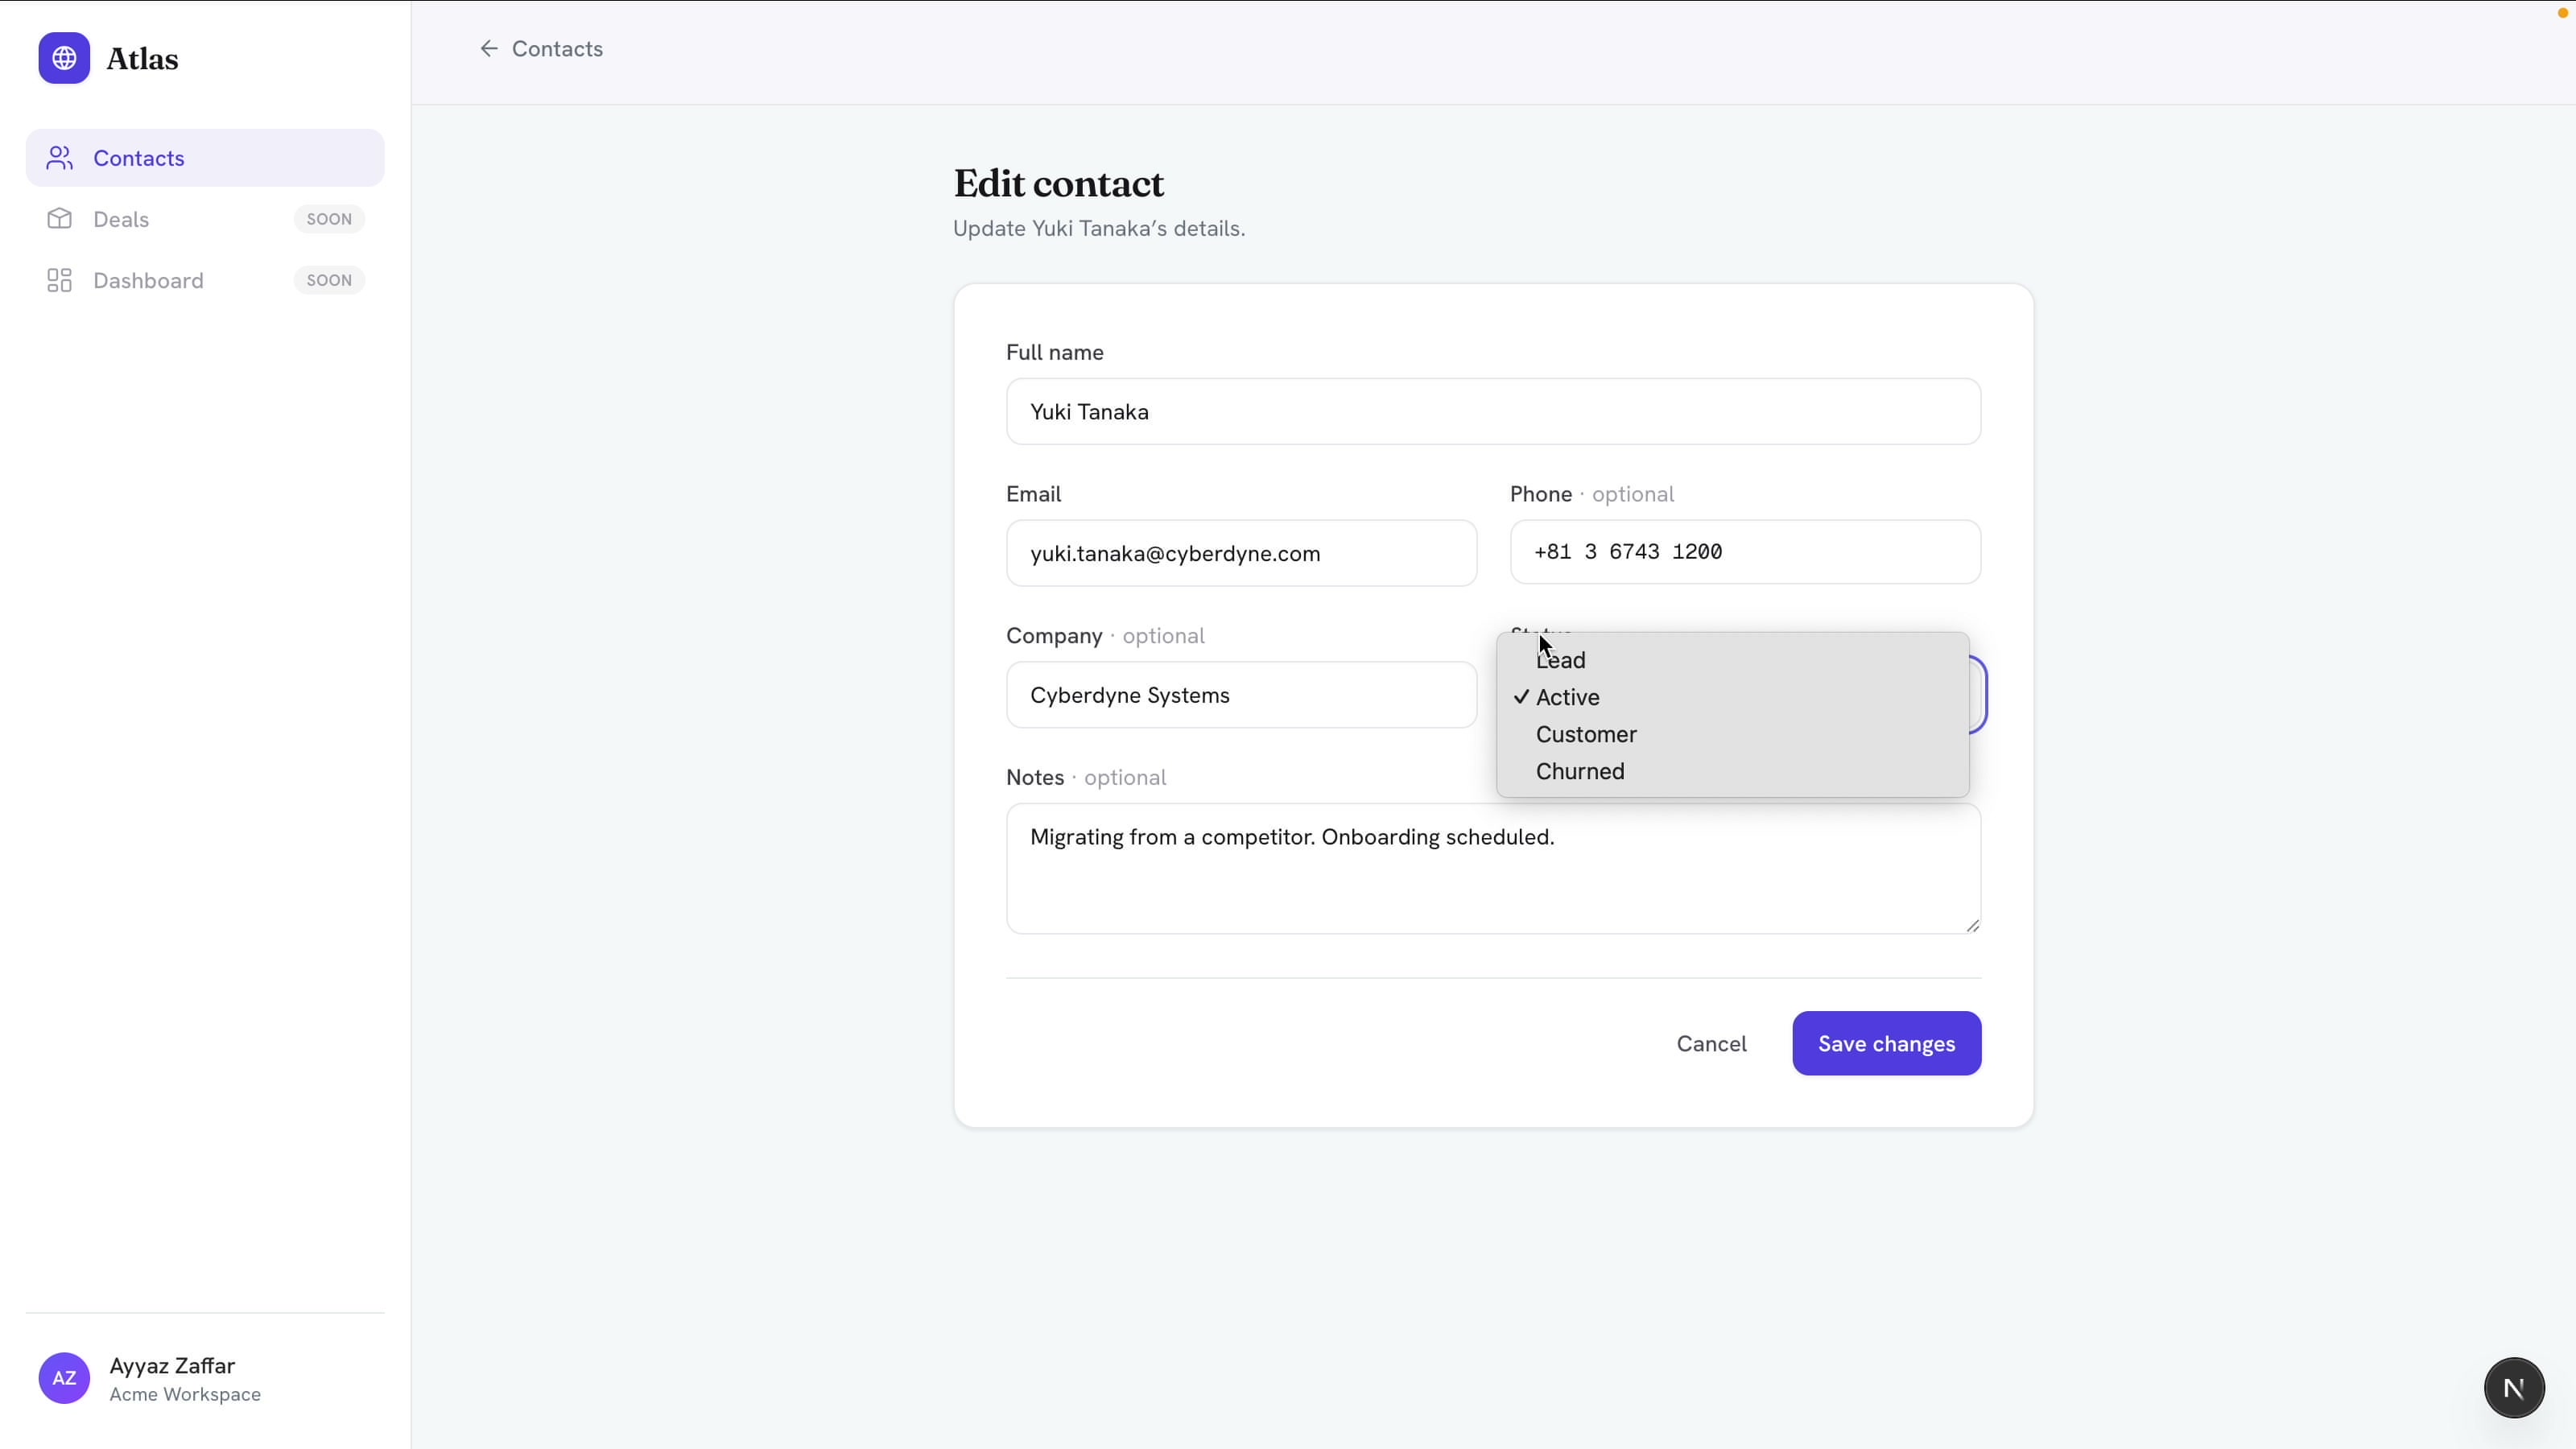
Adding or editing a contact opens a clean form built from the fields in the schema, including a status dropdown (Lead, Active, Customer, Churned):
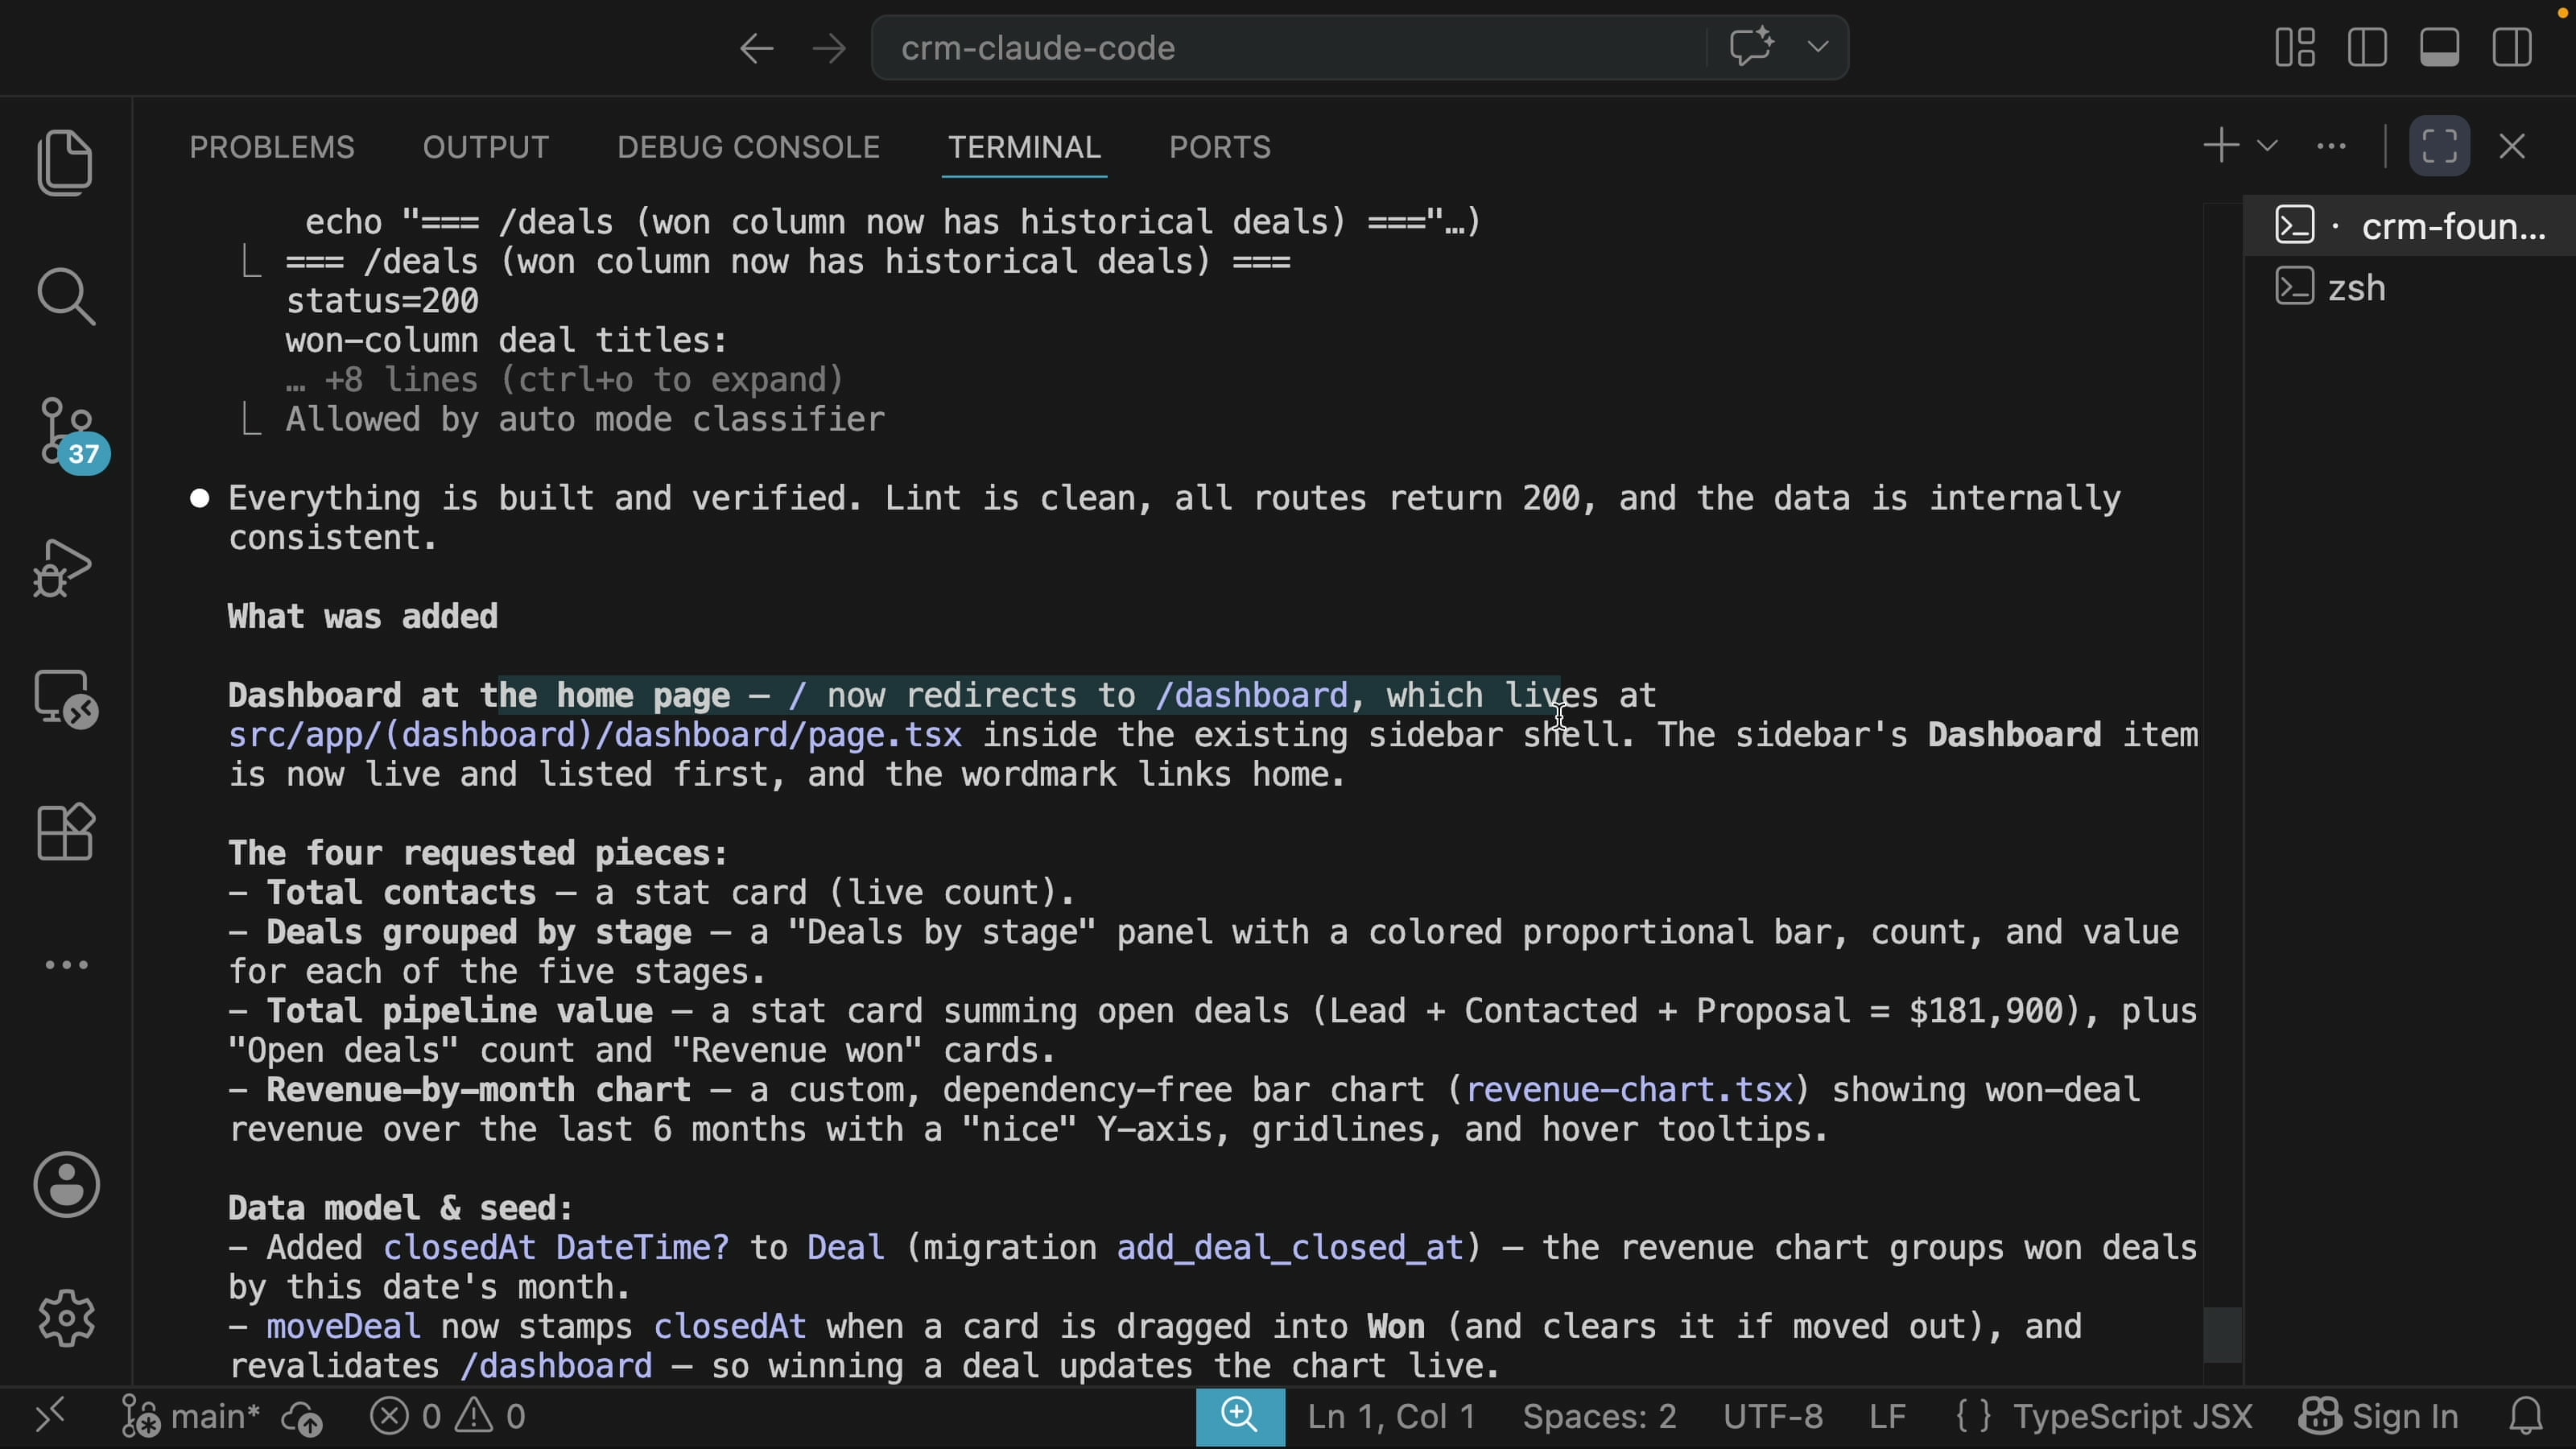
At the end of each stage, Claude reports what it did and confirms the app still works. Here it lists every piece it added and notes that all routes return 200:
Stage 2: The Deal Pipeline
Next, add the deals feature as its own prompt:
Now add a Deals section: a drag-and-drop Kanban pipeline with stages (Lead, Contacted, Proposal, Won, Lost) and a deal value on each card. Seed 8 sample deals spread across the stages.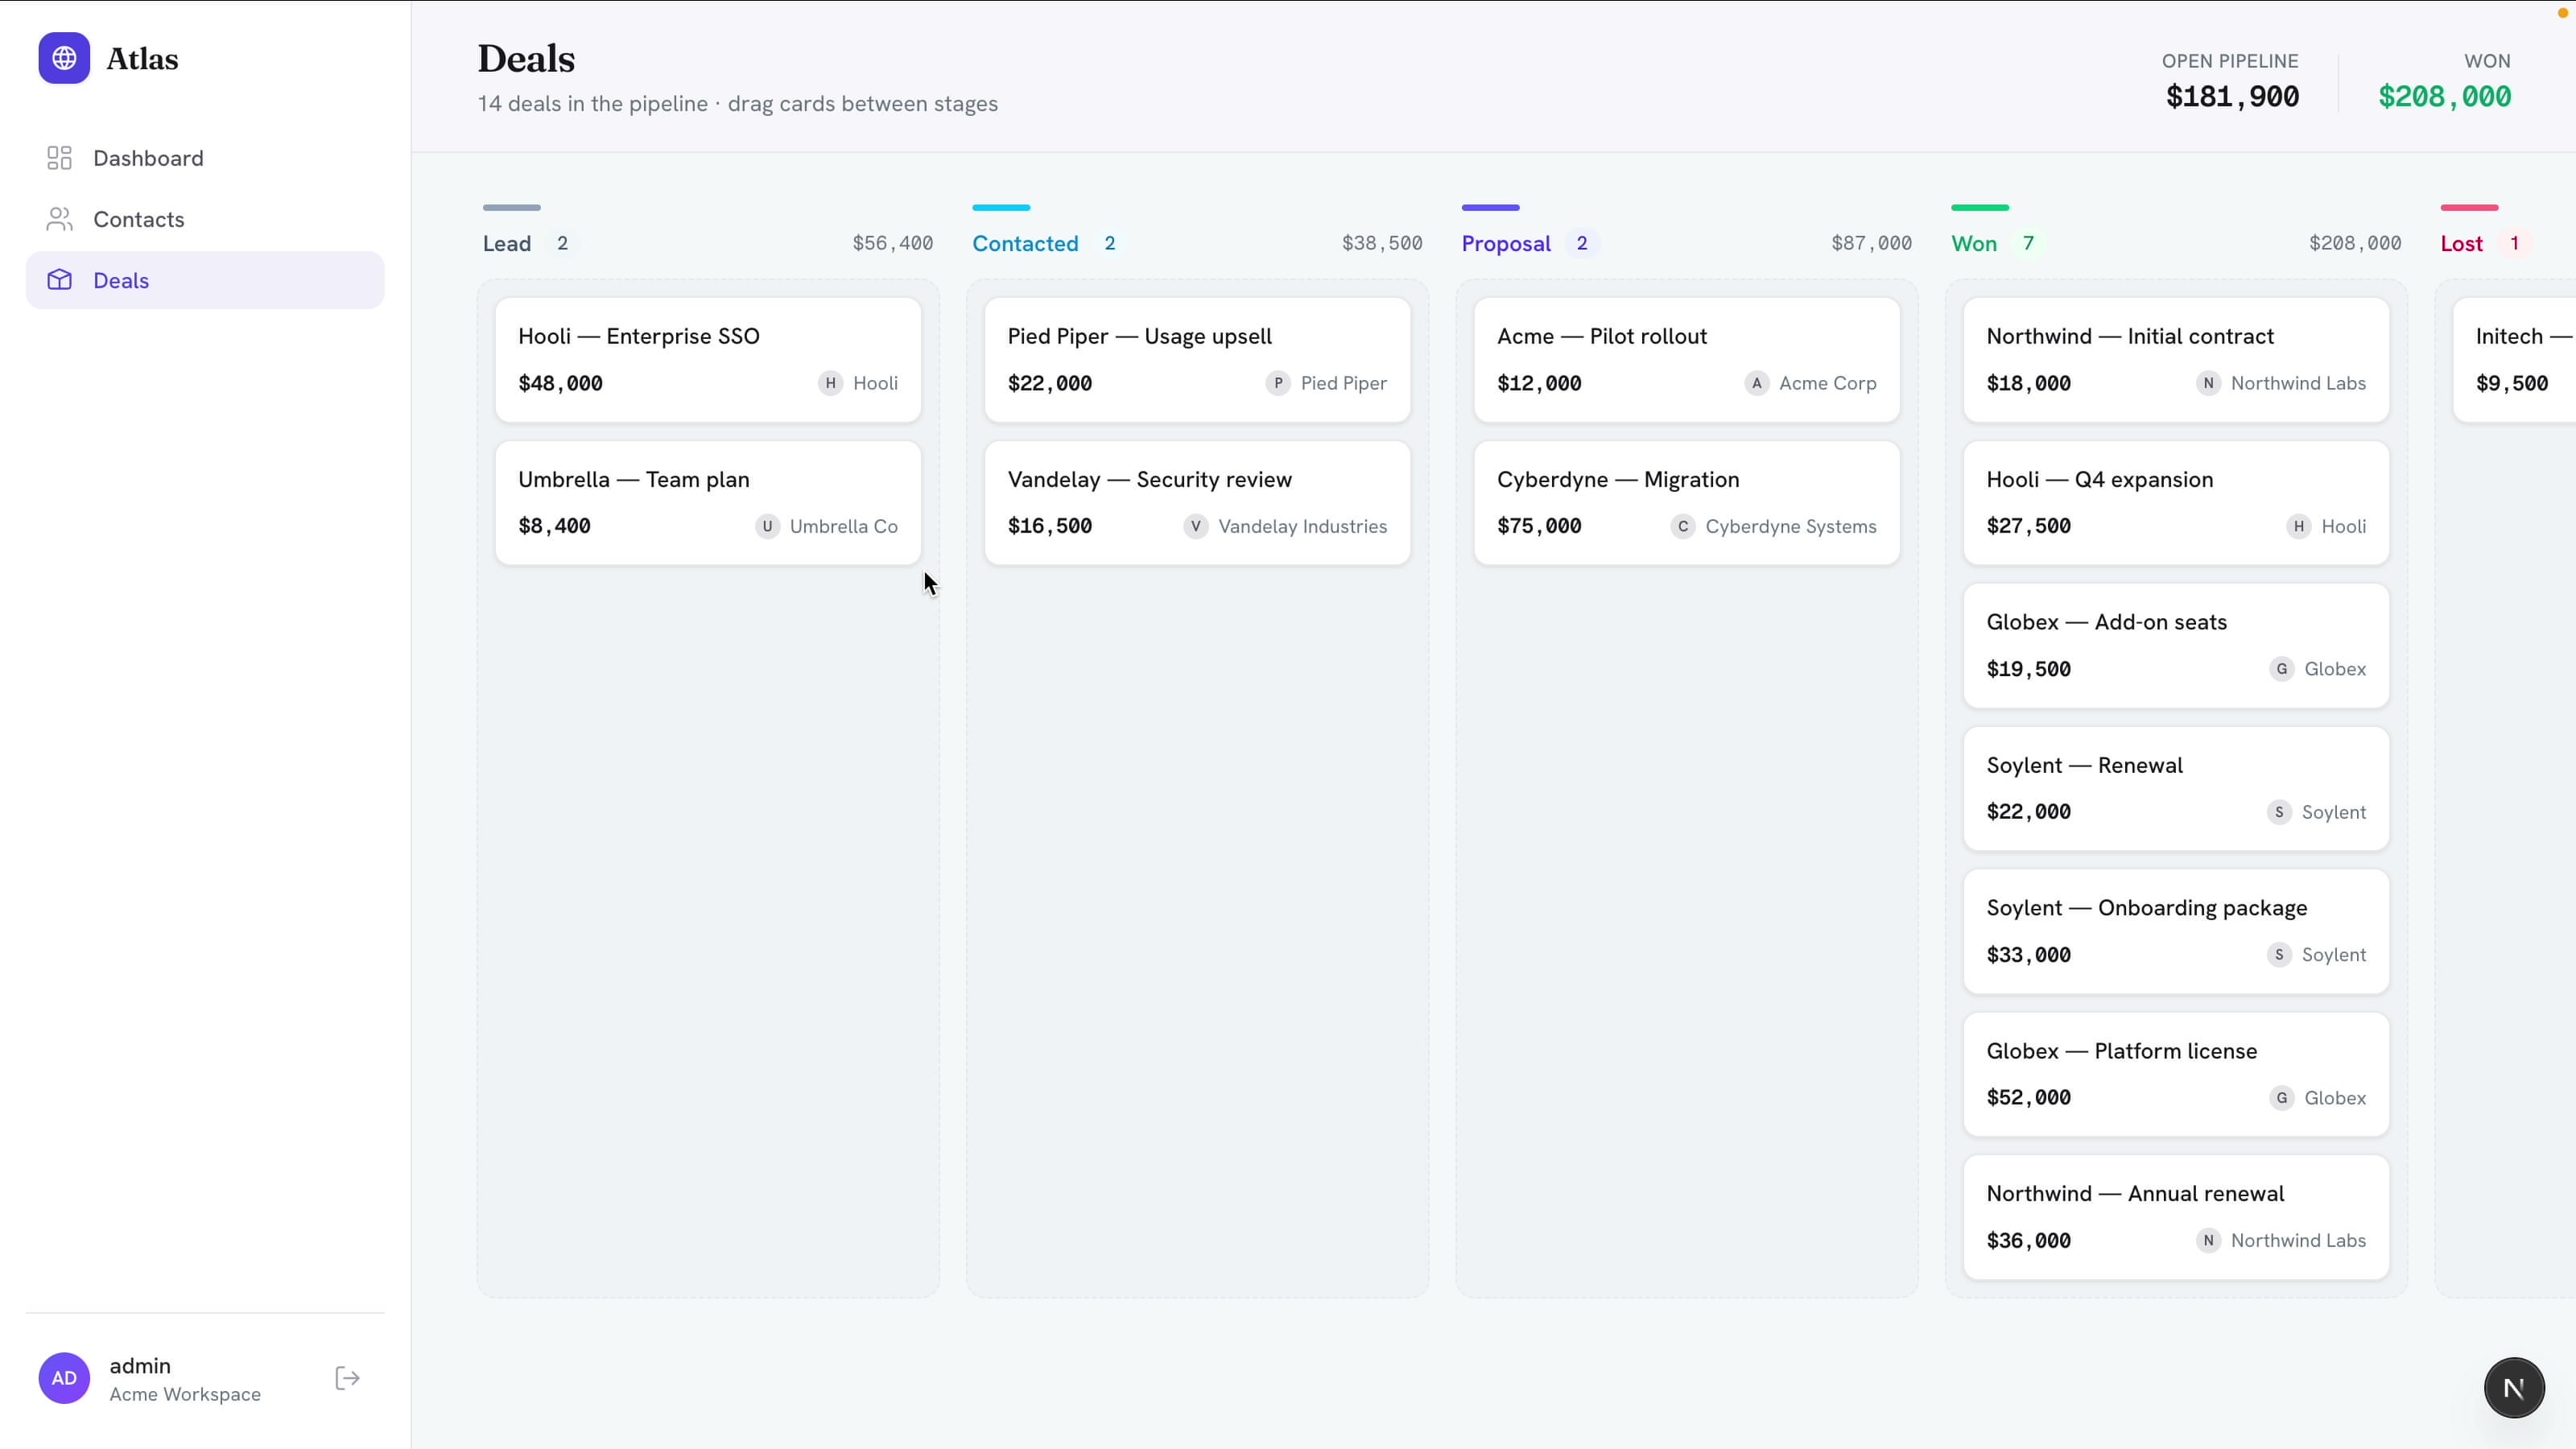
You can drag a card from one stage to the next, and the totals update as it moves.
Stage 3: The Dashboard
Now the home page, the at-a-glance view:
Now add a Dashboard as the home page: total contacts, deals grouped by stage, total pipeline value, and a revenue-by-month chart.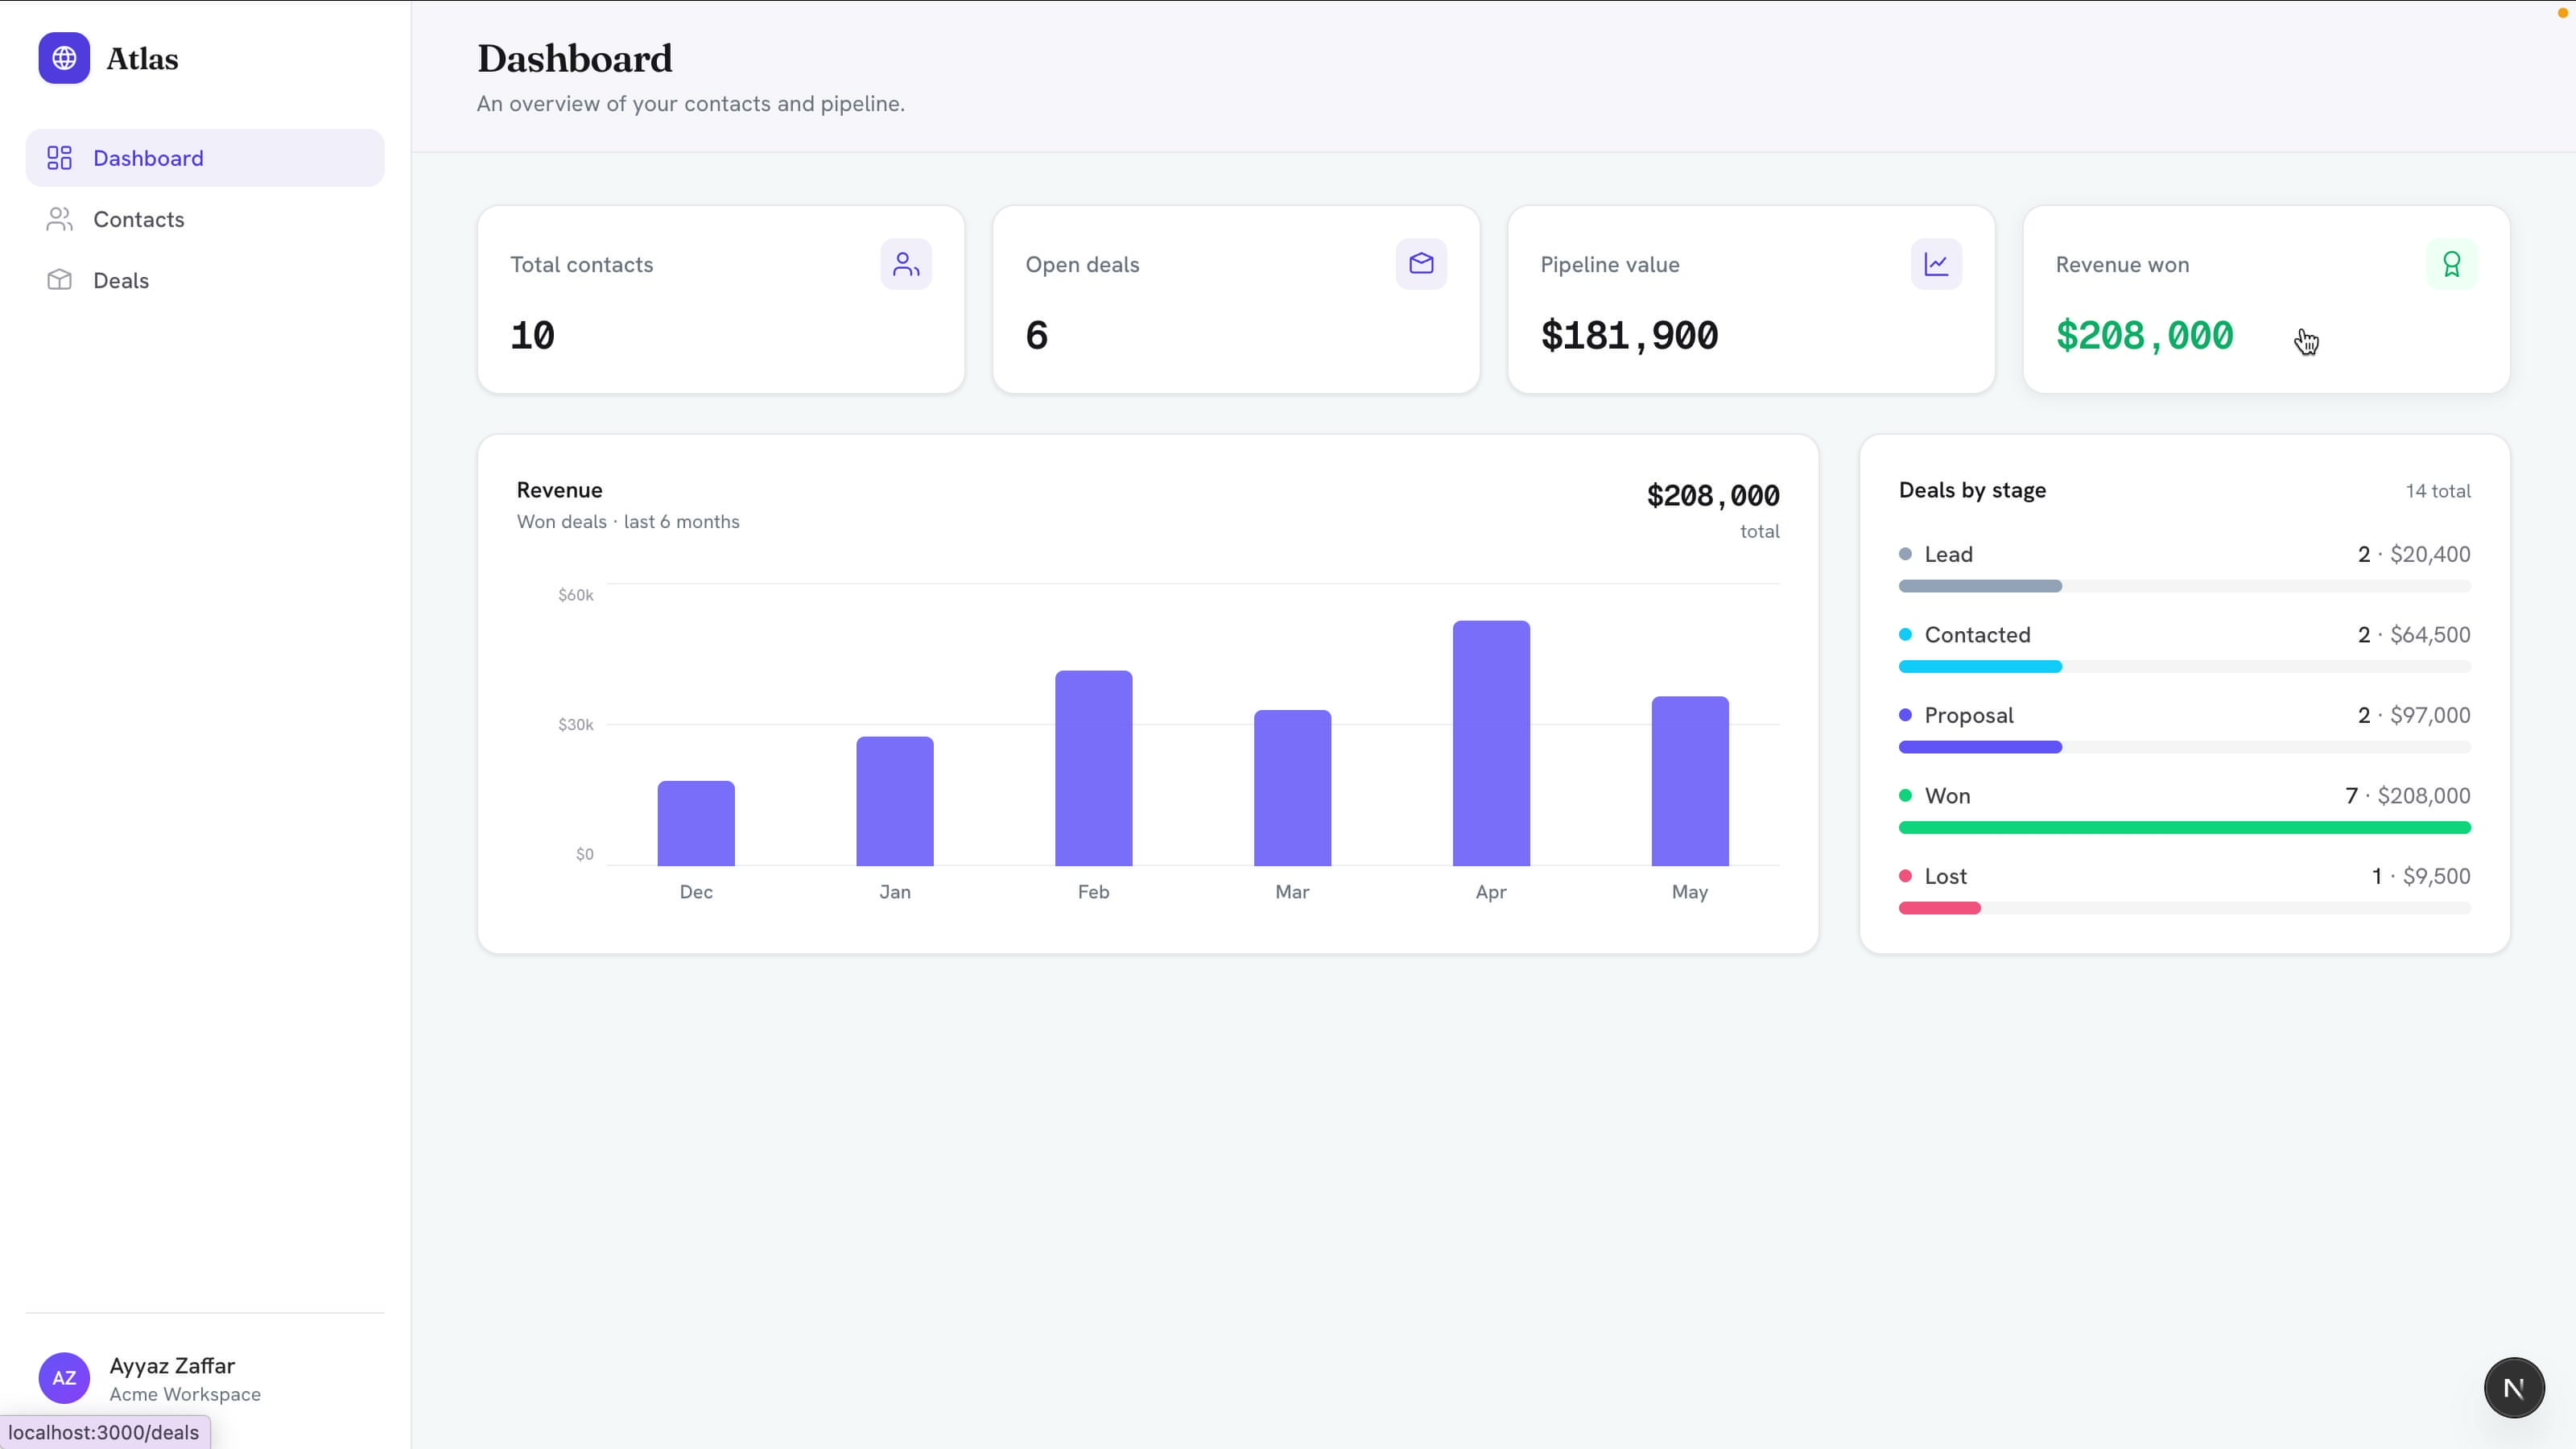
Stage 4: Login
Finally, put the whole app behind a simple login so it feels like a real product:
Finally, add a simple username and password login that protects the whole app. Seed ONE demo user (username "admin", password "admin123"). No signup, no roles, no password reset. Keep auth minimal.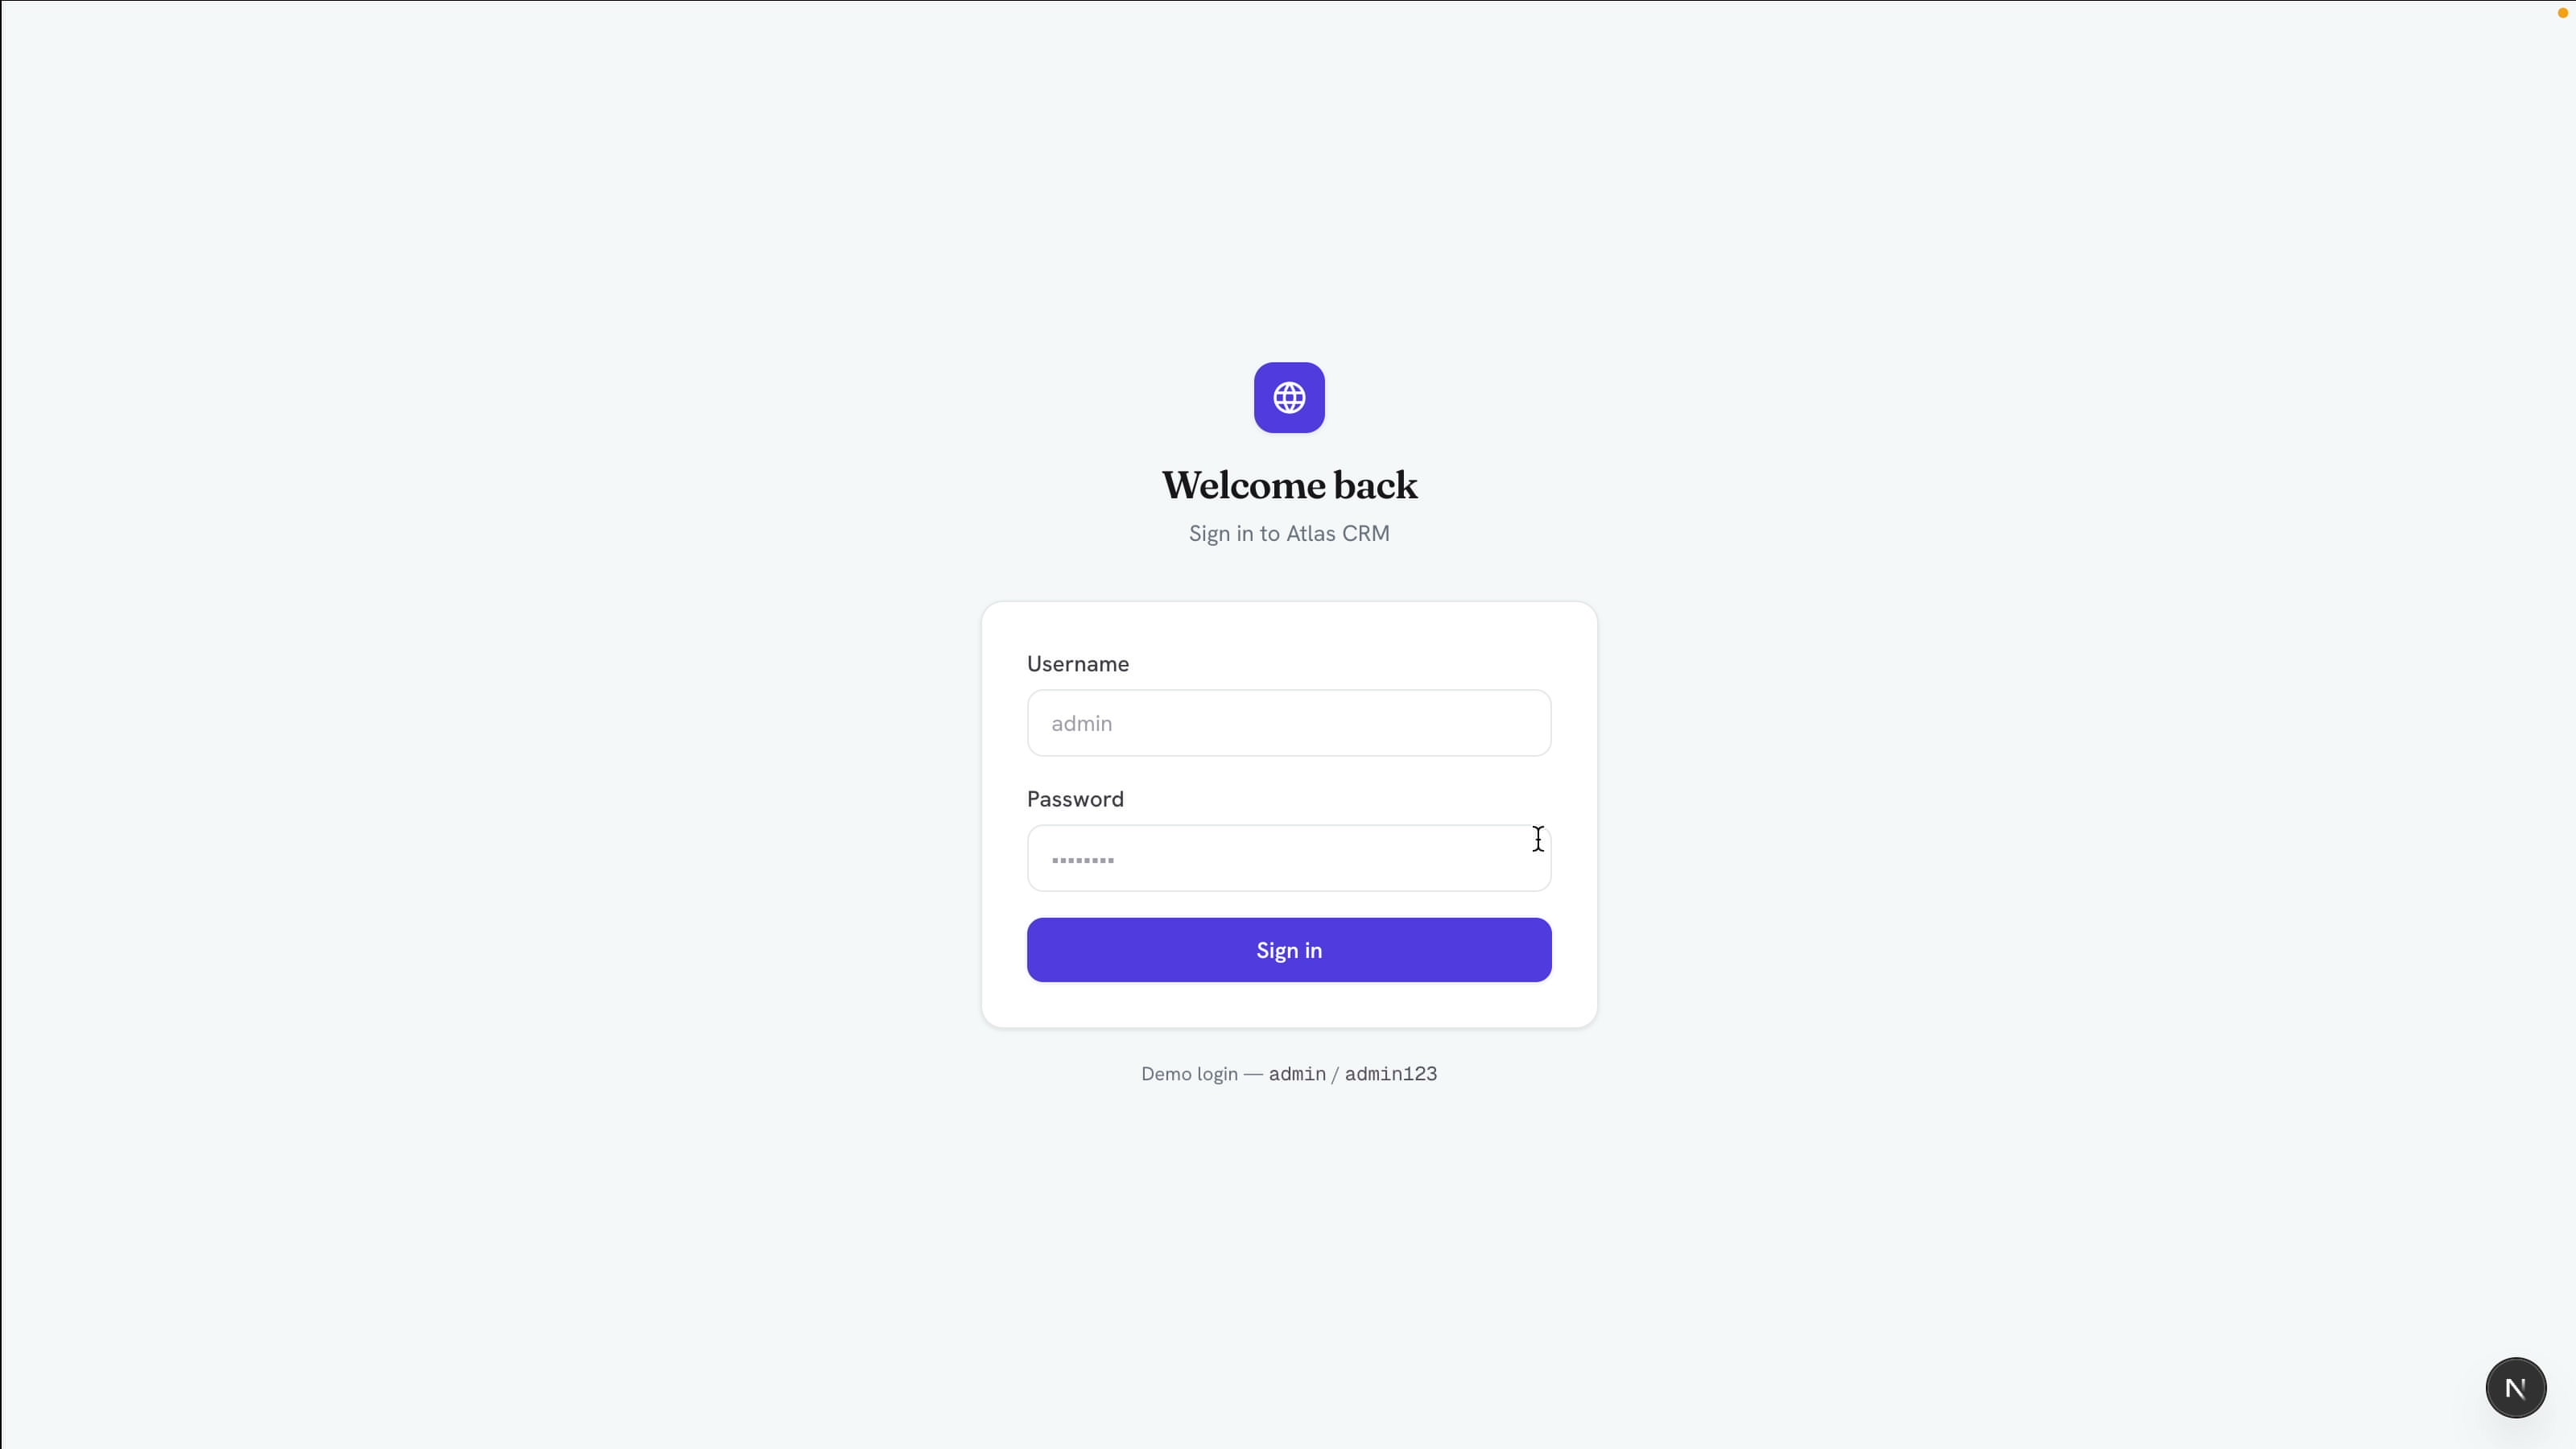
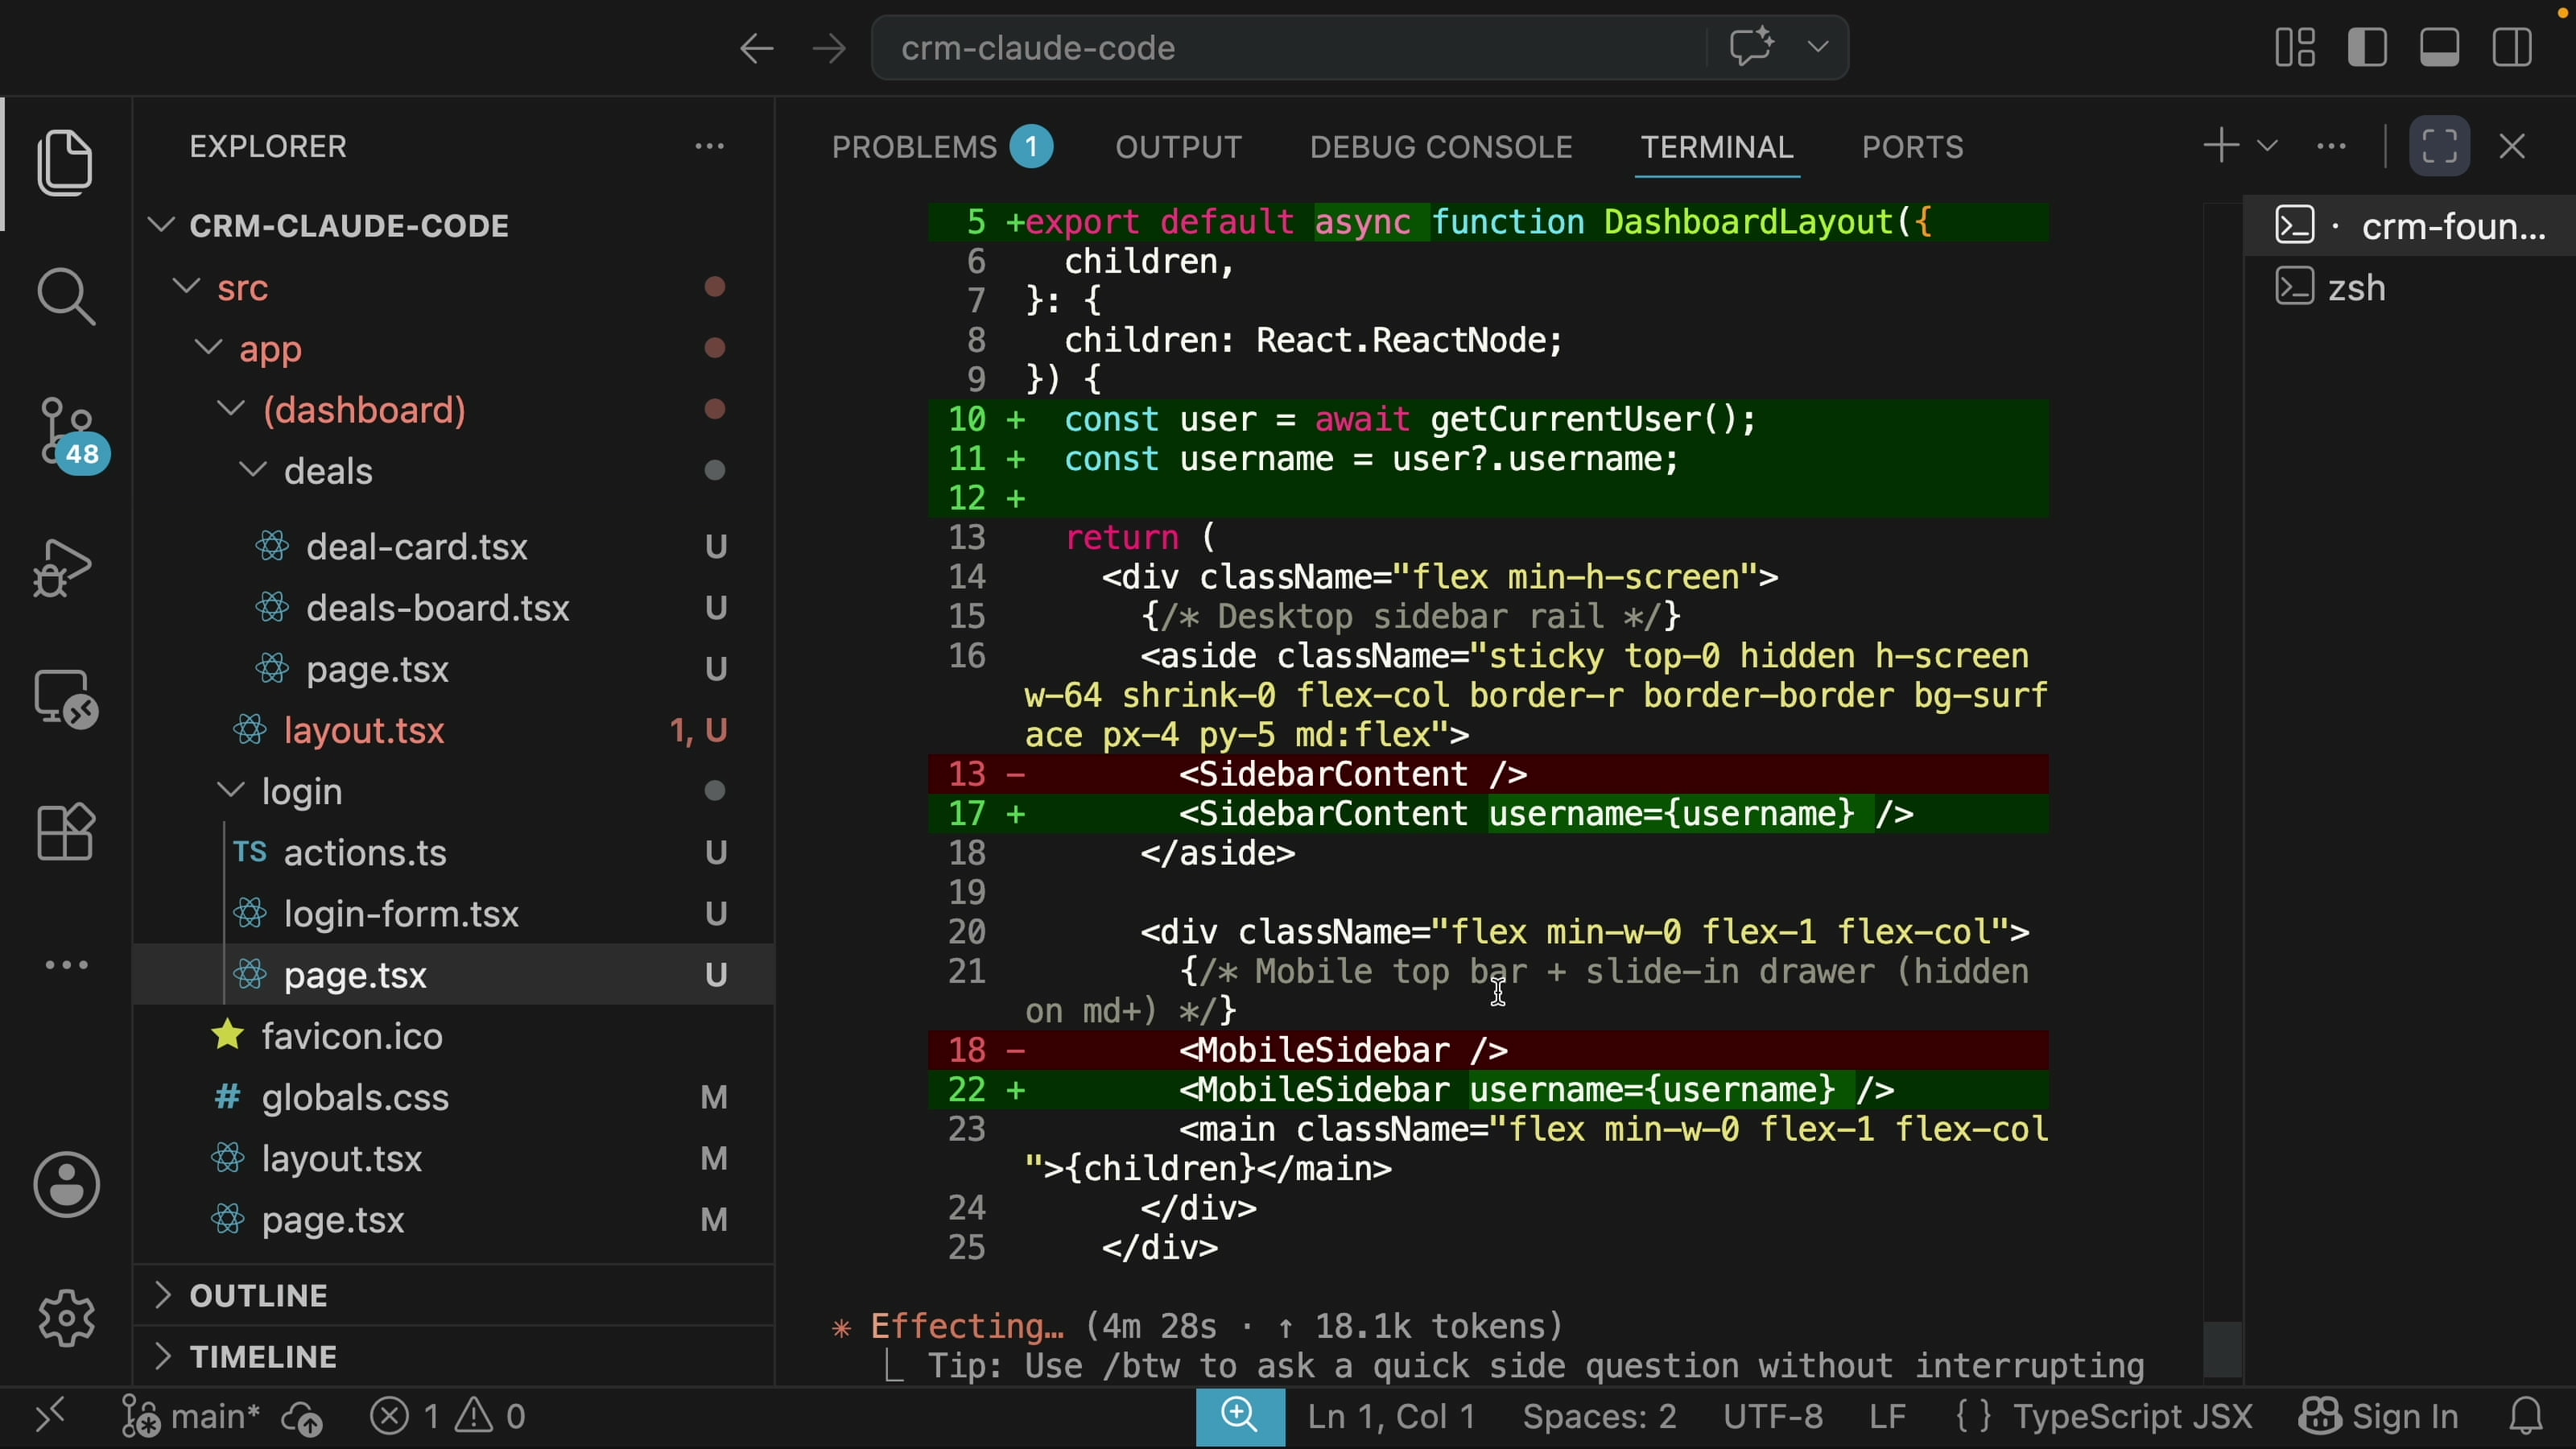
Claude wired the login into a layout that guards every route, with the form and server actions in their own files:
Sign in with the seeded account (admin / admin123) and the full CRM unlocks. Push the project to GitHub and you have a complete app.
What Made This Work
- Stage the prompts. Four focused prompts beat one giant prompt. The app grows in front of you, and you can check each piece before moving on.
- Plan first on the big step. Reviewing the plan before Claude writes code catches misunderstandings early.
- Install the frontend-design skill. One line of direction toward "professional SaaS like Linear or Stripe" gives a polished UI instead of generic defaults.
- Use bunx, not npm. Dependency installs are much faster.
Build It Yourself
If you want more build-along tutorials like this one, with real apps, real prompts, and no fluff, subscribe to AyyazTech on YouTube.
Tools I Use
- Hostinger for VPS and hosting: ayyaztech.com/go/hostinger
- Claude and Claude Code, my daily AI pair-programmer: claude.ai
- VS Code, my editor: code.visualstudio.com
Some links above are affiliate links. Using them supports the channel at no extra cost to you.