How to add WYSIWYG in angular using Quill Js?

Introduction
In this tutorial I am going to show you that how to add WYSIWYG in angular using Quill js. Over the past month, I have been working on a side project using angular. And as part of this project, I needed a text editor that works really well with angular that I could include in my project. Through my research, I found a few but the best one that I found is called Quill JS. It’s not just a small editor that some just made and put on internet. It’s actually really powerful. It is used by many large companies like Linkedin, Salesforce, Slack and many more. Also what’s cool about Quill is that it does not just work with angular. It works as a standalone javascript Rich Text editor. And it also works with React.js and I believe Vue.js as well.
In this article we’re gonna be implementing quill into angular project.
Following is the screenshot of what we are going to build: 
It’s a pretty blank angular project and I just set up a basic homepage with WYSIWYG in angular.
Let’s start building this step by step.
Before we begin, make sure that angular cli is installed on your computer.
By the way, I also made a video version of this article. So if want, you can also watch video:
1- Create new angular project?
- Open the command-line interface/terminal and run the following command:
ng new ayyaztech
- Press enter.
- If it asks this question: “Would you like to add Angular routing?” then type “Y” and press enter.

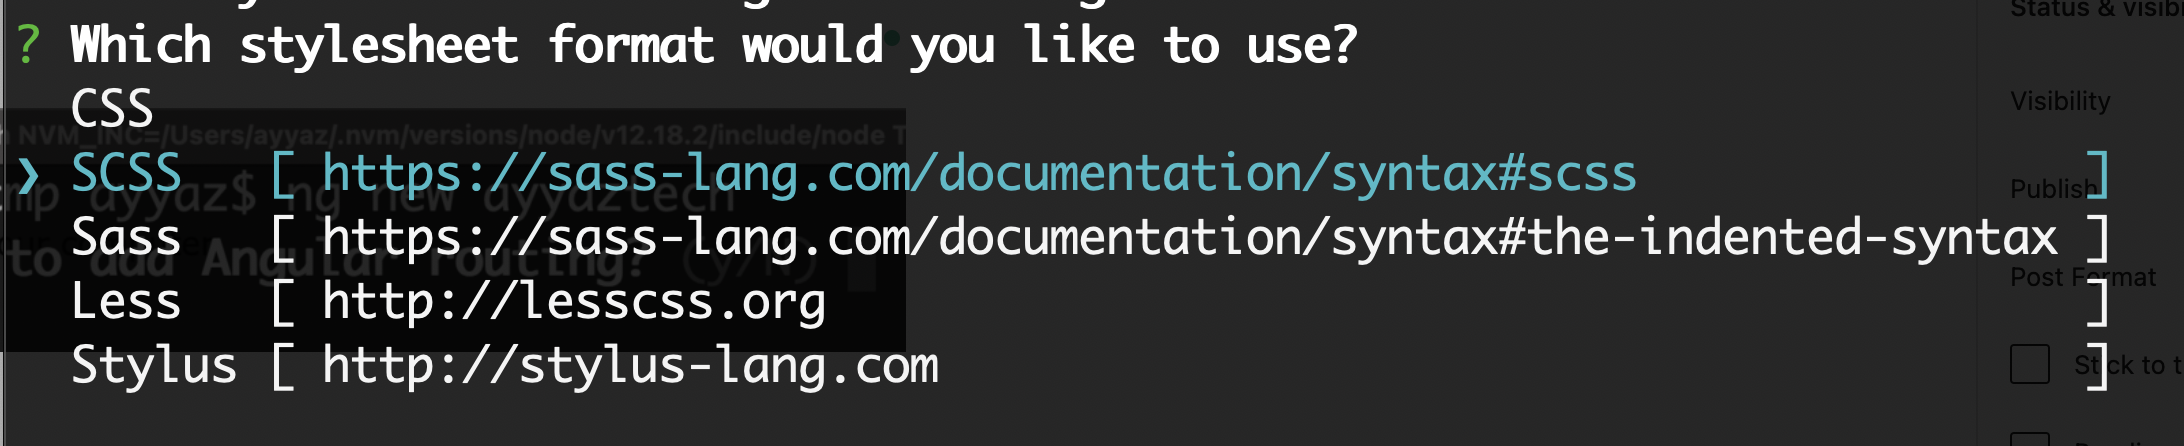
Then it would ask “Which stylesheet format would you like to use?”. You can select any oneoption that suits you but I would select SCSS for now with the help of the arrow down button and press enter.
After waiting for a while, it will be installed.

- Then you need to type:
cd ayyaztech
2- Start the server
Type the following code that will run and open app in a separate tab of browser.
ng s -o

By running the above command, it will ask you:
“Would you like to share anonymous usage data about this project with the Angular Team at Google under Google’s Privacy Policy at https://policies.google.com/privacy?”
Just type y and press enter.

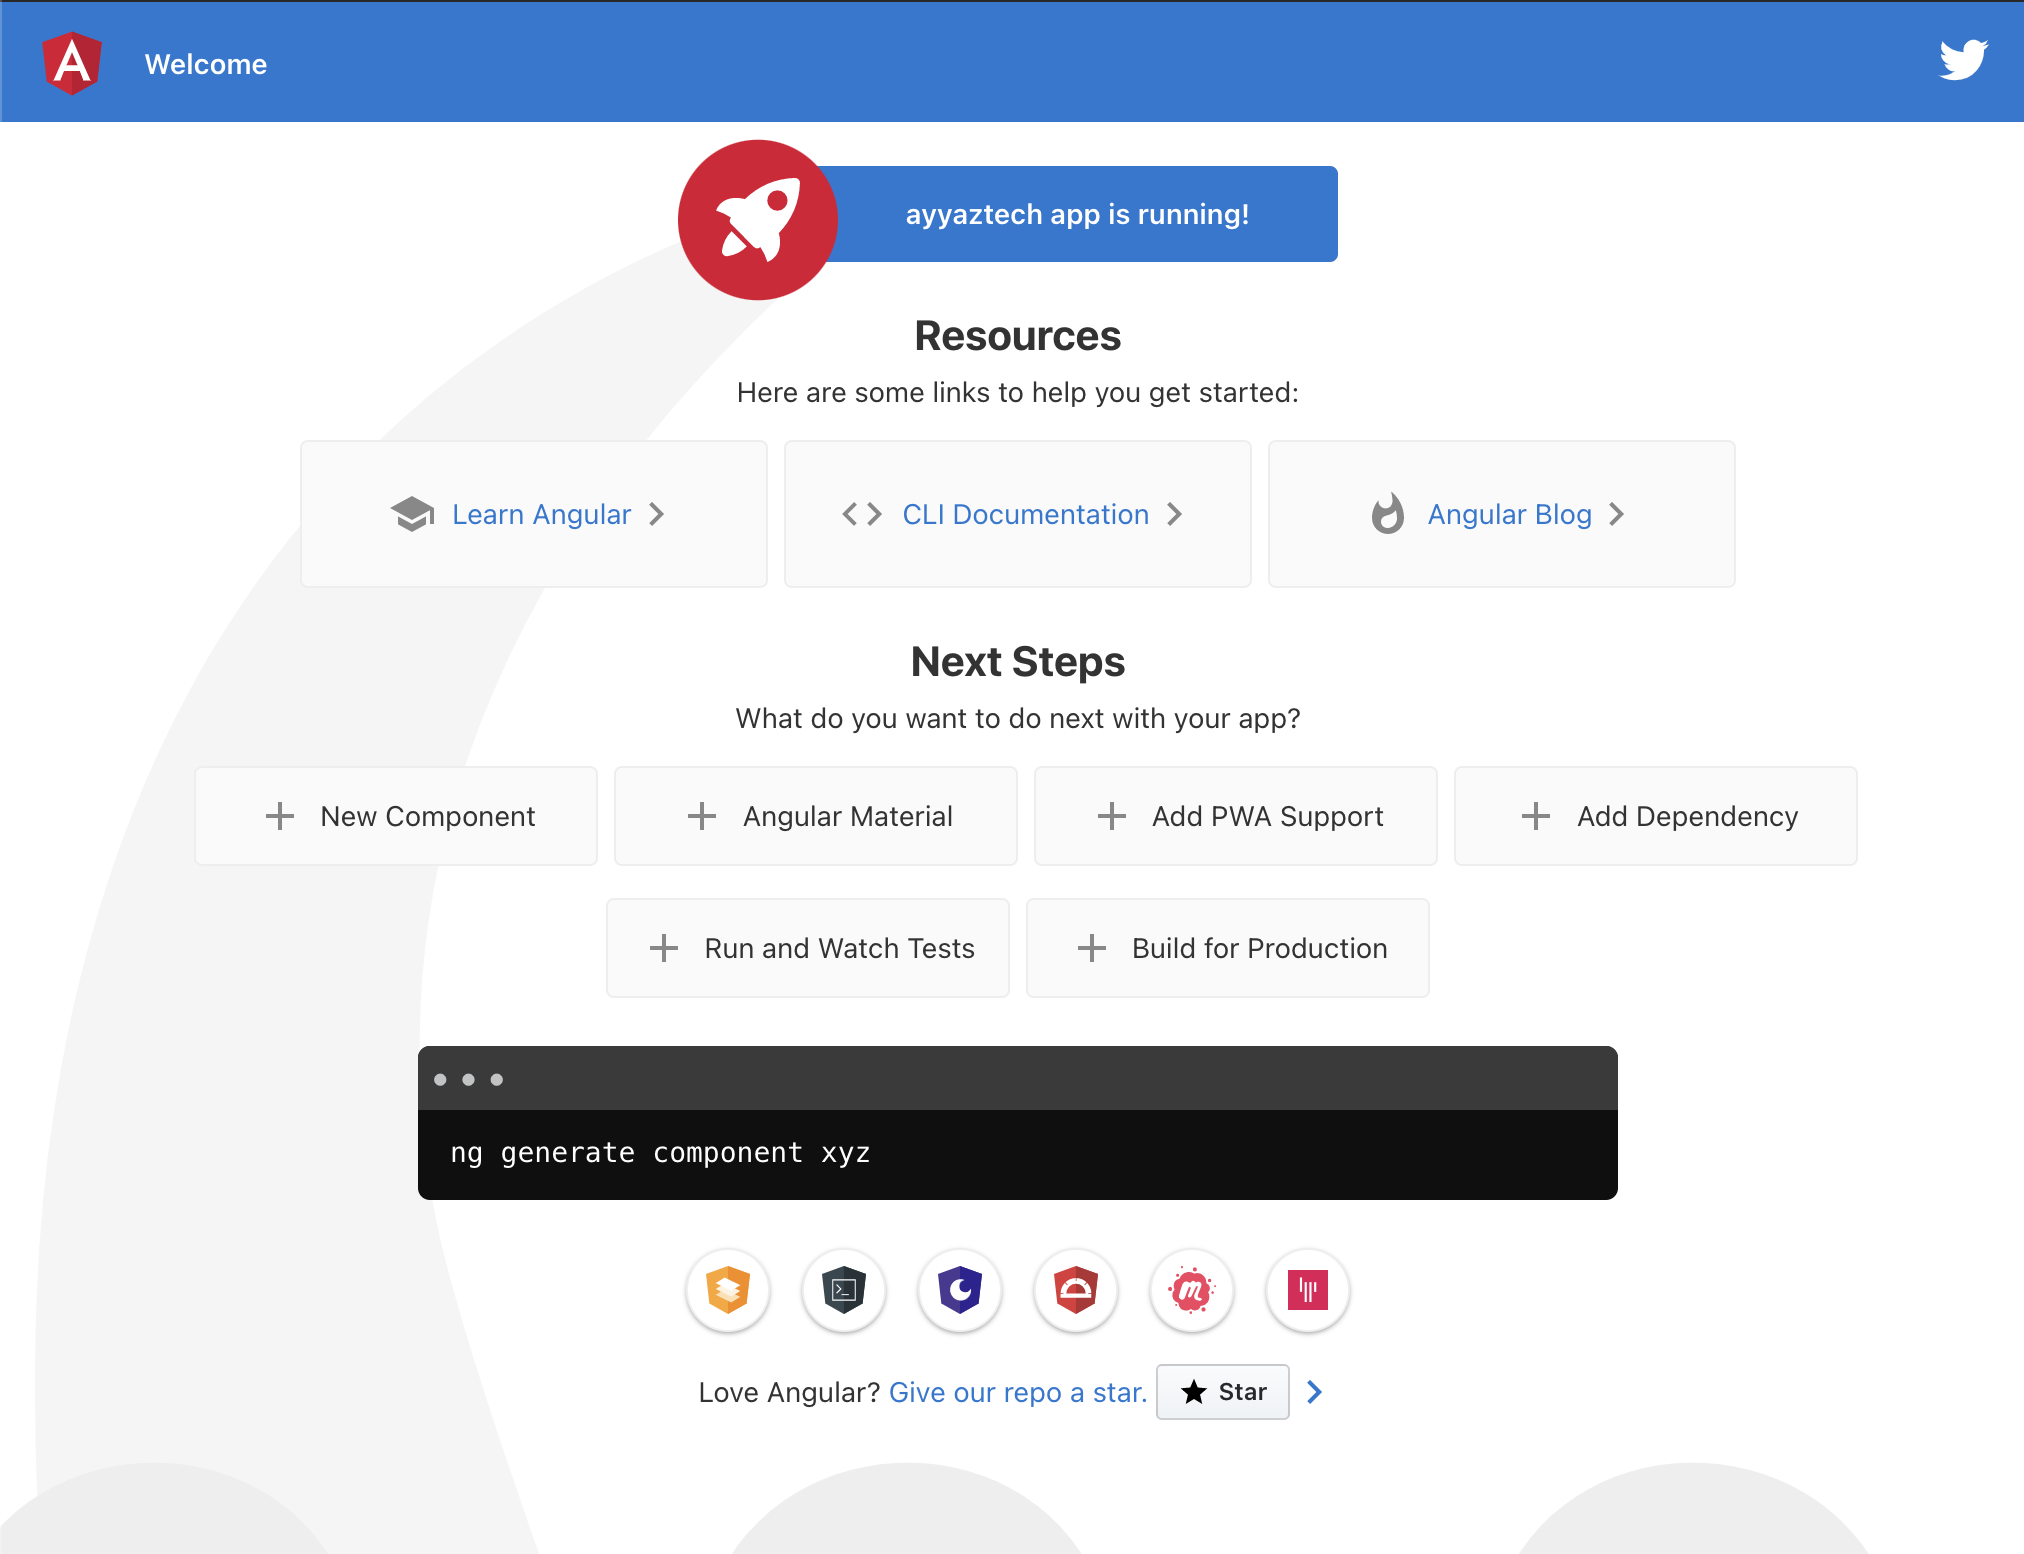
After process is done it will open following page in a tab:
3- Install dependencies
Now we need to install the dependencies: quill and ngx-quill
Stop the local server and run the following command in your terminal.
npm install --save quill ngx-quill

After installing run sever again with the command
ng s -o
4- Setup and use quill in angular project
Open your app.module.ts file and import QuilModule from ngx-quill library:
import { QuillModule } from 'ngx-quill';
Now add the QuillModule in the “imports” array:
imports: [
   BrowserModule,
   AppRoutingModule,
   QuillModule.forRoot()
 ],

Next we need to import the quill’s style files.
Open the styles.scss ( or style.css if you chose css during installation of angular project ) and paste the following code on top of your global styles.scss file:
/* You can add global styles to this file, and also import other style files */
@import "~quill/dist/quill.core.css";
@import "~quill/dist/quill.bubble.css";
@import "~quill/dist/quill.snow.css";
Now let’s use quill in our html file.
Open app.component.html file and add following tag in it and save:
<quill-editor></quill-editor>
Now you should see quill editor in action in the browser like in following screenshot: