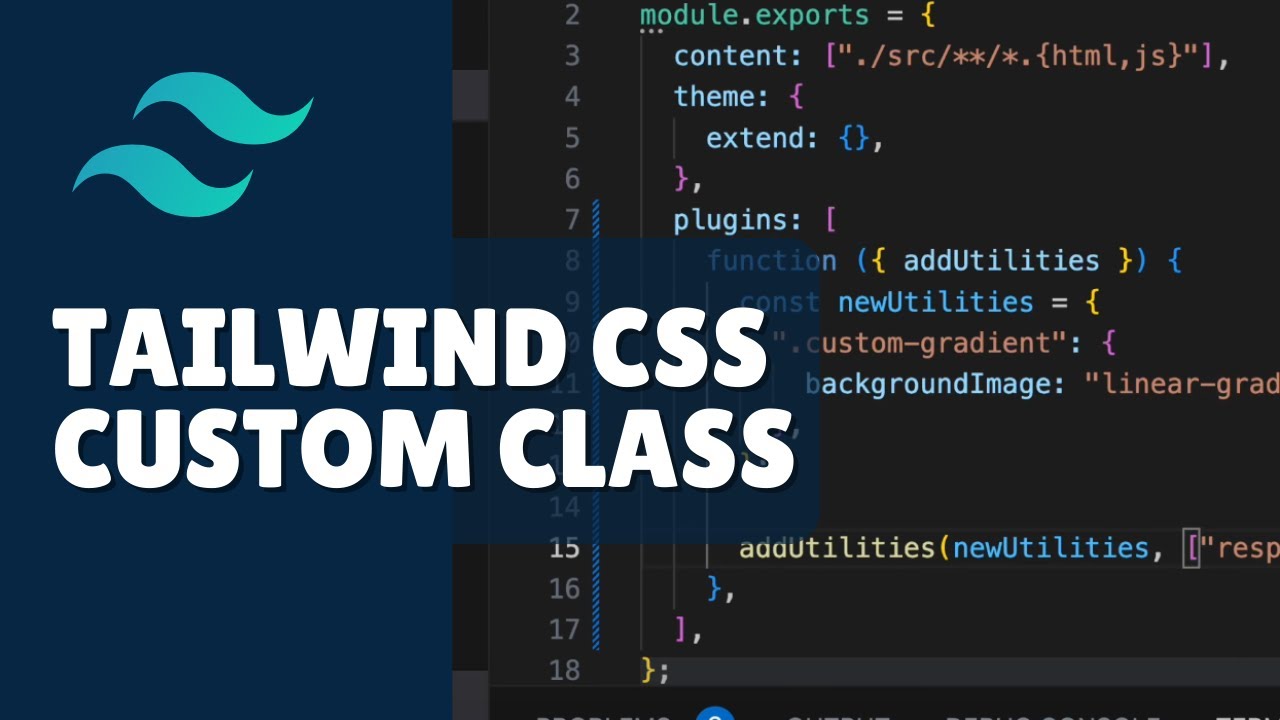
How to Add Custom Classes in Tailwind CSS: A Comprehensive Guide

Introduction
Welcome to another tutorial on AyyazTech! In today's session, we're going to deep-dive into the world of Tailwind CSS and learn how to add custom classes to your project. Tailwind is a utility-first CSS framework that allows for rapid UI development using its versatile utility classes. But what if you need a custom style that isn't readily available in Tailwind? Worry not, because that's exactly what we're going to cover today.
Note: If you're new to Tailwind CSS, you may want to check out the official Tailwind CSS documentation for the initial setup guide. Alternatively, I have a detailed Tailwind CSS playlist on my AyyazTech YouTube channel to help you get started.
Understanding Tailwind CSS
Before we get into the details of adding custom classes, it's essential to understand Tailwind's basic structure. Tailwind is a utility-first CSS framework that promotes the use of small, reusable utility classes for styling elements. While this is efficient and modular, there may be situations where you need custom styles that don't fit into the existing utilities. That's where custom classes come into play.
Adding Custom Classes
To demonstrate, I've set up a basic Tailwind CSS project. My HTML file currently has no additional styling, and we're going to change that by adding a custom gradient background.
Creating a Custom Gradient Background
Here's how you can add a custom gradient background in your Tailwind project:
1. Locate your main CSS file: This is the file where you'll add your custom styles.
2. Add the Custom Gradient:
.custom-gradient {
  background-image: linear-gradient(to right, #f06, #9f6);
}
3. Use it in HTML:
<div class="custom-gradient w-full h-full">
  <!-- Your content goes here -->
</div>
And just like that, you should see a gradient background on your HTML page.
Extending Default Configuration
Tailwind also allows for extending its default configurations by using its config file tailwind.config.js. You can add custom utilities and even make them responsive.
Here's how you can extend Tailwind's default configuration to add a custom responsive gradient background:
Open your tailwind.config.js file.
Add a New Custom Plugin:
module.exports = {
  // ... other Tailwind configurations
  plugins: [
    function ({ addUtilities }) {
      const newUtilities = {
        ".custom-gradient": {
          backgroundImage: "linear-gradient(to right, #f06, #9f6)",
        },
      };

      addUtilities(newUtilities, ["responsive", "hover"]);
    },
  ],
};
Usage in HTML:
<div class="hover:custom-gradient md:custom-gradient w-full h-full">
  <!-- Your content goes here -->
</div>
This will make your gradient background responsive and add hover effects to it as well.
Recap and Conclusion
Adding custom classes in Tailwind CSS is straightforward and allows for a lot of flexibility, all while maintaining the benefits of the utility-first approach. Before creating custom utilities, it's always a good idea to check if Tailwind already provides a built-in utility that meets your needs. And if not, you now know how to add your own custom utilities!
I hope you found this tutorial helpful. Don't forget to give it a thumbs up and subscribe for more content. If you have any questions or run into issues, feel free to drop a comment below.
Related Resources
For more tutorials like this, subscribe to AyyazTech and keep learning!
This article was originally a video tutorial on the AyyazTech YouTube channel. You can watch it here.