Auto-Deploy Next.js with GitHub Actions - Complete CI/CD Guide 2025
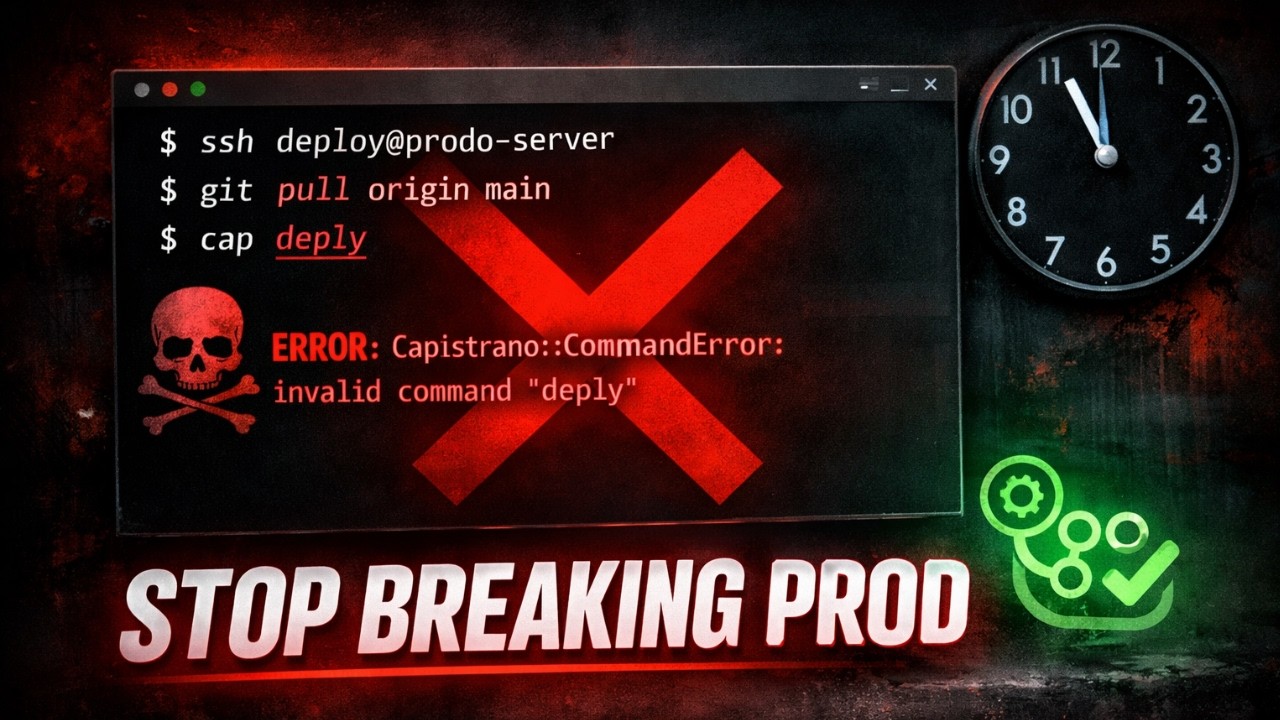
You just pushed a bug fix. Now you have to SSH into your server, run git pull, build the app, and restart PM2. Same five commands. Every. Single. Time.
And one day — probably at 11 PM — you'll typo a path, or forget the PM2 restart, and spend an hour debugging something that should've taken 30 seconds.
There's a better way: GitHub Actions.
In this guide, I'll show you how to set up continuous deployment so that every push to your main branch automatically deploys to your Hostinger VPS. By the end, you'll never manually deploy again.
Video Tutorial
Prefer watching? Here's the complete video walkthrough:
What You'll Build
By the end of this guide, you'll have:
- ✅ GitHub Actions workflow that triggers on every push
- ✅ Secure SSH connection from GitHub to your VPS
- ✅ Automatic pull, build, and restart process
- ✅ 30-second deploys with zero manual steps
Prerequisites
Before we start, you need:
- A Next.js app already deployed to a VPS (if you don't have this, watch my Hostinger deployment video)
- The app running with PM2
- Nginx configured as reverse proxy
- Git repository on GitHub
If you're missing any of these, set them up first. This guide assumes you have a working Next.js deployment.
Step 1: Create SSH Key for GitHub Actions
GitHub Actions needs to SSH into your VPS to deploy. We'll create a dedicated SSH key for this purpose.
On your local machine, generate a new SSH key:
ssh-keygen -t ed25519 -C "github-actions" -f ~/.ssh/github-actionsPress Enter through the prompts. Don't add a passphrase — automation needs passwordless access.
This creates two files:
github-actions— private key (stays secret, goes to GitHub)github-actions.pub— public key (goes to VPS)
Copy Public Key to VPS
Now copy the public key to your VPS:
ssh-copy-id -i ~/.ssh/github-actions.pub root@YOUR_VPS_IPReplace YOUR_VPS_IP with your actual server IP address.
Test the Connection
Verify the key works:
ssh -i ~/.ssh/github-actions root@YOUR_VPS_IPIf you get in without entering a password, perfect. Type exit to close the connection.
If the connection fails:
- Verify your VPS IP is correct
- Make sure the public key was copied completely
- Check your VPS firewall allows SSH (port 22)
Step 2: Add Secrets to GitHub
GitHub Actions needs three pieces of information to connect to your VPS. We'll store these as encrypted secrets in your GitHub repository.
Go to your GitHub repo → Settings → Secrets and variables → Actions → New repository secret.
Secret 1: VPS_HOST
- Name:
VPS_HOST - Value: Your VPS IP address (e.g.,
123.45.67.89)
Secret 2: VPS_USERNAME
- Name:
VPS_USERNAME - Value:
root
Secret 3: VPS_SSH_KEY
- Name:
VPS_SSH_KEY - Value: Your SSH private key
To get the private key, run:
cat ~/.ssh/github-actionsCopy the entire output, including the -----BEGIN OPENSSH PRIVATE KEY----- and -----END OPENSSH PRIVATE KEY----- lines.
Paste it into the secret value field and click Add secret.
Your secrets page should now show three secrets with no errors.
Step 3: Create GitHub Actions Workflow
In your Next.js project, create the workflow file structure:
mkdir -p .github/workflowsCreate a new file called deploy.yml:
nano .github/workflows/deploy.ymlPaste this workflow configuration:
name: Deploy to Hostinger VPS

on:
  push:
    branches:
      - main

jobs:
  deploy:
    runs-on: ubuntu-latest

    steps:
      - name: Deploy to VPS
        uses: appleboy/ssh-action@v1.0.3
        with:
          host: ${{ secrets.VPS_HOST }}
          username: ${{ secrets.VPS_USERNAME }}
          key: ${{ secrets.VPS_SSH_KEY }}
          script: |
            export NVM_DIR="$HOME/.nvm"
            [ -s "$NVM_DIR/nvm.sh" ] && \. "$NVM_DIR/nvm.sh"
            cd /var/www/YOUR_REPO
            git pull origin main
            npm install
            npm run build
            pm2 restart nextjs-app
Important: Replace YOUR_REPO with your actual repository folder name on the VPS (e.g., nextjs-hostinger-demo).
Critical: The lines export NVM_DIR and [ -s "$NVM_DIR/nvm.sh" ] load Node.js via NVM. Without these, GitHub Actions won't find npm or pm2 because non-interactive SSH doesn't load .bashrc automatically.
What This Workflow Does
- Line 5: Triggers on every push to the
mainbranch - Lines 15-18: Uses your GitHub Secrets to SSH into the VPS
- Lines 19-23: Runs your deployment commands:
- Navigate to your project folder
- Pull the latest code from GitHub
- Install any new dependencies
- Build the production app
- Restart the PM2 process
Save the file with Ctrl+O, Enter, then Ctrl+X.
Step 4: Trigger Your First Auto-Deploy
Commit the workflow file and push:
git add .
git commit -m "Add GitHub Actions deployment workflow"
git push origin main
This push will trigger the workflow for the first time!
Watch It Deploy
Go to your GitHub repo → Actions tab.
You'll see your workflow running. Click on it to see real-time logs showing:
- ✅ Connecting to VPS
- ✅ Pulling code
- ✅ Running build
- ✅ Restarting PM2
- ✅ Success
Test With a Real Change
Now let's test it with an actual code change. Open your Next.js app and make a small edit:
// app/page.tsx or pages/index.tsx
export default function Home() {
  return (
    <main>
      <h1>Deployed with GitHub Actions!</h1>
    </main>
  )
}
Commit and push:
git add .
git commit -m "Update homepage"
git push origin main
Go back to the Actions tab. Another workflow is running.
Wait a minute or two (larger apps take longer). Then open your domain in a browser and refresh.
Your change is live.
You just deployed without touching the terminal. This is continuous deployment.
Troubleshooting
Workflow Fails to Connect
If your workflow shows SSH connection errors:
- Check your secrets are spelled correctly:
VPS_HOST,VPS_USERNAME,VPS_SSH_KEY - Verify the private key was copied completely: Including BEGIN/END lines
- Test the SSH key manually: Run
ssh -i ~/.ssh/github-actions root@YOUR_VPS_IPfrom your local machine
Build Fails on VPS
If the workflow connects but the build fails:
- Check Node version: Make sure your VPS has the same Node version as your local machine
- Verify environment variables: If your app uses
.envfiles, make sure they exist on the VPS - Check folder path: Ensure
/var/www/YOUR_REPOis the correct path
PM2 Restart Fails
If PM2 can't restart your app:
- Verify the PM2 app name: Run
pm2 liston your VPS to see the exact app name - Update the workflow: Change
pm2 restart nextjs-appto match your actual PM2 app name
What You've Achieved
You now have professional-grade continuous deployment:
- ✅ Every push to
maintriggers automatic deployment - ✅ Zero manual SSH commands needed
- ✅ Builds run automatically on your VPS
- ✅ PM2 auto-restarts to serve new code
- ✅ No risk of typos or forgotten steps
This is the same workflow used by professional development teams, and you set it up in under 15 minutes.
Next Steps
Now that you have CI/CD set up, consider:
- Add a staging environment: Create a separate workflow for a
developbranch - Run tests before deploying: Add a test step before the deployment
- Add Slack/Discord notifications: Get notified when deployments succeed or fail
- Deploy other frameworks: Use the same pattern for React, Vue, or Laravel
Quick Reference
SSH Key Setup
# Generate key
ssh-keygen -t ed25519 -C "github-actions" -f ~/.ssh/github-actions

# Copy to VPS
ssh-copy-id -i ~/.ssh/github-actions.pub root@YOUR_VPS_IP

# Get private key
cat ~/.ssh/github-actions
GitHub Secrets Required
VPS_HOST= Your VPS IPVPS_USERNAME= rootVPS_SSH_KEY= Private key (entire output)
Workflow File Location
.github/workflows/deploy.yml
Note: The video shows the actual troubleshooting process when the workflow first fails with "npm: command not found" - this is exactly what you'll encounter if you follow typical NVM installation guides. Watch to see the real-world debugging process.
Have questions? Drop a comment on the video — I read every single one and help with debugging.
Next tutorial: Deploy React to Hostinger VPS (and the one mistake most tutorials get wrong).